
First a big thank you to Thermaltake for providing the M9 Mid Tower Computer Case for this Review.
It’s been a while now since I looked at a new computer case and today I get the chance to look at a Mid Tower case from Thermaltake called the M9.
Before I get too far into this Review here are the specifications of the M9.
-Glossy finish
-9 Drive Bays - 9 5.25” drive bay, swappable to 3.5” drive bay using HDD cage
-High efficiency ventilation: 120mm silent fan in front and rear
-Metal grilled front bezel for maximum air intake
-Air guide and openings on side panel enhance CPU & VGA heat dissipation
-Tool-free installation for 5.25” drive bays and add-on cards
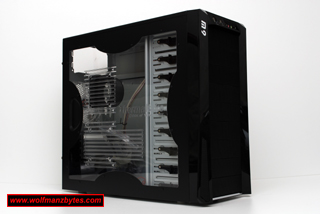
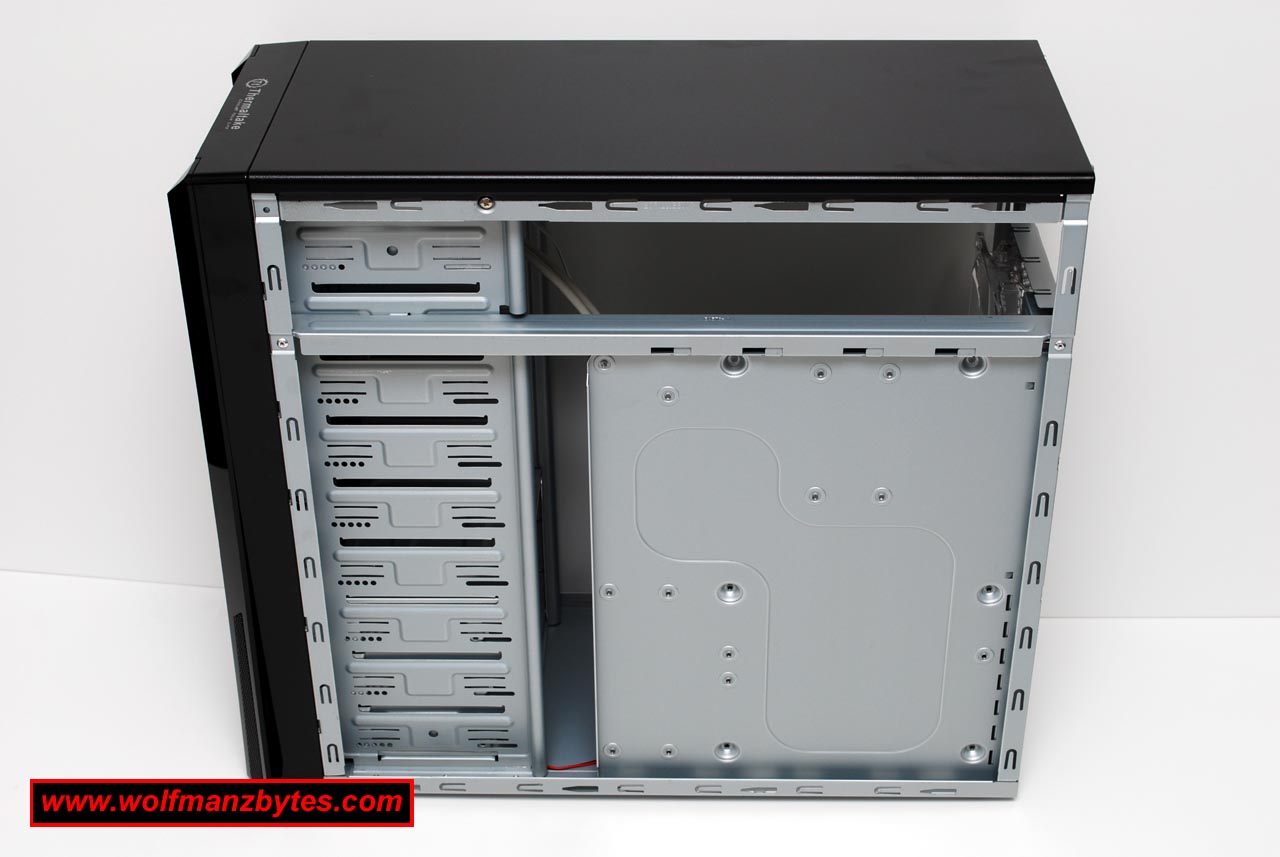
I got to say when I unpacked this case I was quite impressed with the look and finish on the M9. This is not a huge computer case by any stretch but it still has quite a bit of room inside it for quite a few hard drives and also loads of 5.25” drives bays.
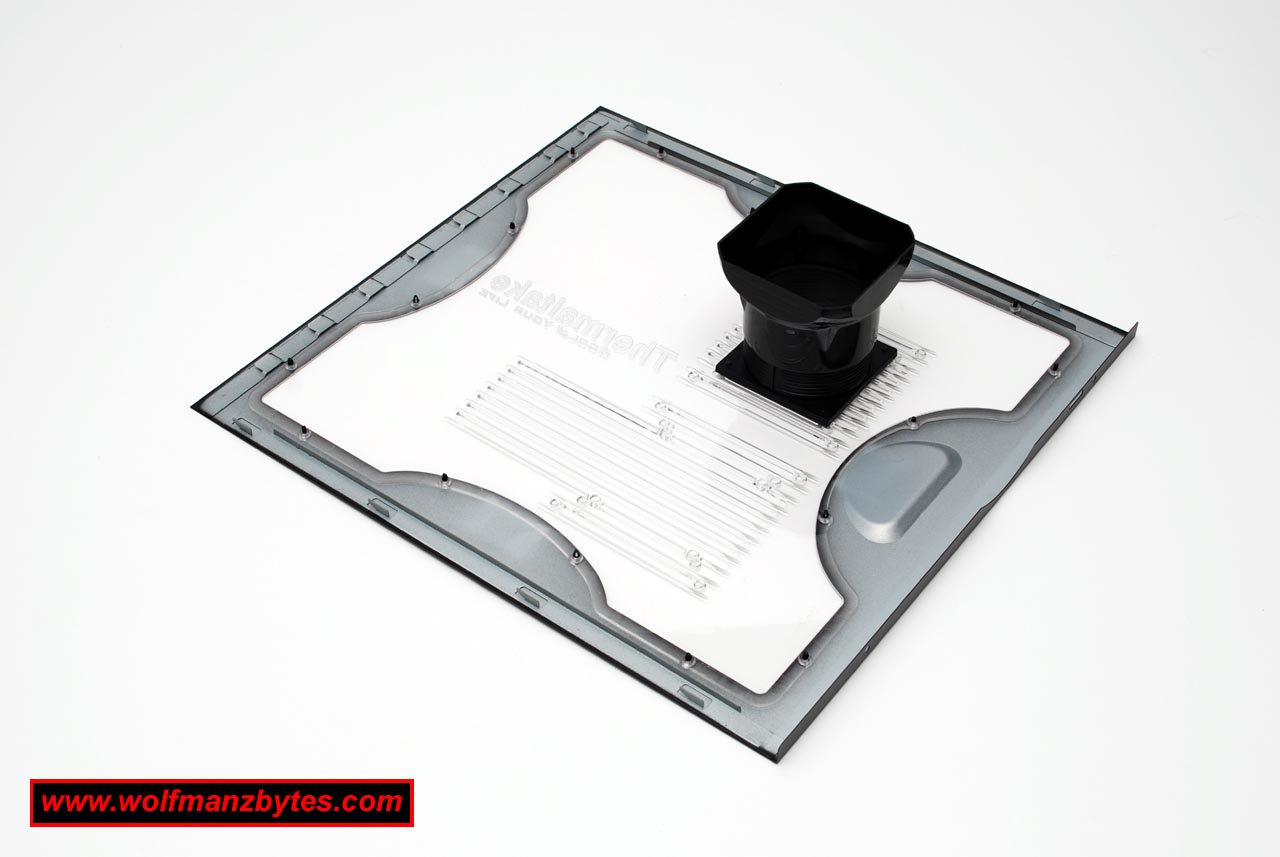
In the picture below you can see the side panel that you would take off to get your hardware inside. The side panel comes off very easily by removing the two thumb screws. The side panel also has a duct system on it so that you can give your CPU cool air from outside of the computer case. The duct is also adjustable so you can move it as close or as far away from the cpu as you like. If you’re not a fan of the duct system you can take it off the side panel altogether and put 80, 90, or 120mm fans on the side panel instead.
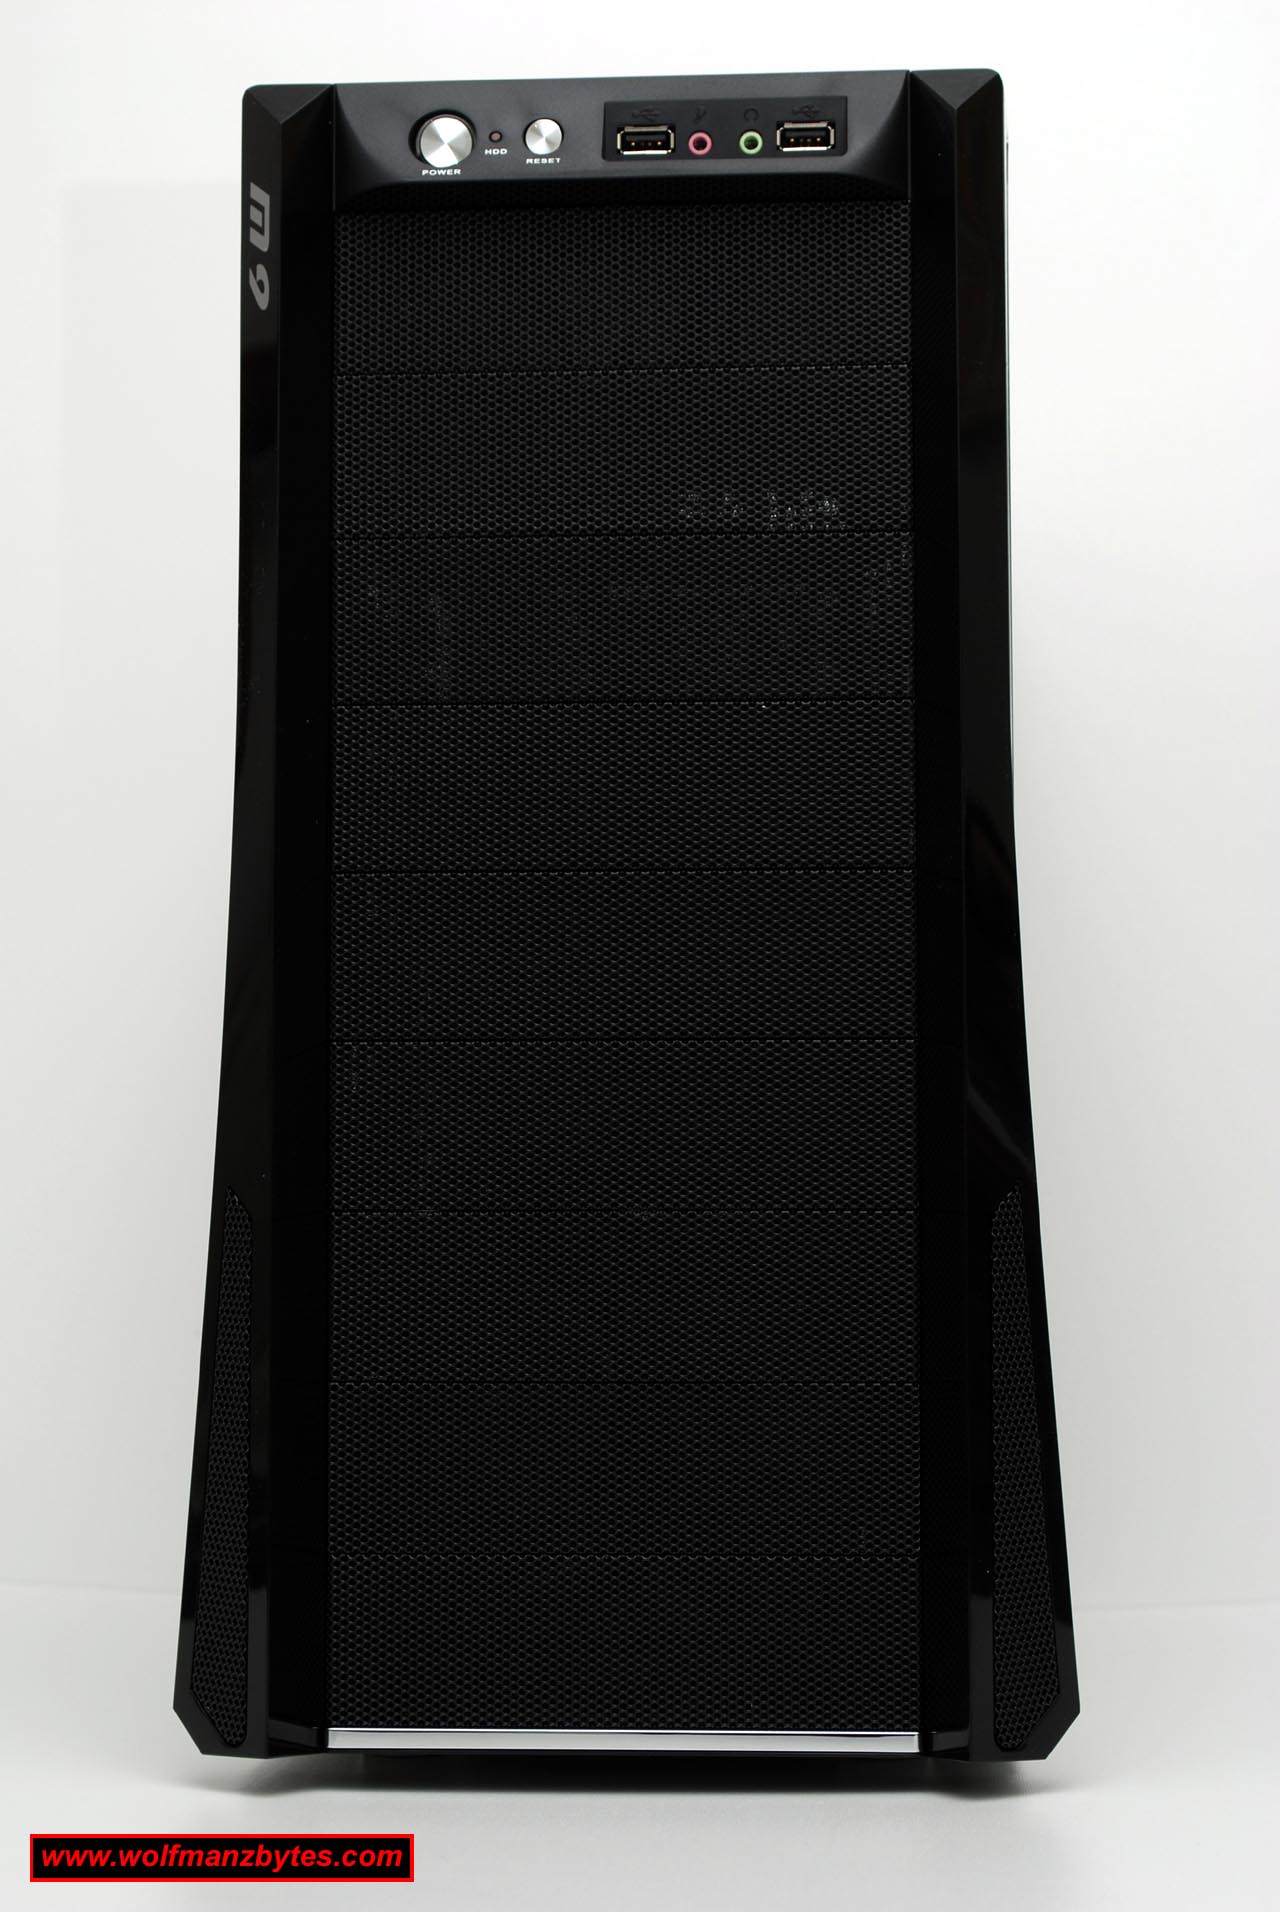
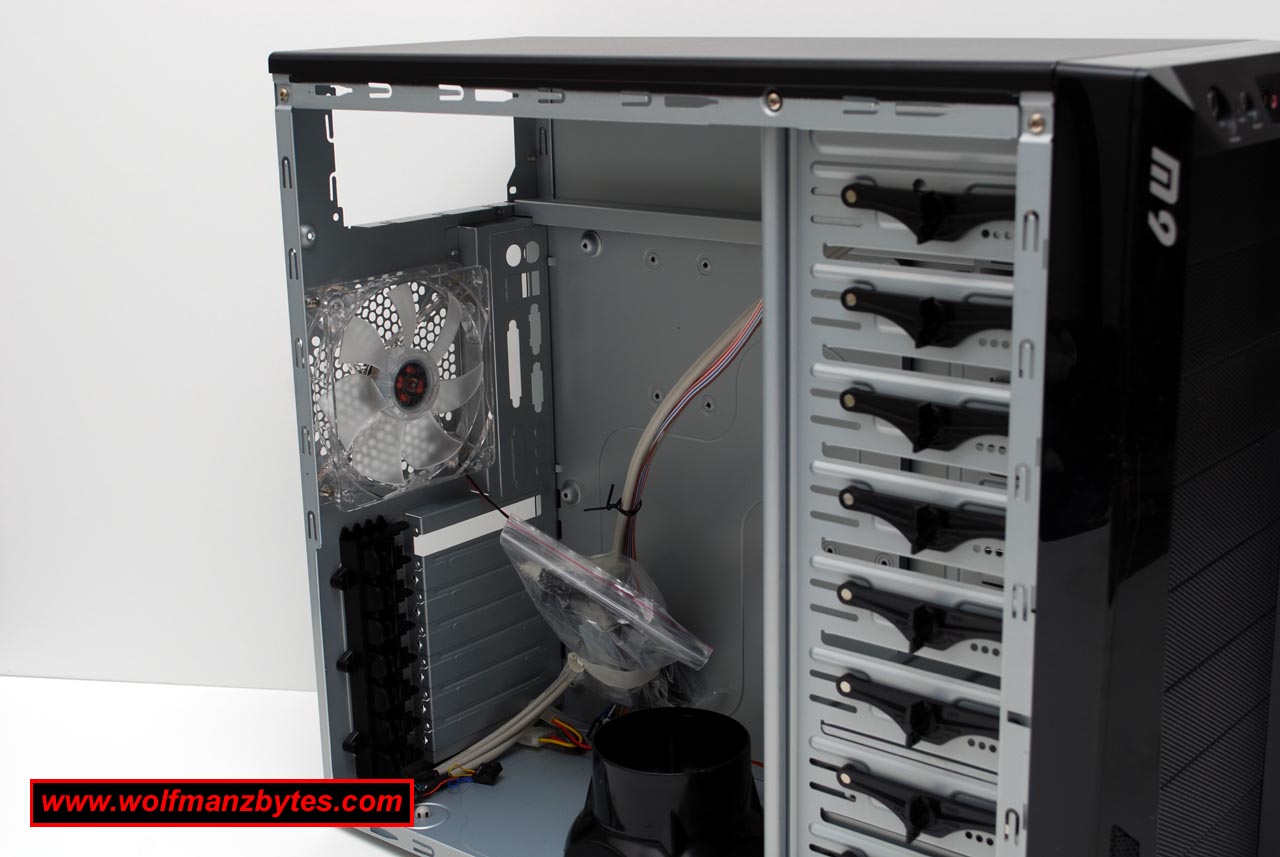
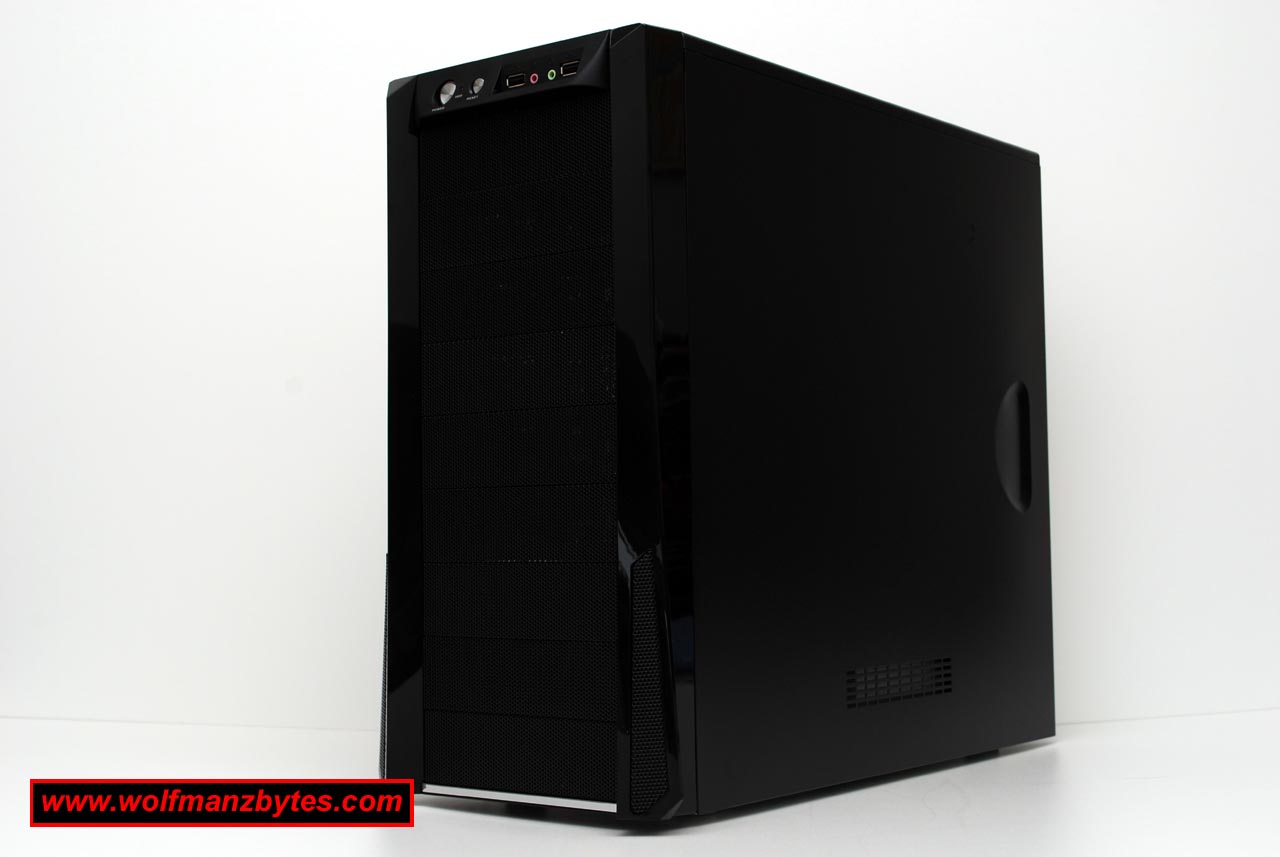
When you look at the front of the case you can see the nice black mesh coverings that cover the 5.25” drive bays. These are simple to remove just poke them and they fall in and you can then take them off. At the bottom front of the case is where the hard drive rack sits and that has a 120mm fan on the front of it to keep the hard drives cool and provide the case with cool air sucked in from the front of the computer case. The hard drive rack is also removable to make getting the hard drives in it easy. Note the fans in both the front and in the back of the M9 case are 120mm fans and both are lit with blue led lighting. The picture below shows the front of the M9.
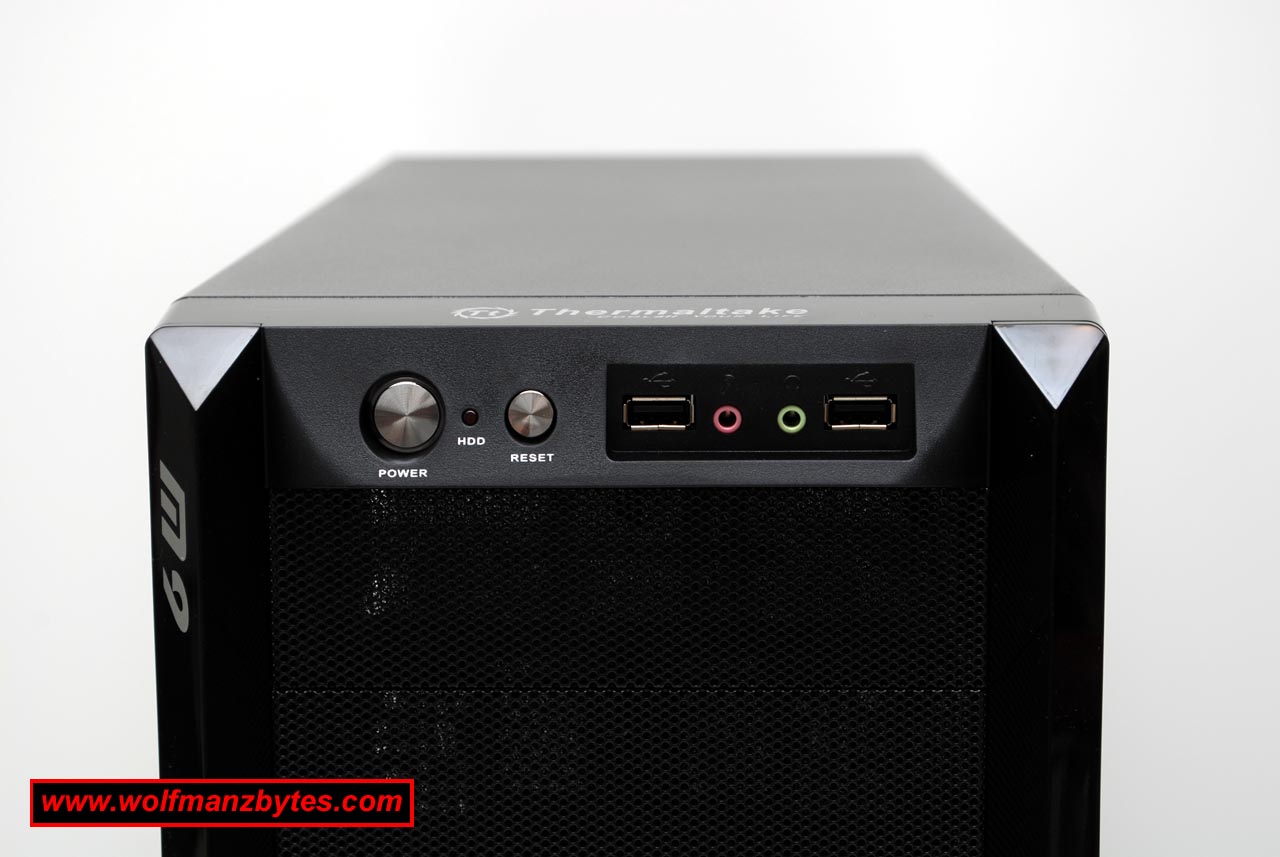
Looking at the top front of the M9 you can see the power and reset controls and the hard drive light along with 2 USB and you’re Headphone and mic connections. I really like the feel of the power switch it just feels solid when you’re pushing in and out and the same goes for the reset switch. Below is a picture of the front panel connections.
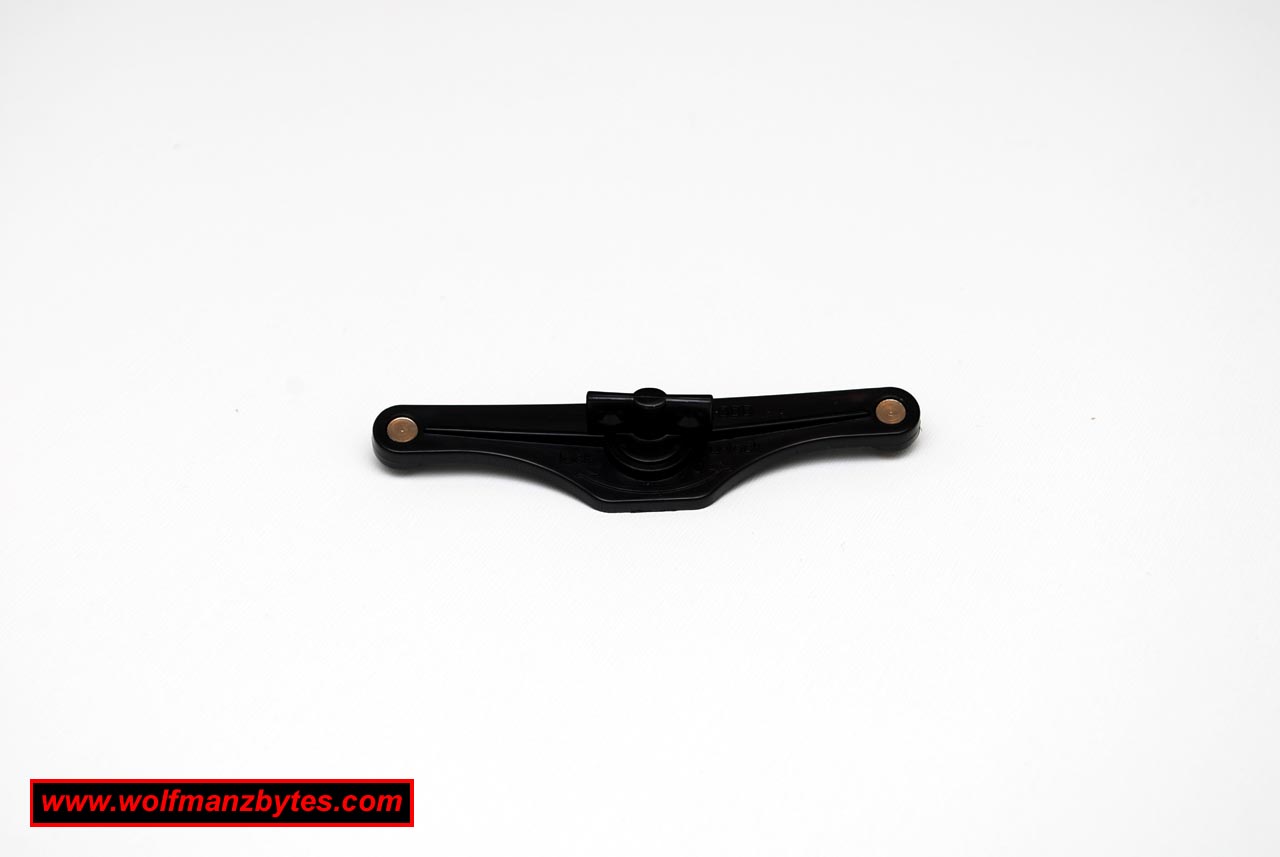
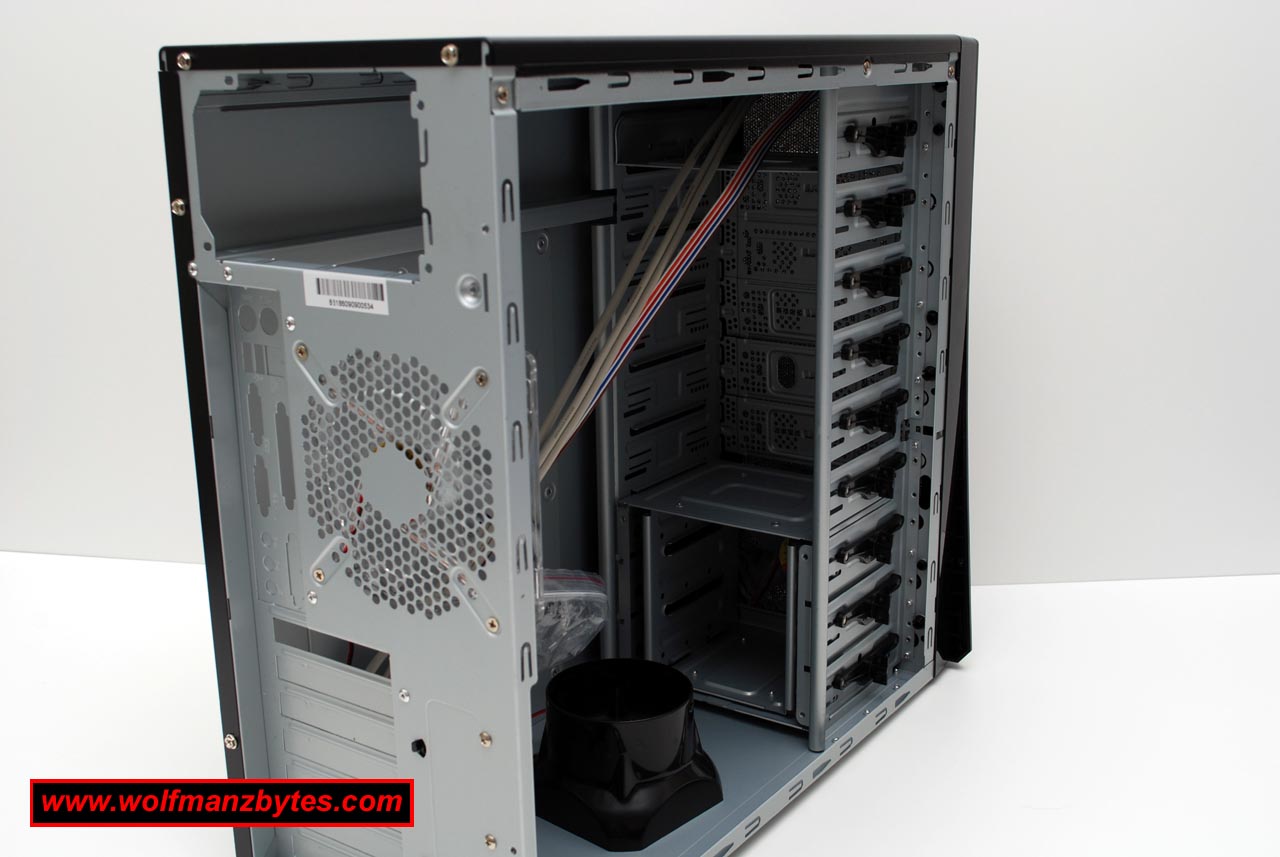
In the next picture you will see the inside of the M9 and also the clips that are used to hold your 5.25” drives in with. To use the clips you turn the knob to remove the clips you then put your drive in put the clip back on and turn the knob again and your drives are held in place. The only thing I don’t like about these clips is they only hold the drive from one side. Do to the fact there is no clip holding the drive in from the other side of the case means that the drive can move around a bit when you push on it and I’m not a fan of this. If you’re not a fan of the clip system like myself you will be glad to know there are mounting holes for screws if you want to have the drives held in place by screws so that’s good.
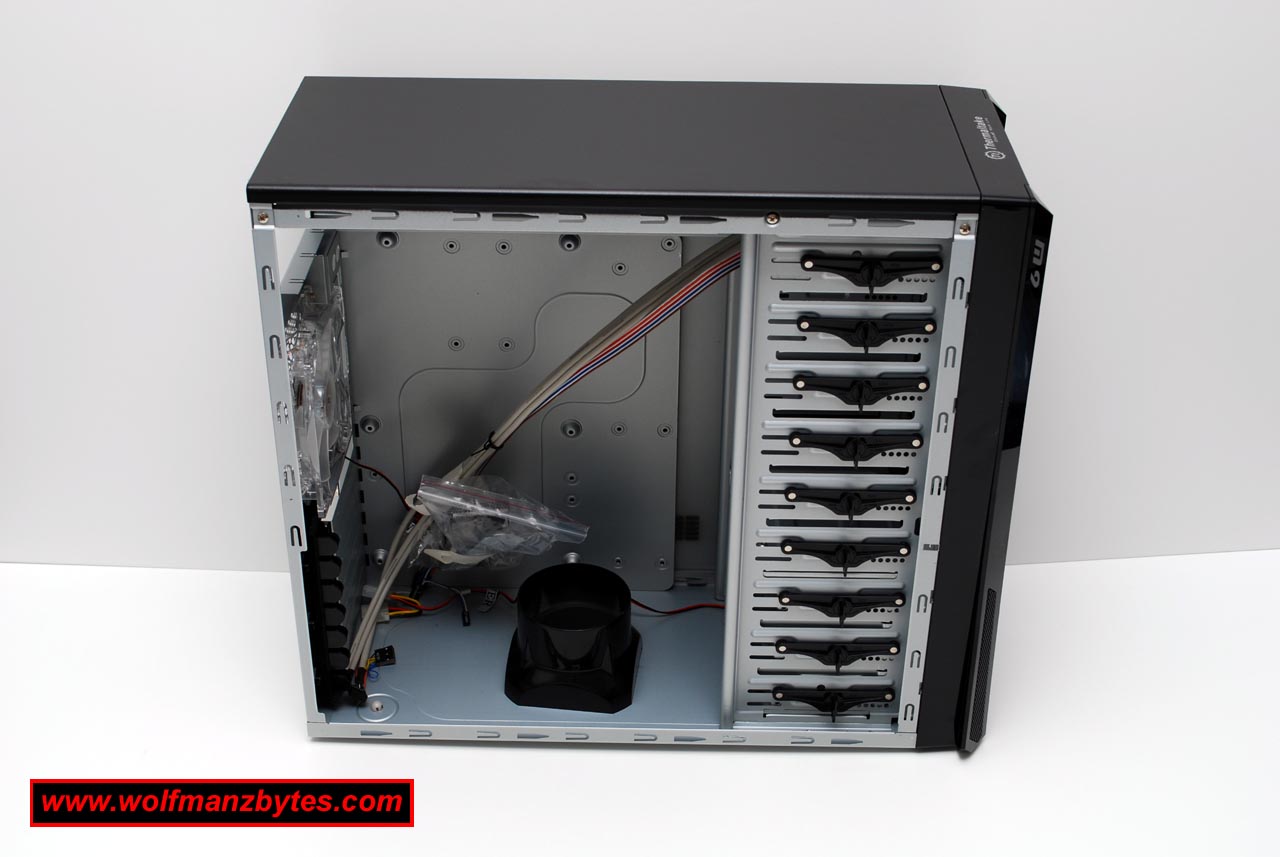
There is one good thing about that drive clip system and that is if your into swapping drives in and out of your computer all the time it makes doing that a breeze since you just have to turn the knob remove the clip and the drive slides out. Below are a few pics of the clips that are used in the M9 case.

When you look to the back of the case where the PCI slots would be you also notice that Thermaltake has included a clip system there to hold your PCI/PCI express cards in place. Thermaltake also left the standard screw mounting holes in place as well in case you can’t use the clip system for instance on some video cards.
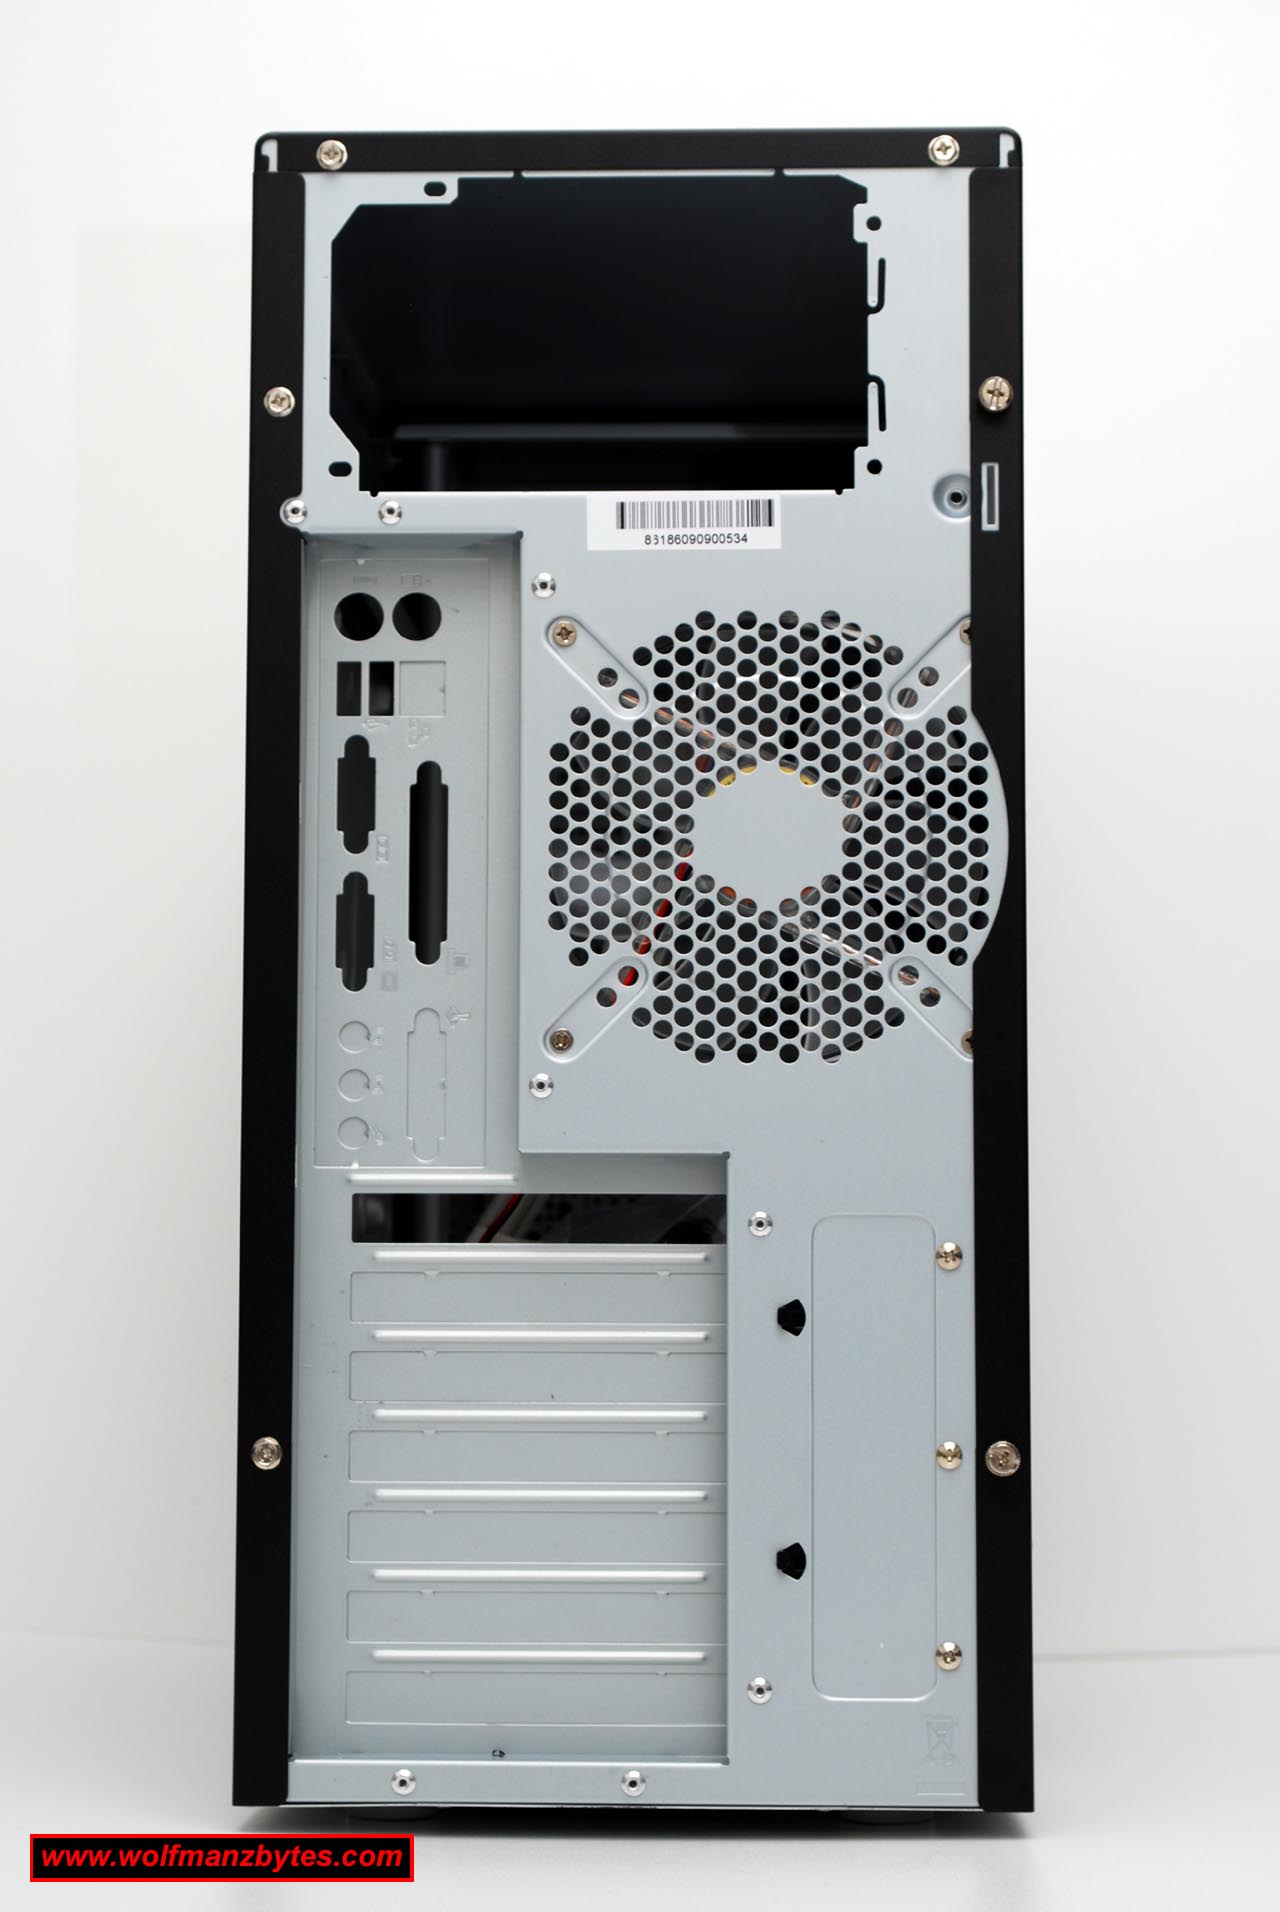
Next up we finally make it to the back of the case and as you can see in the picture below everything is pretty standard here.
For those that want to see the other side of the case here is the picture of that and like the back of the case the side is pretty standard as well.
In conclusion this is a pretty slick case. I like the black finish on it and the glossy trim on the front. The fact that it’s also a toolless case helps as well. If there is a downside to the case it has to be the clip system for the drive bays and the fact it only holds one side of the drive in place. I would love to see a clip system that holds both sides of the drive to stop the sloppiness feeling you get with only one side of the drive being held in place. At the time of this Review you could purchase the Thermaltake M9 Mid Tower Computer Case for about $100.00 Canadian.
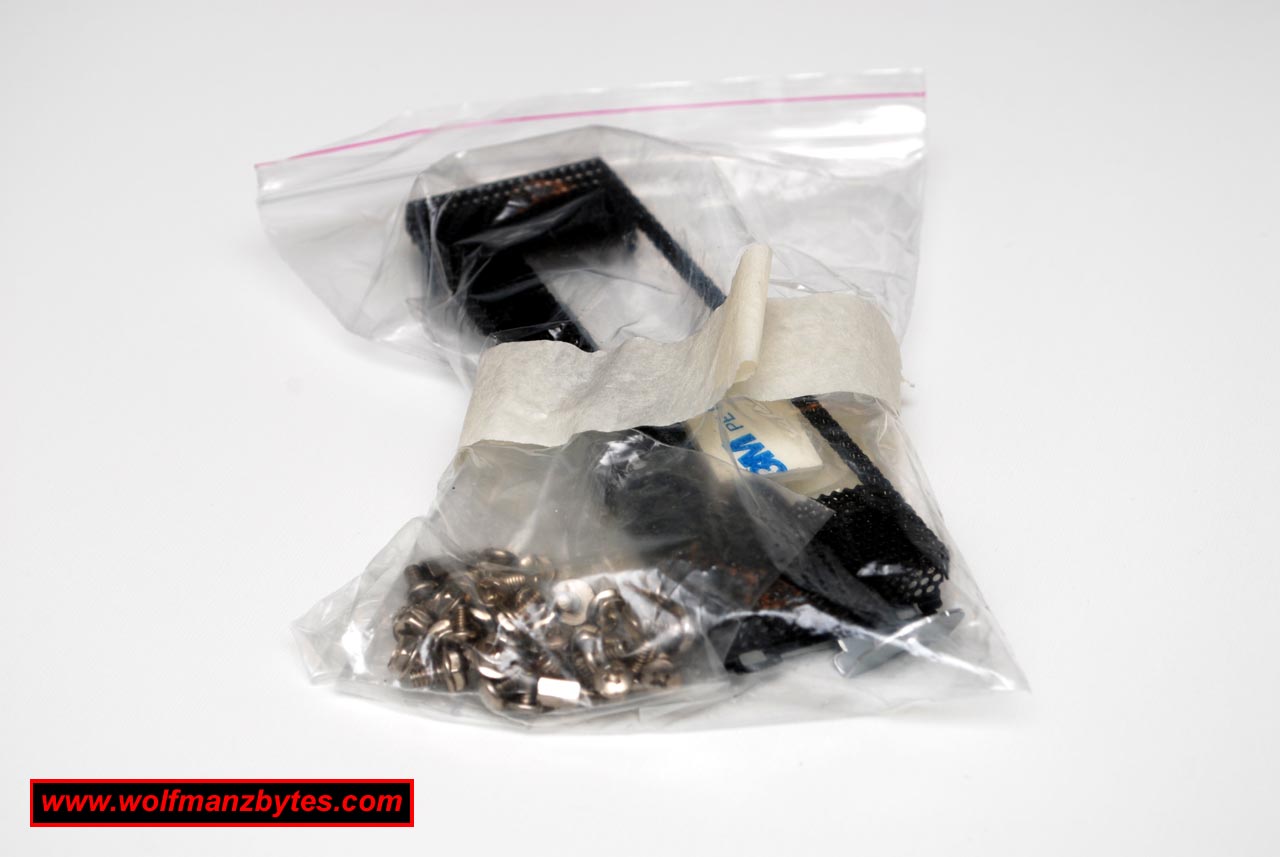
Below are some more pictures of the Thermaltake M9 Mid Tower Computer Case enjoy!
 WolfManz611..
