First a big thank you to Coolermaster for providing the CM Storm Inferno Gaming Mouse for this Review.
Today I take a look at the best programmable gaming mouse that I’ve Reviewed to date, the Coolermaster CM Storm Inferno Gaming Mouse.
Before I get too far into this Review I should mention the specifications for the CM Storm Inferno and they’re the following.
Specifications
-Model..:SGM-4000-KLLN1-GP
-Memory..:128 kb
-DPI Display..:4000 DPI Storm Tactical Laser Sensor
-Buttons..:11
-Programmable Buttons..:9
-Max Speed..:115 inches per second
-Lift Off Distance..:2 mm
-Polling..:1000 HZ
-Response Time..:1 ms
-USB..:Gold-plated
-Full Speed USB..:Yes
-Software..:Included
-Warranty..:1 year
-UPC Code..:884102009594
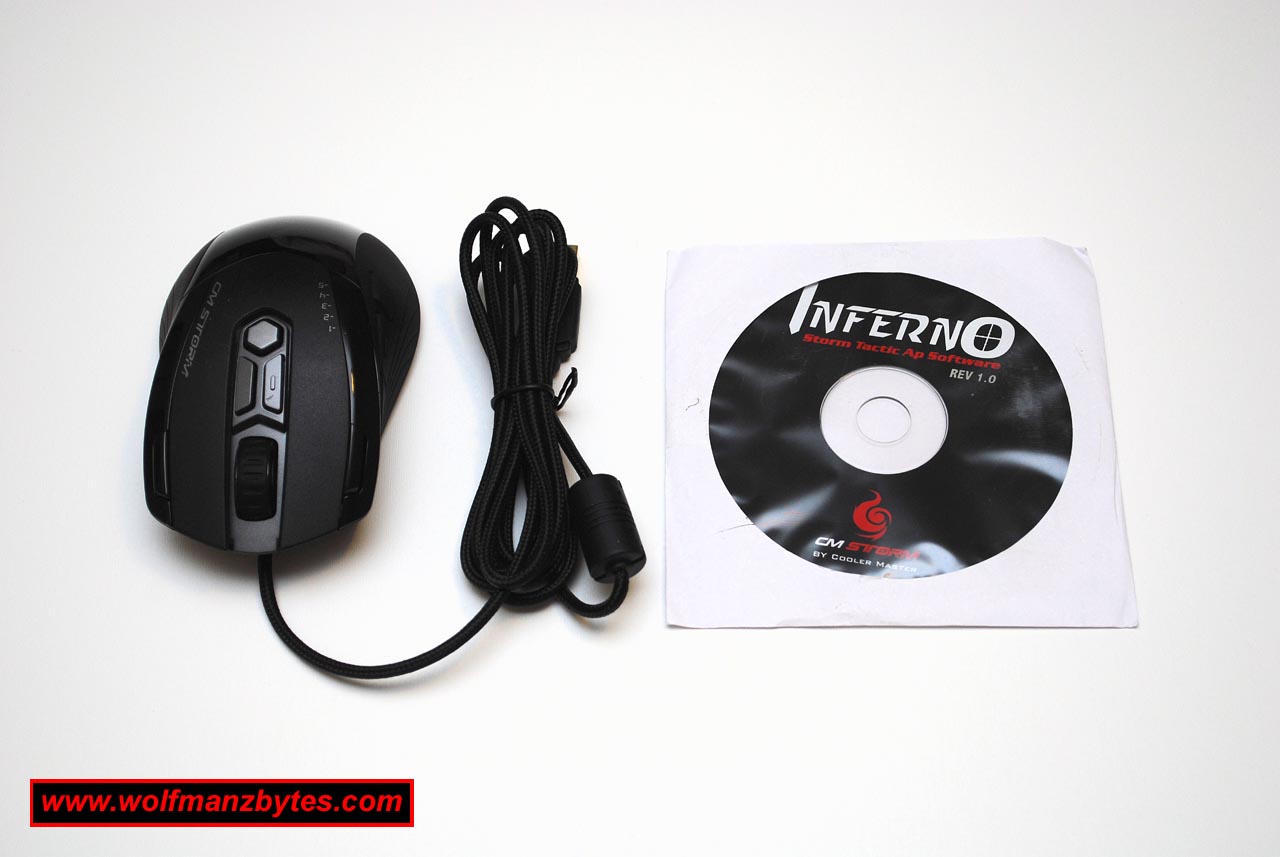
When you unpack the CM Storm Inferno mouse you get the mouse and the standard CD containing the mouse software. I had already downloaded the latest mouse software from the Coolermaster web site so I didn’t bother with the included CD. Below is a picture of the box contents for the CM Storm Inferno.
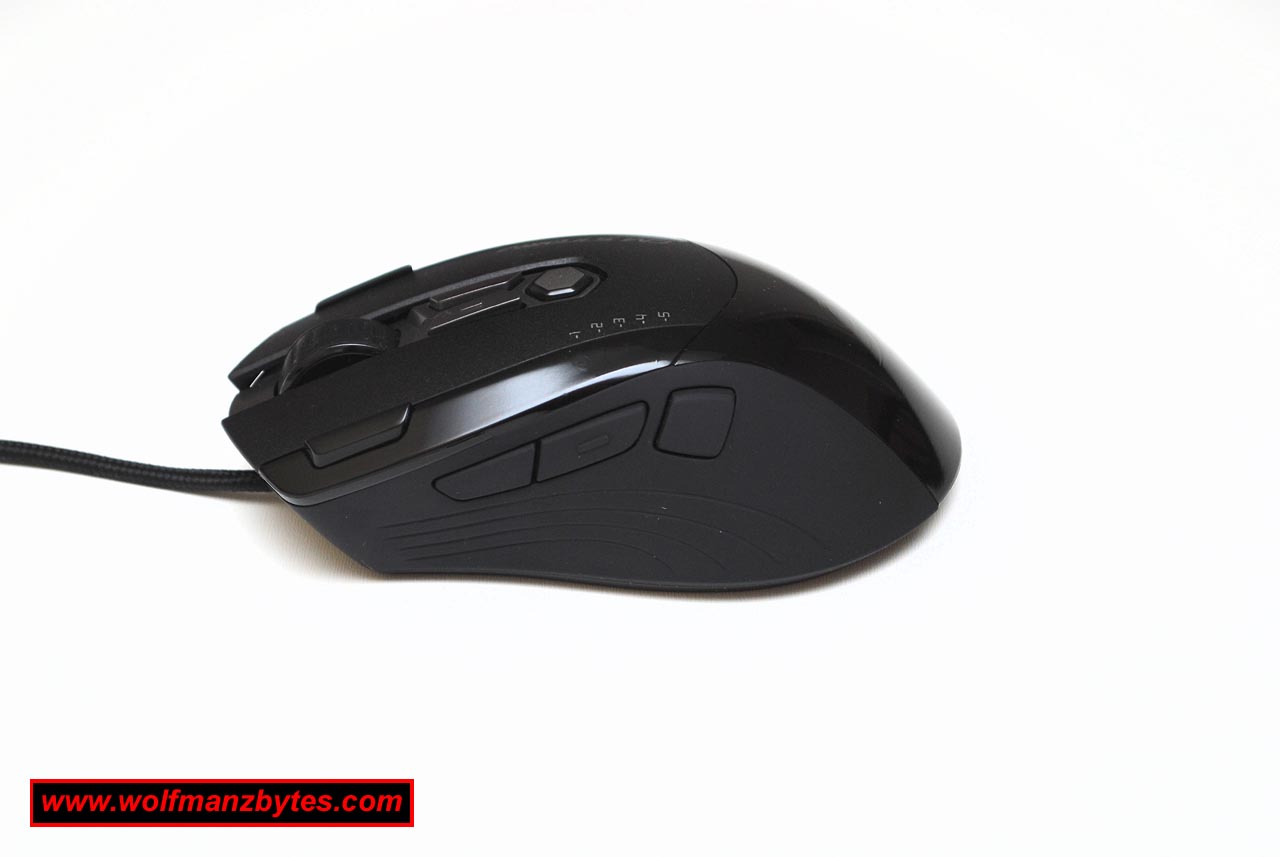
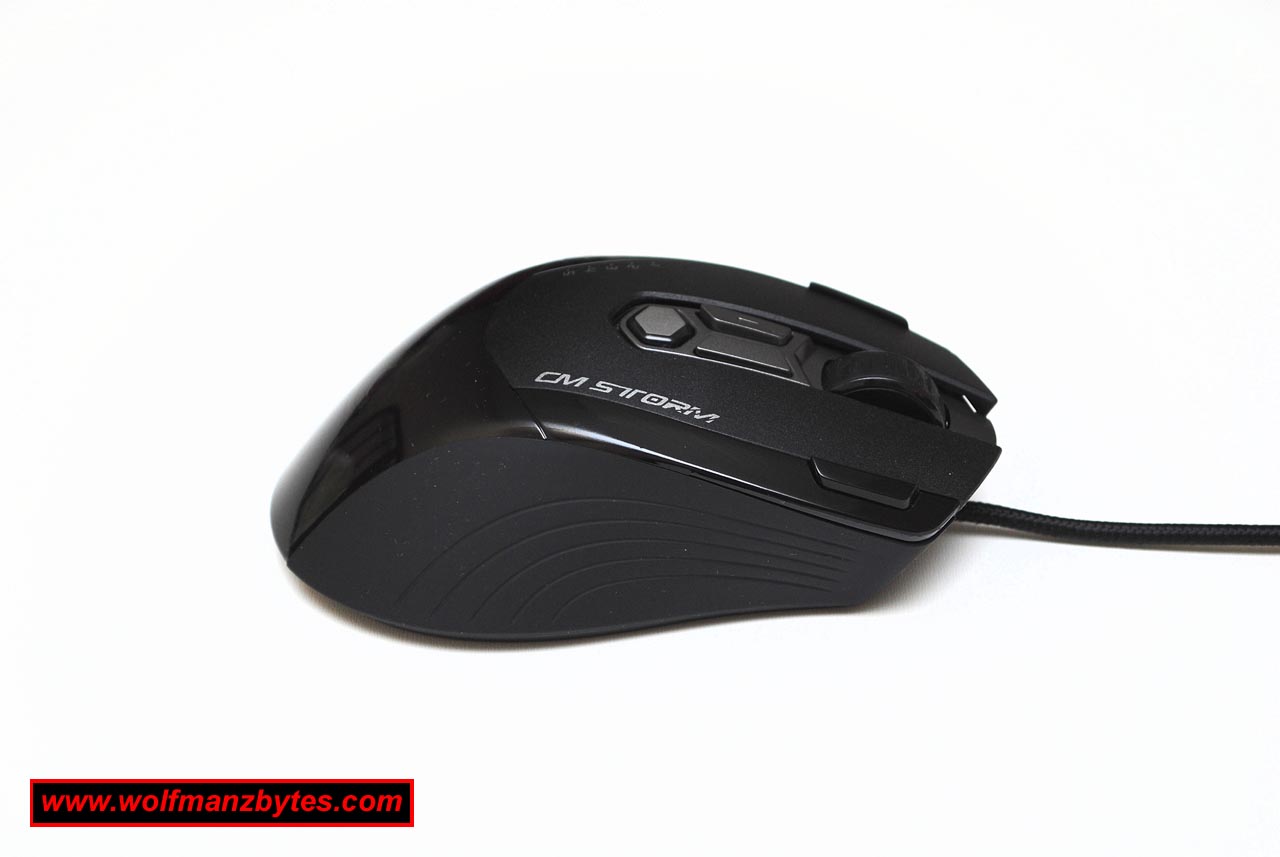
One of the things I liked about the mouse right away was the left and right sides of the mouse are coated in a rubber coating. This rubber coating not only looks really good but it will also provide a better gripping surface should you be prone to sweaty hands while gaming.
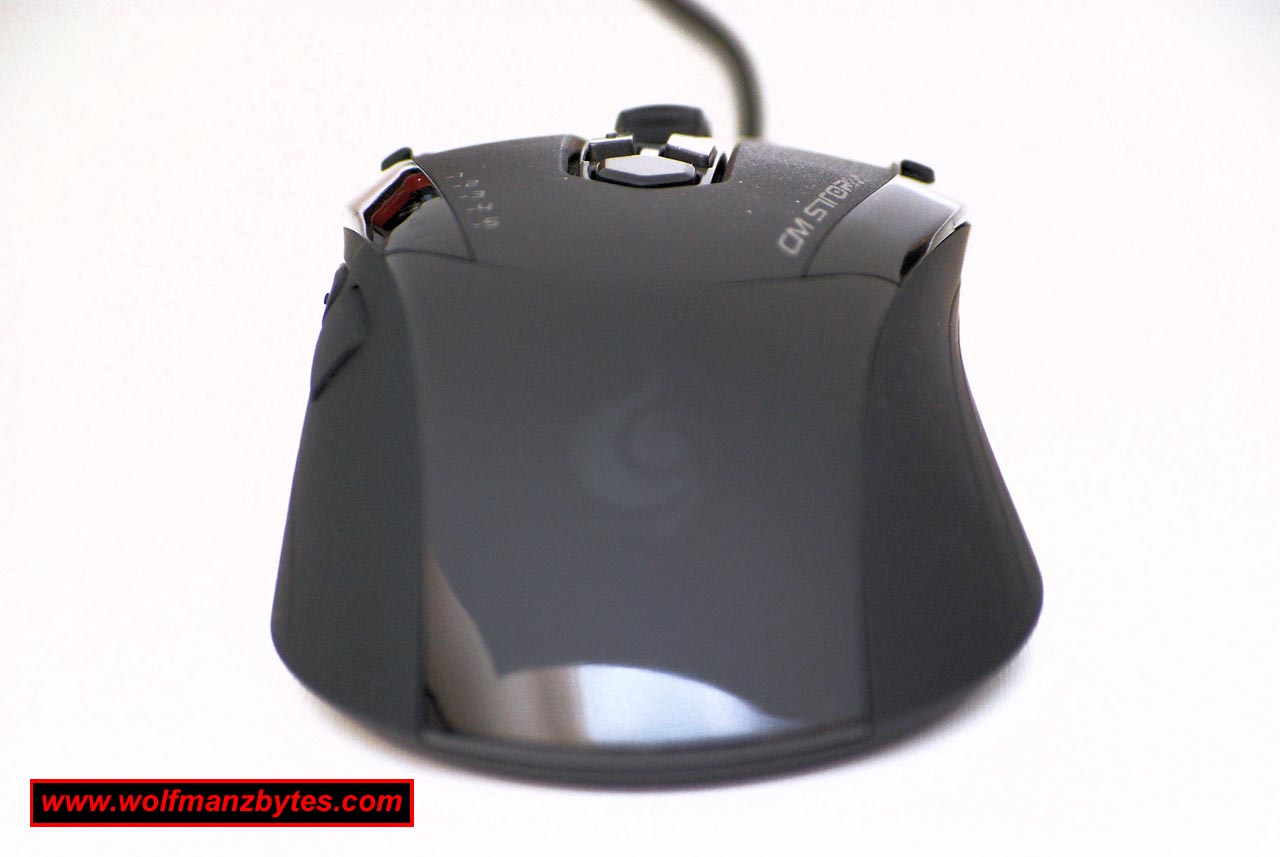
At back of the mouse where your palm would be sitting you have a nice reflective surface that looks good in combination with the rubber on the left and right sides of the mouse. The overall look of this mouse is done really well and it would look right at home beside any of the gaming keyboards out there.
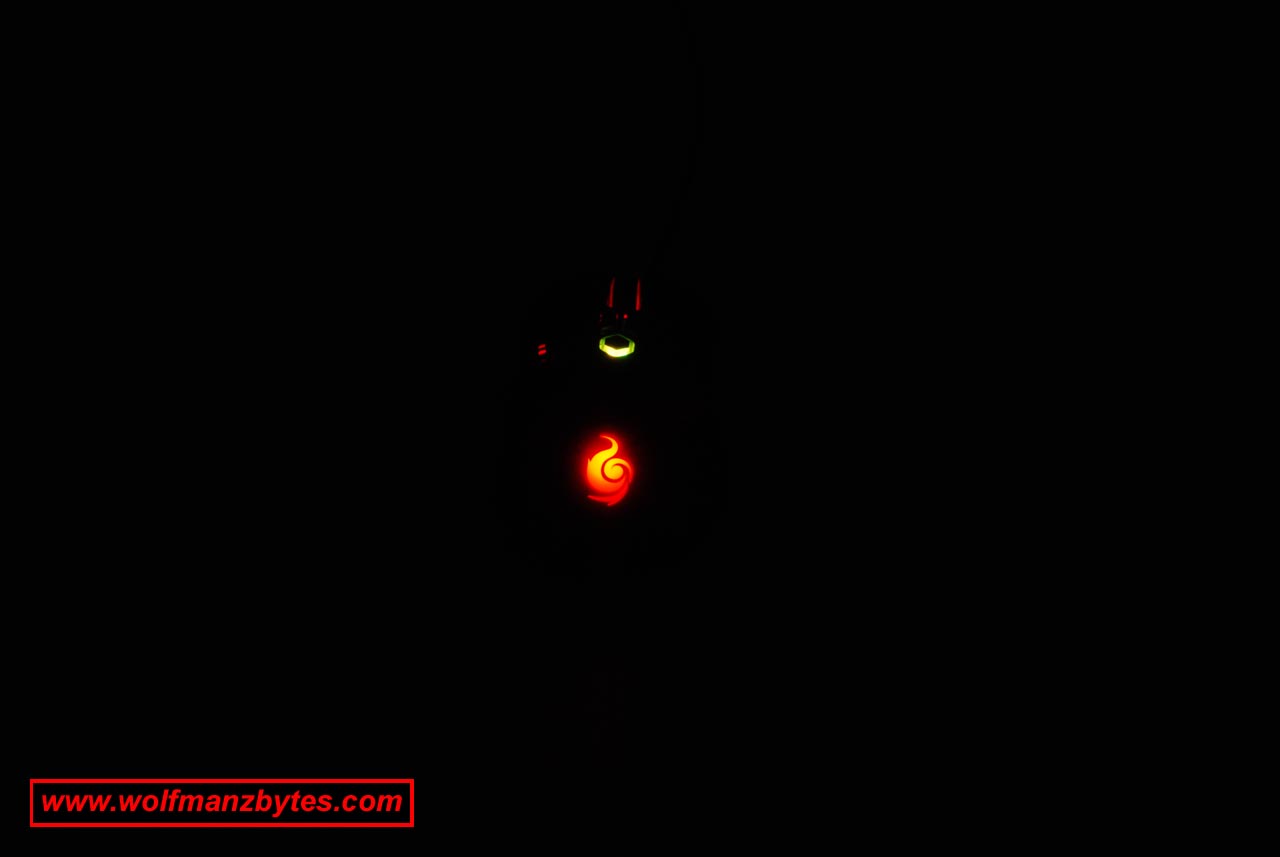
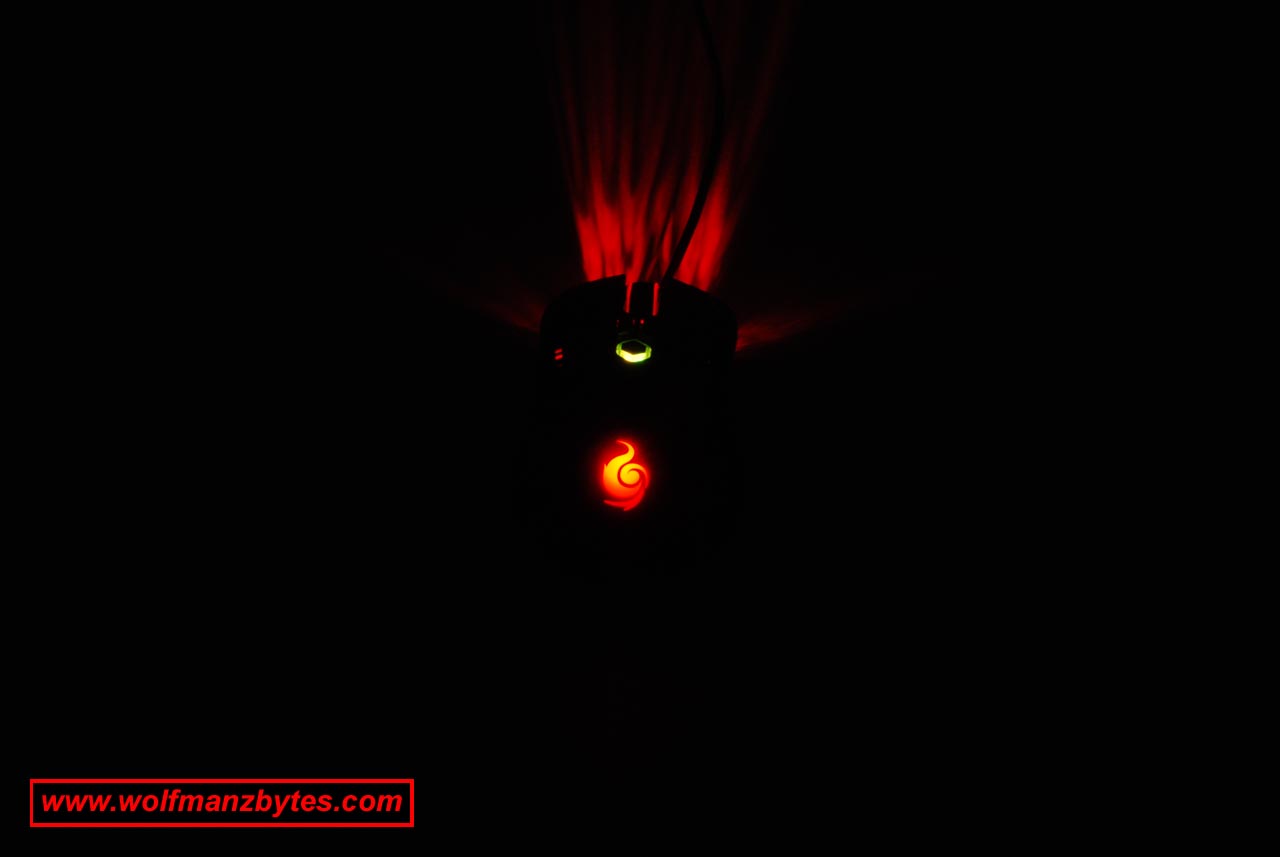
While on the topic of the looks of the mouse I should mention this mouse does light up with various lights it has built into it. Near the palm area of the mouse you have the mouse logo and that can be turned on and off with various effects. There is also a light built into the storm profile switcher button that’s located in the center mouse. The scroll wheel on the mouse also has a light. And then finally there are some more lights that shine through the front of the mouse where the chord comes out. All these lights can be enabled in various ways but the most important function they’re used for is keeping tabs on what profile you have the mouse set to use, I will get into this more when I talk about the mouse configuration software below.
Below are several pictures of the mouse with its lighting enabled in a room with no lights on. Note: in order to get these pictures, the shutter on the camera was left open longer than normal and so don’t expect the lighting on the mouse to stand out as much as it does in these pictures.

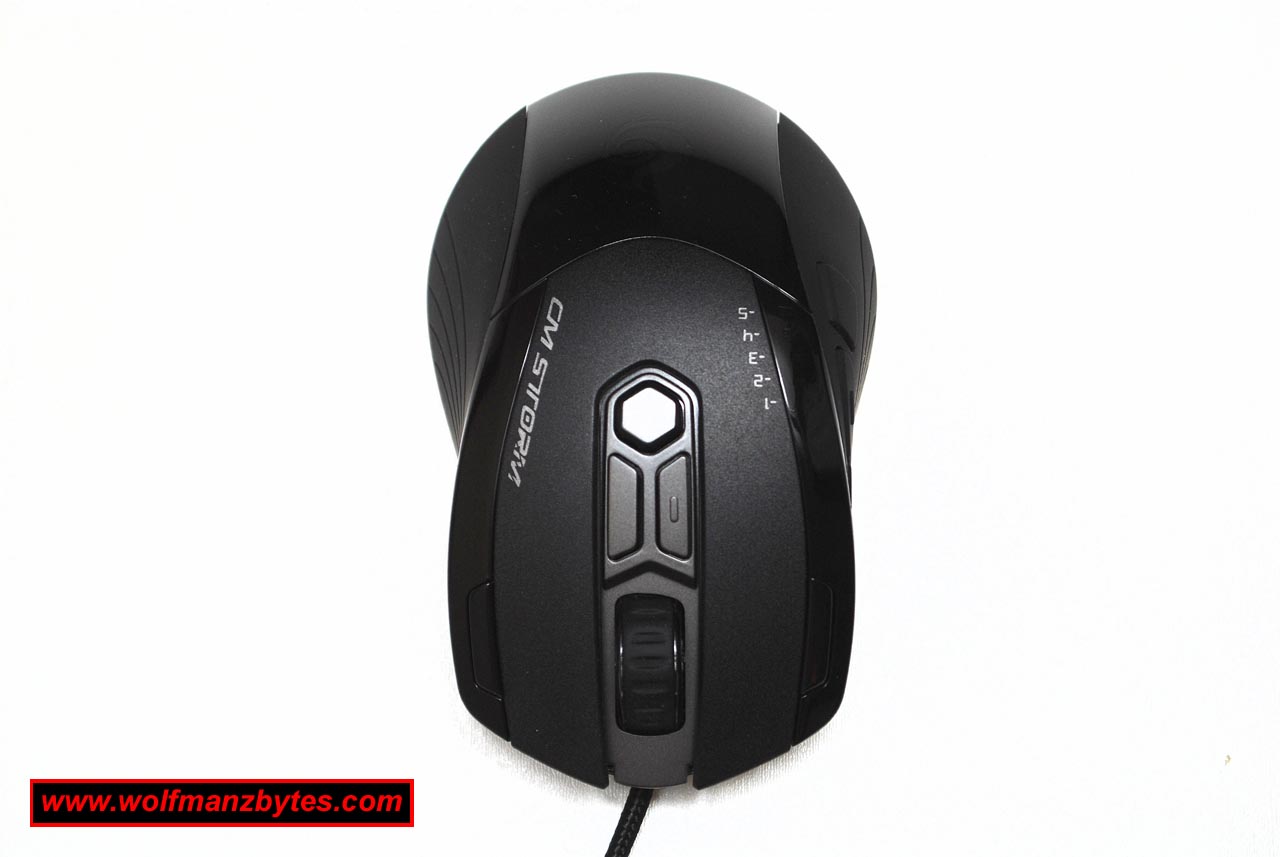
Now that we’re done with how this mouse looks we can start to dig into the button layout. As stated above in the specifications for the mouse, there are a total of 11 buttons on the mouse however, only 9 of those buttons are programmable. The reason why 2 of the buttons are not programmable is because those two buttons are the Storm Profile Button along with the Storm Tactics Button. Both of these buttons are crucial to getting the full use out of this mouse and so it make sense you can’t configure these 2 buttons.
Below is a screen shot taken from the PDF manual for the CM Storm Inferno and in this screen shot you can see the button layout of the mouse.
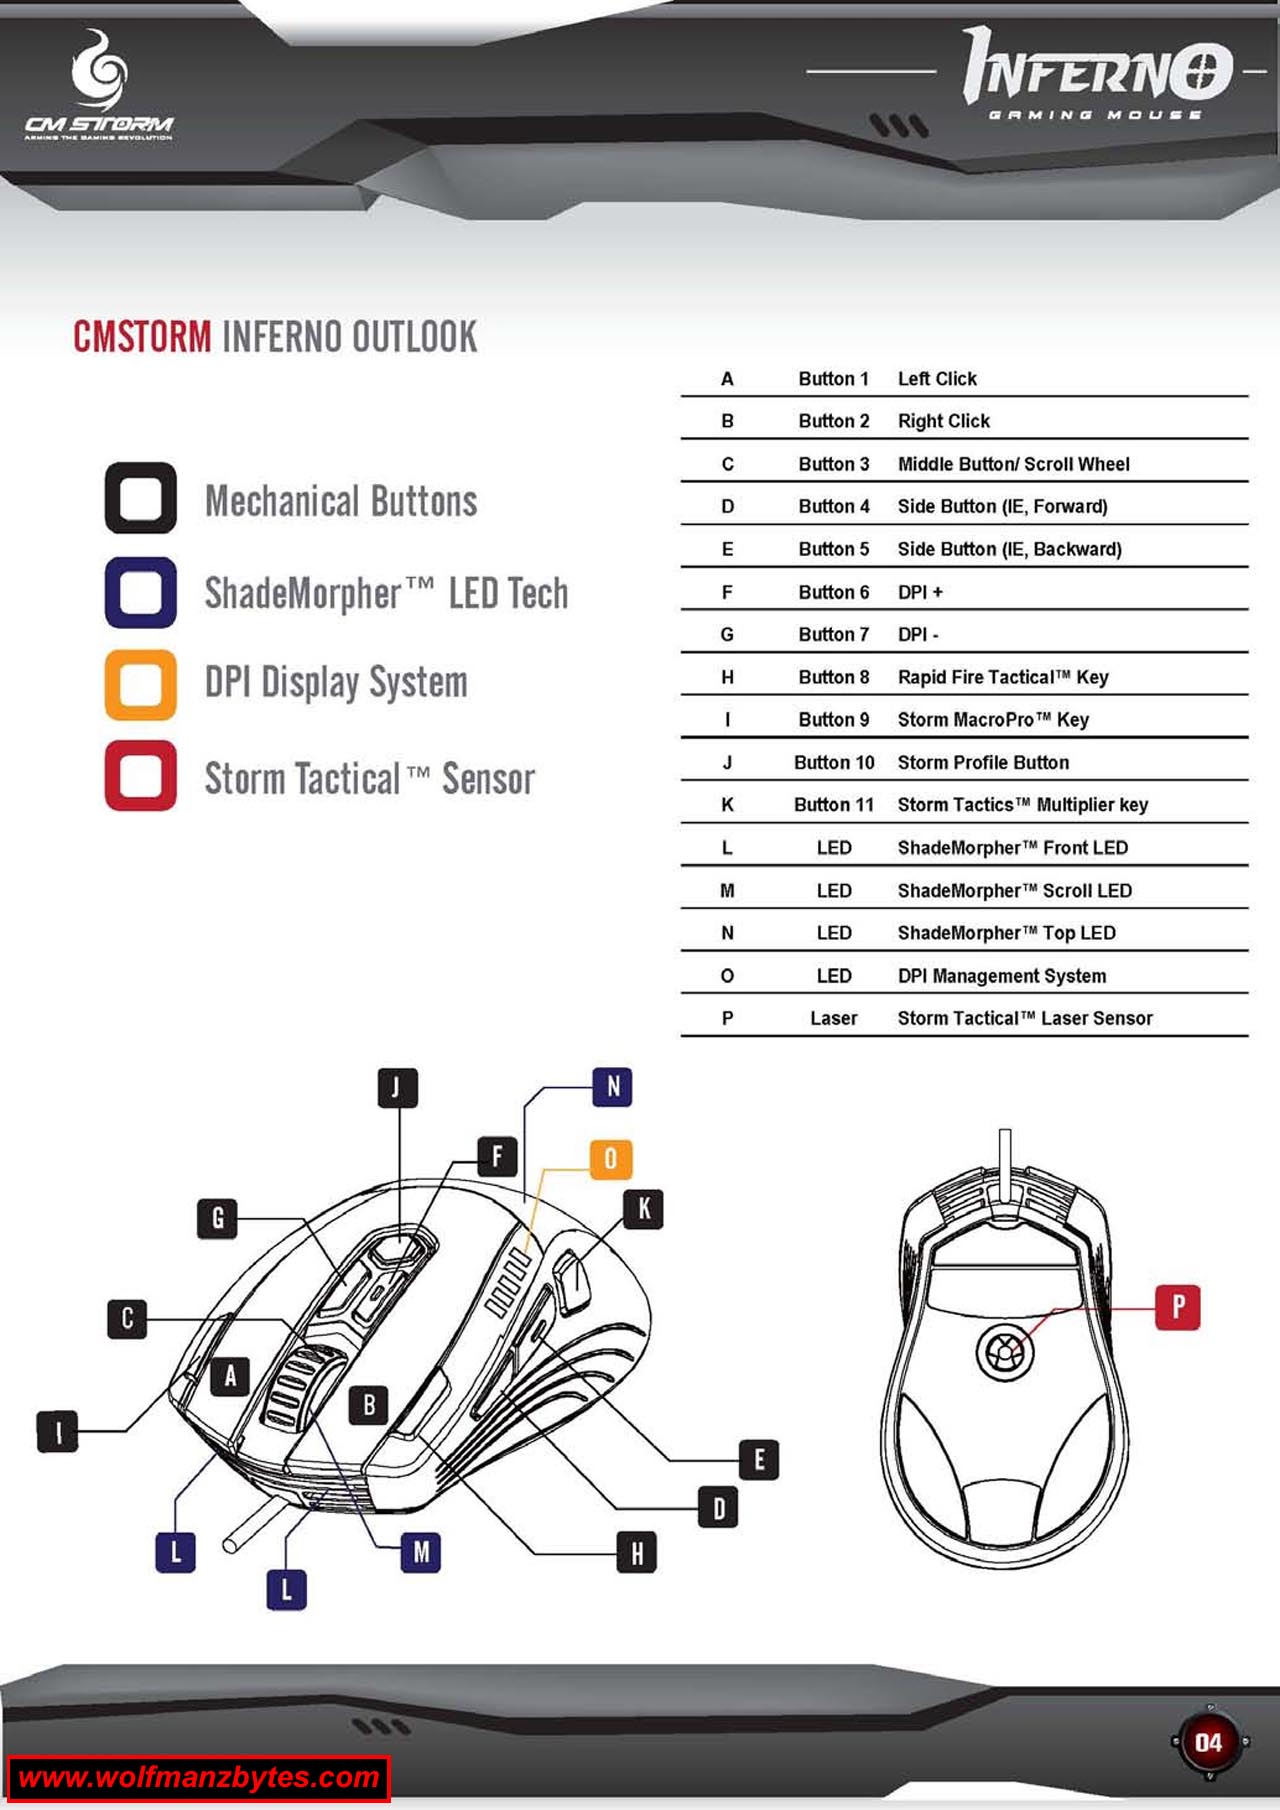
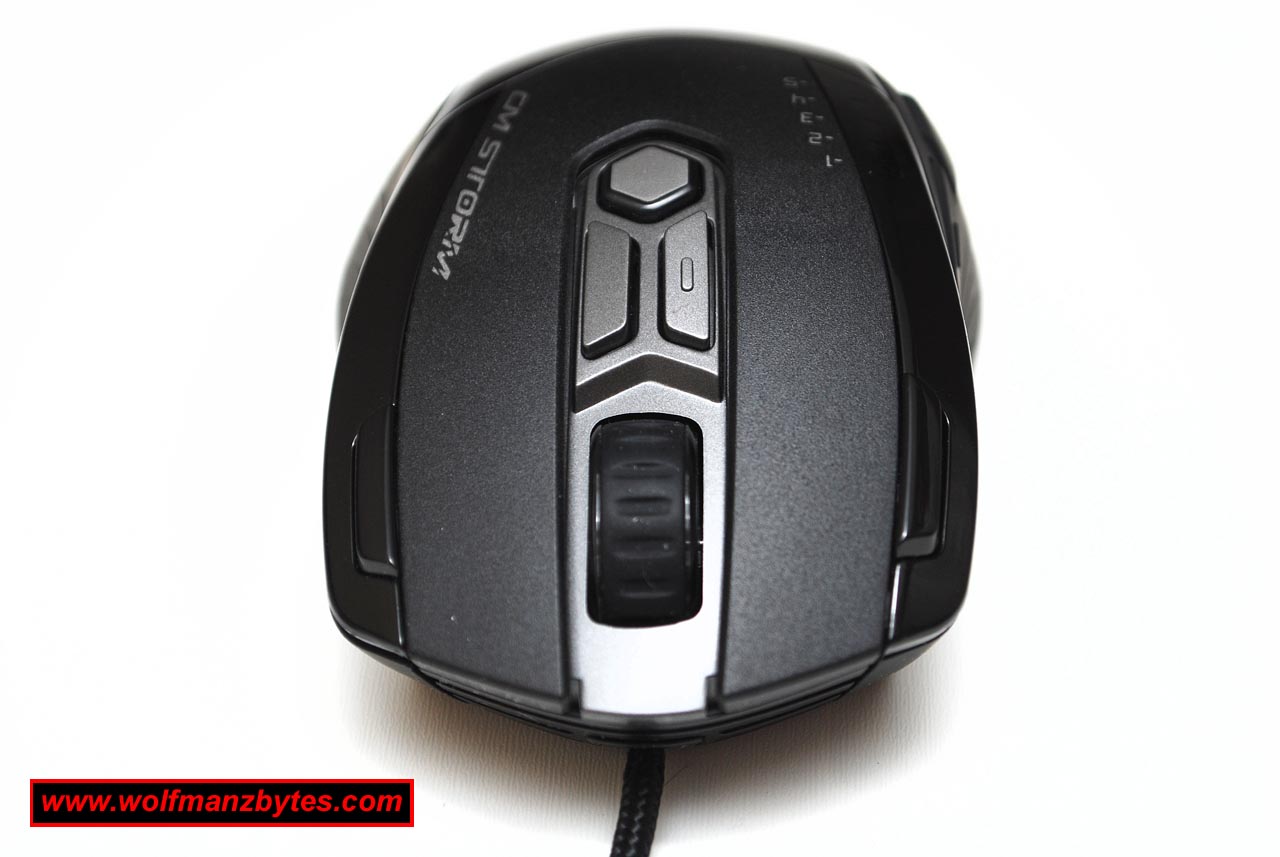
One of the interesting things about this mouse is that it does not have any left or right tilt buttons on the scroll wheel of the mouse, you do have your single scroll wheel button but that’s it. In the past when I have seen mice that do not have the tilt buttons on the scroll wheel I have been really disappointed. What Coolermaster did was take those tilt buttons off the scroll wheel and move them to the outer edges of your left and right click buttons and this was a stroke of genius on their part. When I have had mice in the past that had the tilt buttons on the scroll wheel the problem I would run into is that I would activate the tilt buttons by mistake when trying to use the scroll wheel button and this was something that always aggravated me and so I wouldn’t use with the tilt buttons that much.
These two tilt buttons as I call them are actually used for the Rapid Fire Tactical Key and also the Storm MacroPro key under the default mouse configuration. You can change these buttons to do whatever you like since they are both programmable and would be ideal buttons for the lean function in any modern shooter game.
Overall all the buttons on the CM Storm Inferno feel great and they all seem to have great feedback. The scroll wheel is probably the best feeling scroll wheel (in terms of how smoothly it moves) that I have run across yet on a mouse. The scroll wheel also has a nice rubbery pattern on it and its also fairly wide so that is nice as well.
As for the mouse configuration software this is where the CM Storm breaks from the pack and does something very different in terms of the way you use it. As I’m sure most people know when you install most mouse software these days you get a little icon that shows up in your system tray in windows. If you want to configure the mouse you double click that icon in the system tray and then you’re shown the mouse configuration software screen.
With the CM Storm inferno when you install the mouse software the installer doesn’t install anything into the windows system tray at all instead you have to go to your applications under the windows start button and load the mouse configuration software from there. At first when I seen the way this was done I thought Coolermaster must have made a mistake with the way the mouse installer software was done. After talking to Coolermaster about this, it was pointed out to me that the way the mouse configuration software was installed was done like that on purpose.
The reason the mouse configuration software was done in this way was because the mouse itself has onboard memory and when you load the mouse configuration software up and make changes to the mouse all these changes get sent back to the mouse and stored in the onboard memory. Once the settings are stored in the mouse there is no need to have the mouse software running at all and so that’s why there is nothing installed to the windows system tray. This is also better on system resources since you don’t have the mouse configuration software loaded up all the time that isn’t being used.
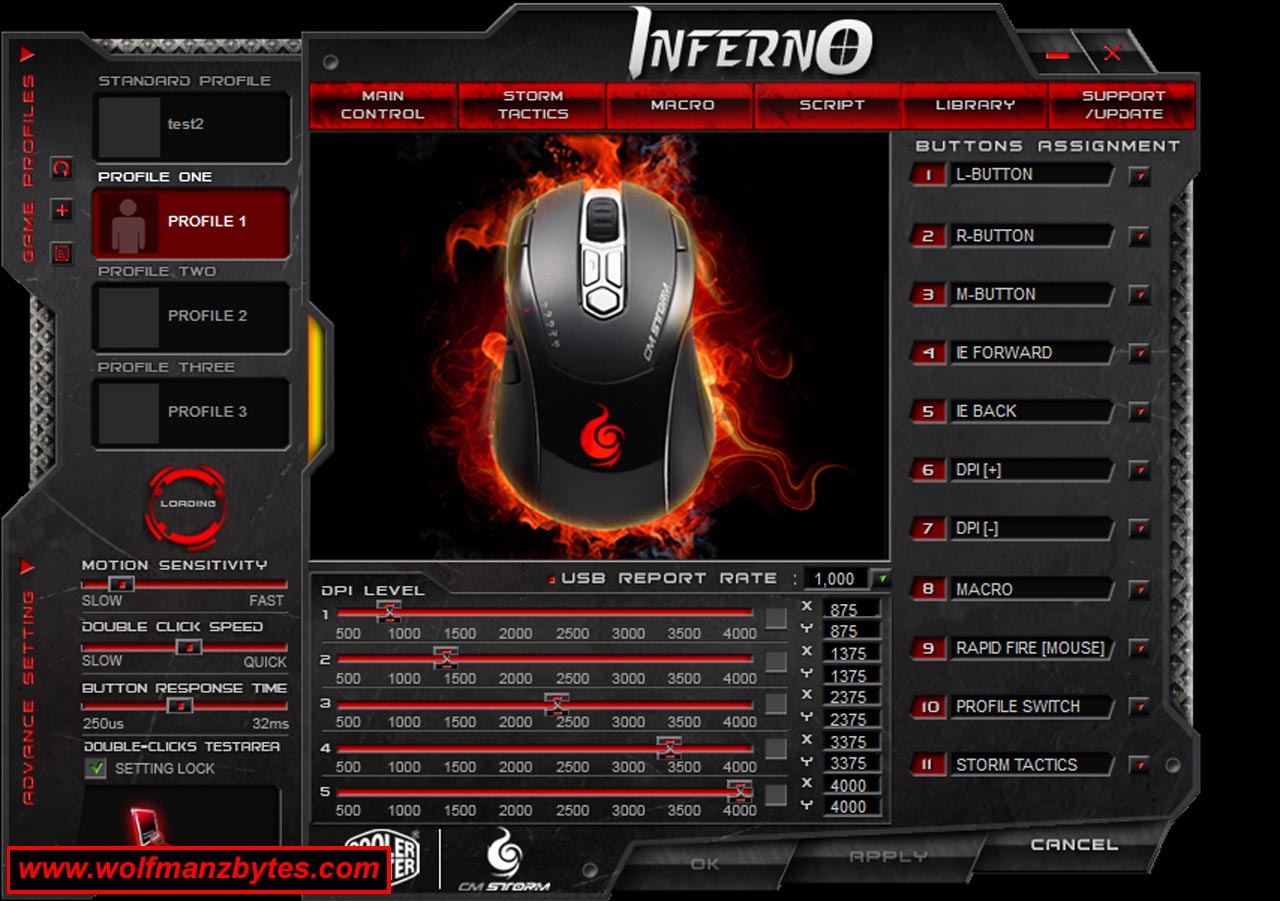
When you load up the mouse configuration software the first thing that jumps out at you is the flashy graphics that the program has. Across the top of the window you have you various tabs that you can click on that will show you the various parts of the mouse configuration software.
In the screen shot below you’re looking at the main control tab and this is where you can setup things like how fast your mouse buttons responses are. On this same tab you also have other settings like what profile you’re currently on and also the DPI settings along with the mouse button assignments. What’s really neat about the DPI settings is that you can specify what your DPI is for both X and Y movement of the mouse. A feature like that comes in handy when you want your left and right movement of the mouse to be more sensitive than the back and forth movement for example.
When you click on the Storm Tactics tab you are shown another screen that you can see below and in this screen you setup things like your Scroll Wheel speed along with the different mouse lighting options that you may want to assign to different profiles so you know which one you have active.
The coolest thing in the Storm Tactics screen is the Storm Tactics Keys and this is where things get interesting. On the mouse you have a Storm Tactics button and when that is held down any of the other 8 mouse buttons can be assigned to do different things like execute a script or a macro. Where something like this comes in handy is if you play a game like World Of Warcraft and you have a whole bunch of spell hotkeys that you want your character to be able to access quickly. With a standard gaming mouse you may only have 8 buttons that you can setup on the mouse however, the Storm Tactics allows for an addition 8 buttons that you can use do to the Storm Tactics Button on the mouse which basically acts as a shift state. Also keep in mind that the CM Storm Inferno has 4 profiles the mouse can switch to on the fly via the profile switcher button on the mouse. Each profile can have its own set of Storm Tactics keys setup and so all combined between the 4 profiles you can have up to 32 Storm Tactics Keys setup to do whatever you like.
Another thing to keep in mind here is, any macros or scripts that you do make can be sent to the CM Storm Inferno onboard memory. This means that once the mouse is setup the way you like with your macros and whatnot you can unplug the mouse and use it on another computer and still retain all your mouse functions like the macro’s and scripts that you have downloaded to the mouse without the need to have the mouse configuration software installed on that computer.

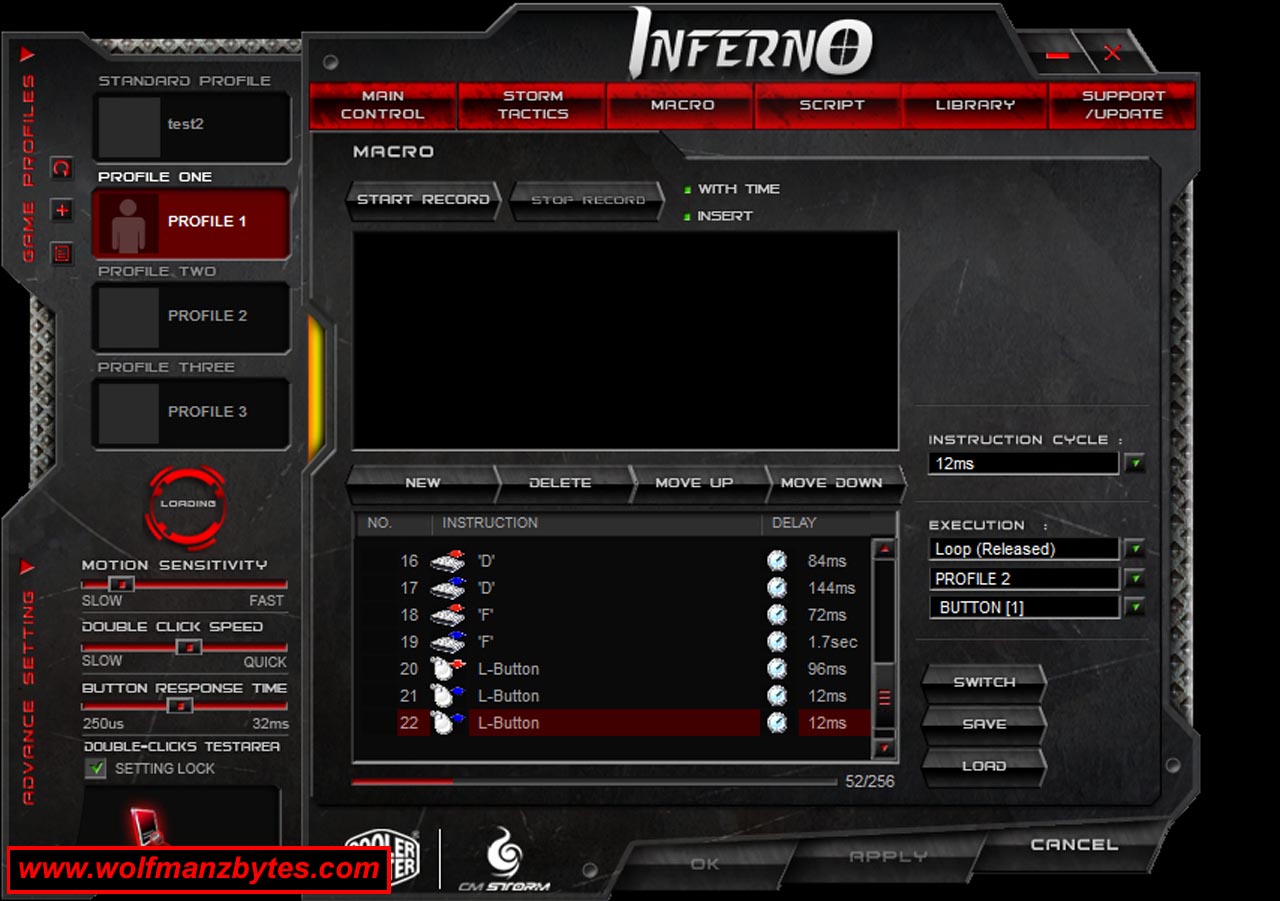
The next screen shot is the Macro Tab and this is where you want to go to make basic macros. You hit the Start Record button and then enter the keys on the keyboard that you want to use in the macro. You can also do things such as adjust the timing in between keystrokes as well as move keystrokes around in terms of their order within a macro after the macro has been recorded.
Once you get your macro setup the way you like you can then save that for safe keeping, you can also load previous macros that you may have made from this screen as well so you can then assign the macro to whatever mouse button you want to use.
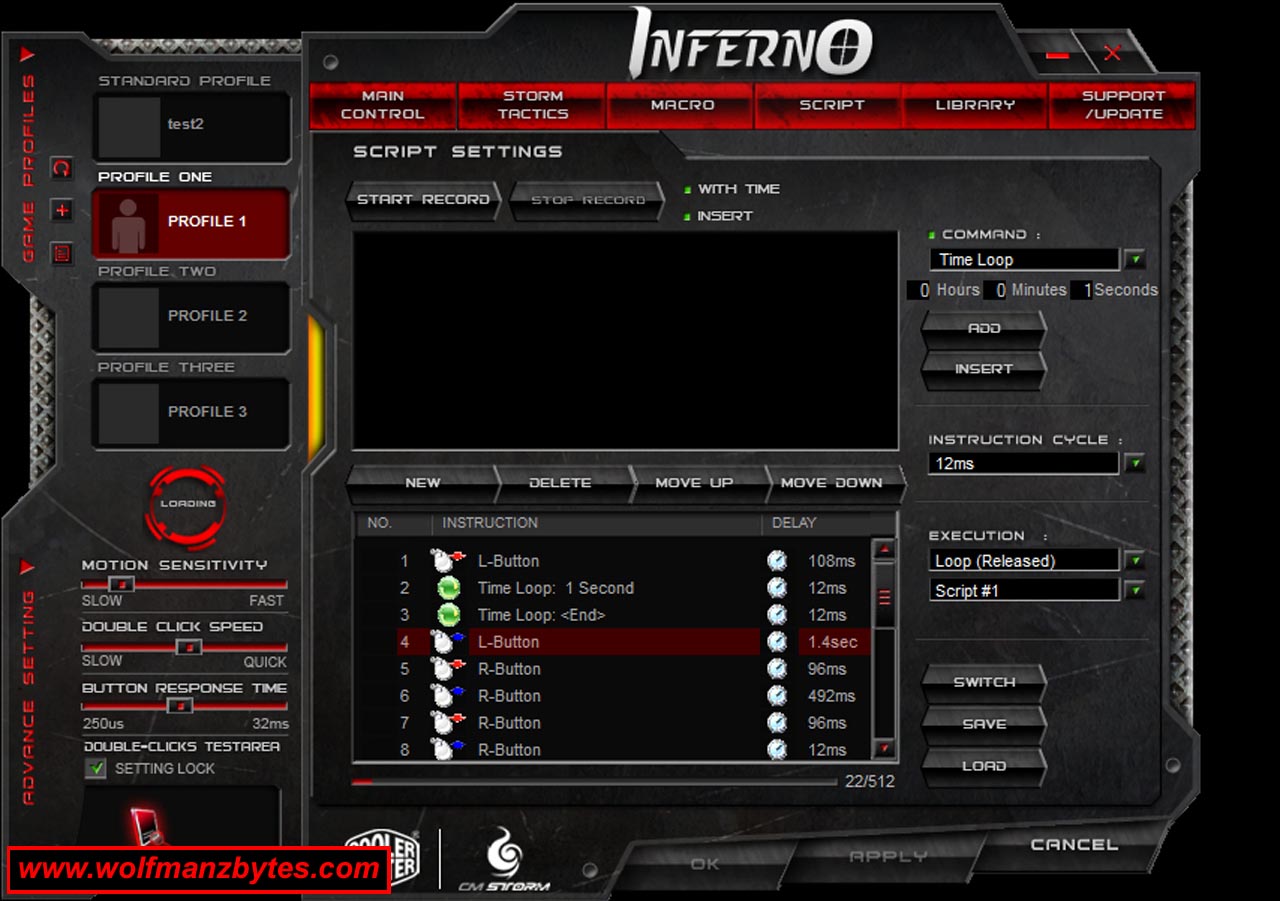
The next screen shot is of the Script tab and this is where you can do more complicated macros should you need to be able to do such things. Like the Macro tab here you can move the recorded keyboard or mouse button pushes around and get things in the order the way you want. The big difference with the Script tab over the Macro tab is here you can also enter logic into your scripts with the command selection dropdown box. If you want to enter in commands like IF and GOTO along with other programming commands this is where you do that. You can also add in timed loops where certain parts of your script will loop for a set amount of time as well.
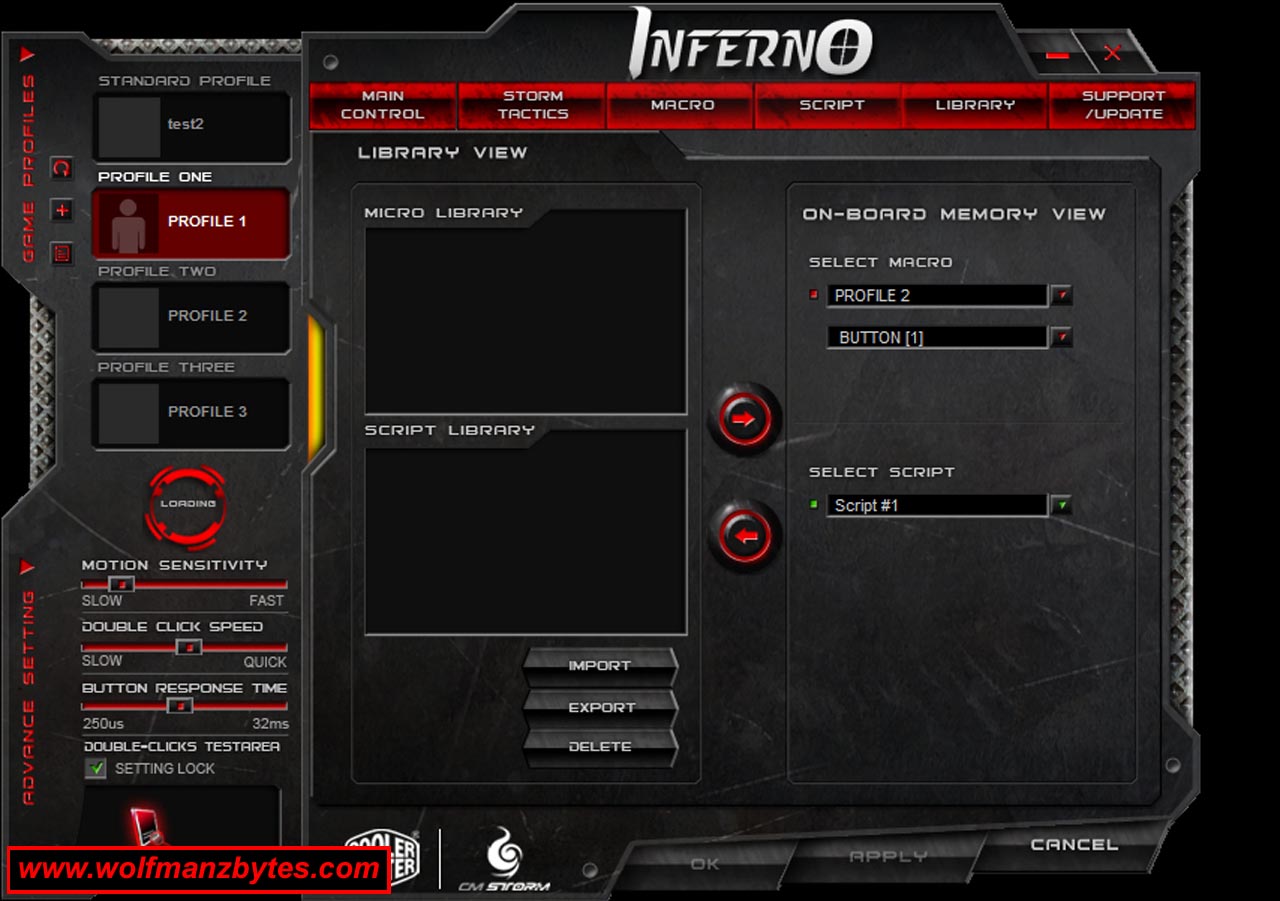
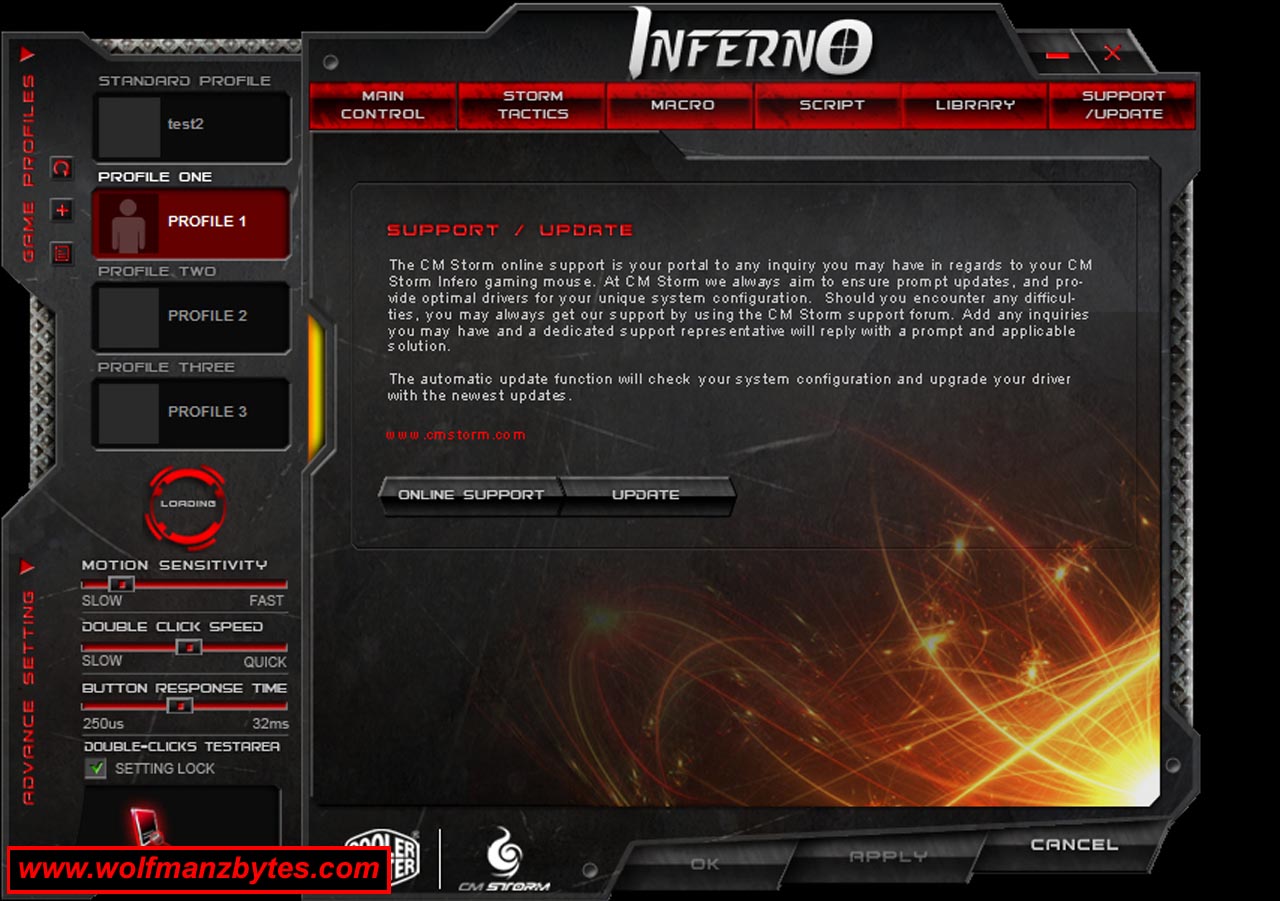
The next two screen shots are of the Library and the Support / Update tabs. The Library tab allows you to Import and Export both Macro’s and Scripts you may have saved. The Support / Update tab is just for checking online support and is also used to update the firmware when updates become available.
The only real problem I see with the CM Storm Inferno is that you can only have 8 macros per profile and 6 scripts in total on the mouse at any given time. I did contact Coolermaster about this issue and I was told that future versions of the software would in fact allow more then 8 macros per profile and also increase the size of the macros you could make as well.
One thing also missing from the configuration software is the ability to be able to name your Macros / Scripts and I’m really surprised that Coolermaster missed this one. Not being able to name your Macros / Scripts is a real problem when it comes to being able to figure out what you have programmed when you’re looking at your profiles.
In conclusion this is a highly programmable mouse that for the most part does what anyone would want a gaming mouse to do. The configuration software does have a few issues as I mentioned above but they are so minor when compared to the power that you have with a programmable mouse like this. The other great thing about this mouse is it does not cost an arm and leg. At the time of this Review you could purchase the Coolermaster CM Storm Inferno for about $58.00 Canadian.
Below are a few more pictures of the Coolermaster CM Storm Inferno Enjoy!