See the Video version of this Review here..
First a big thank you to Blue Microphones for providing the Yeti USB Microphone for this Review.
After wanting to get my hands on one of these Mics for a while now, I finally get the chance to take a look at the Yeti USB Microphone from Blue Microphones.
Before I get too far into this Review I should mention the specifications of the Yeti and also the system requirements and they are the following.
Microphone and Performance.
Power Required/Consumption: 5V 150mA
Sample Rate: 48 kHz
Bit Rate: 16bit
Capsules: 3 Blue-proprietary 14mm condenser capsules
Polar Patterns: Cardioid, Bidirectional, Omnidirectional, Stereo
Frequency Response: 20Hz - 20kHz
Sensitivity: 4.5mV/Pa (1 kHz)
Max SPL: 120dB (THD: 0.5% 1kHz)
Headphone Amplifier.
Impedance:16 ohms
Power Output (RMS): 130 mW
THD: 0.009%
Frequency Response: 15 Hz - 22 kHz
Signal to Noise: 100dB
Dimensions / Weight.
Dimensions (extended in stand): 4.72" (12cm) x 4.92"(12.5cm) x 11.61"(29.5cm)
Weight (microphone): 1.2 lbs (.55 kg)
Weight (stand): 2.2 lbs (1 kg)
System Requirements.
PC: Windows 7, Windows Vista, XP Home Edition or XP Professional
USB 1.1/2.0; 64 MB RAM (minimum)
Macintosh: Mac OSX ( 10.4.11 or higher )
USB 1.1/2.0
64 MB RAM (minimum)
As stated above, I have wanted to take a look at the Yeti for a while now. I was first turned onto the Yeti while watching a video pod cast that Leo Laporte does called MacBreak Weekly. While watching the video pod cast Andy Ihnatko started to talk about the Yeti he just purchased and he gave a quick glimpse of the Yeti on cam and also did a quick rundown on its features. After listening to him on the Yeti for that entire show I figured I had to see if I could get a Yeti in for review and see how good it is.
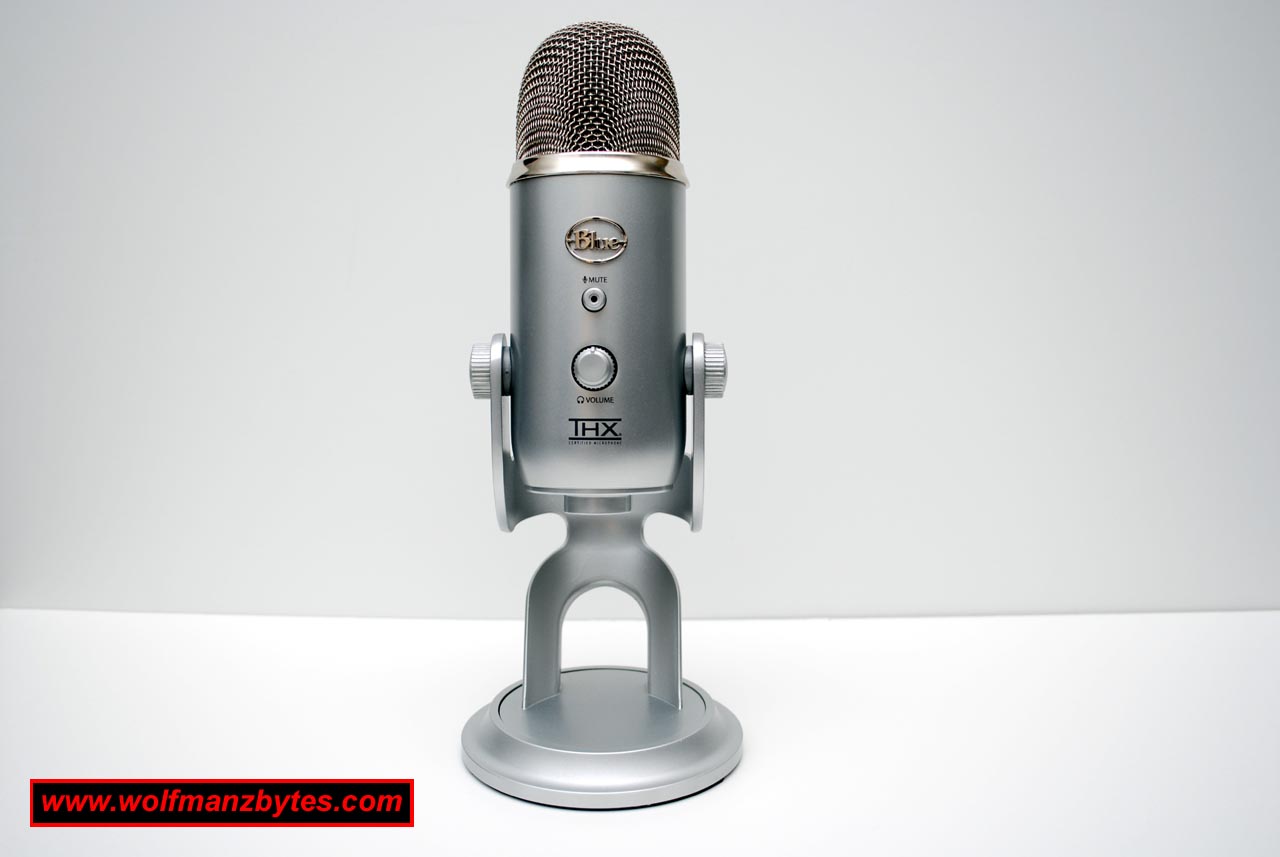
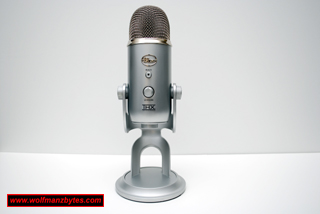
When you unpack the Yeti from the box it comes in you get the USB cable the Yeti and a little pamphlet that tells you about the different polar patterns the Yeti has. The picture below shows the Yeti as well as the USB cable.
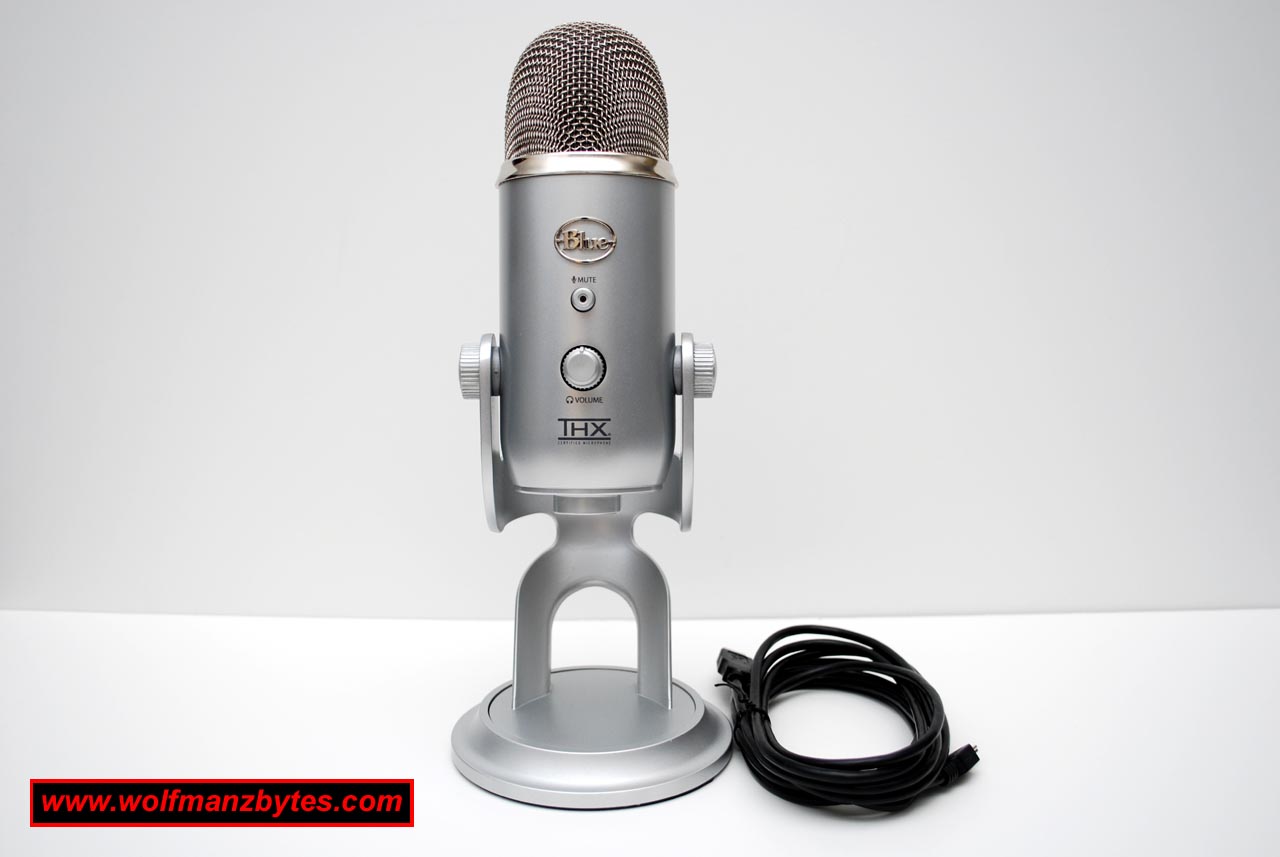
The first thing that impressed me right away was the look of the Yeti. This Mic looks like something Larry King would have sitting on his desk. When you pick the Yeti up the first impression is the Mic is very solid and quite heavy. It turns out that most of the weight you feel is in the stand for the Yeti. The other thing that really impressed me was you get a USB cable that’s almost 12 feet long. I don’t know how many times I have gotten a piece of gear and you end getting some short little USB cable that’s less than a foot long.
So after I unpacked the Yeti the first thing I did was plugged it into my main computer here running windows 7. The Yeti does not come with a driver CD and it doesn’t need one. As soon as I plugged the computer in Windows 7 detected the Yeti and it was ready to go. On a side note here I also tested the Yeti under Linux Mint 9 which is based off the latest Ubuntu 10.04 and the Yeti ran fine using Audacity on that as well.
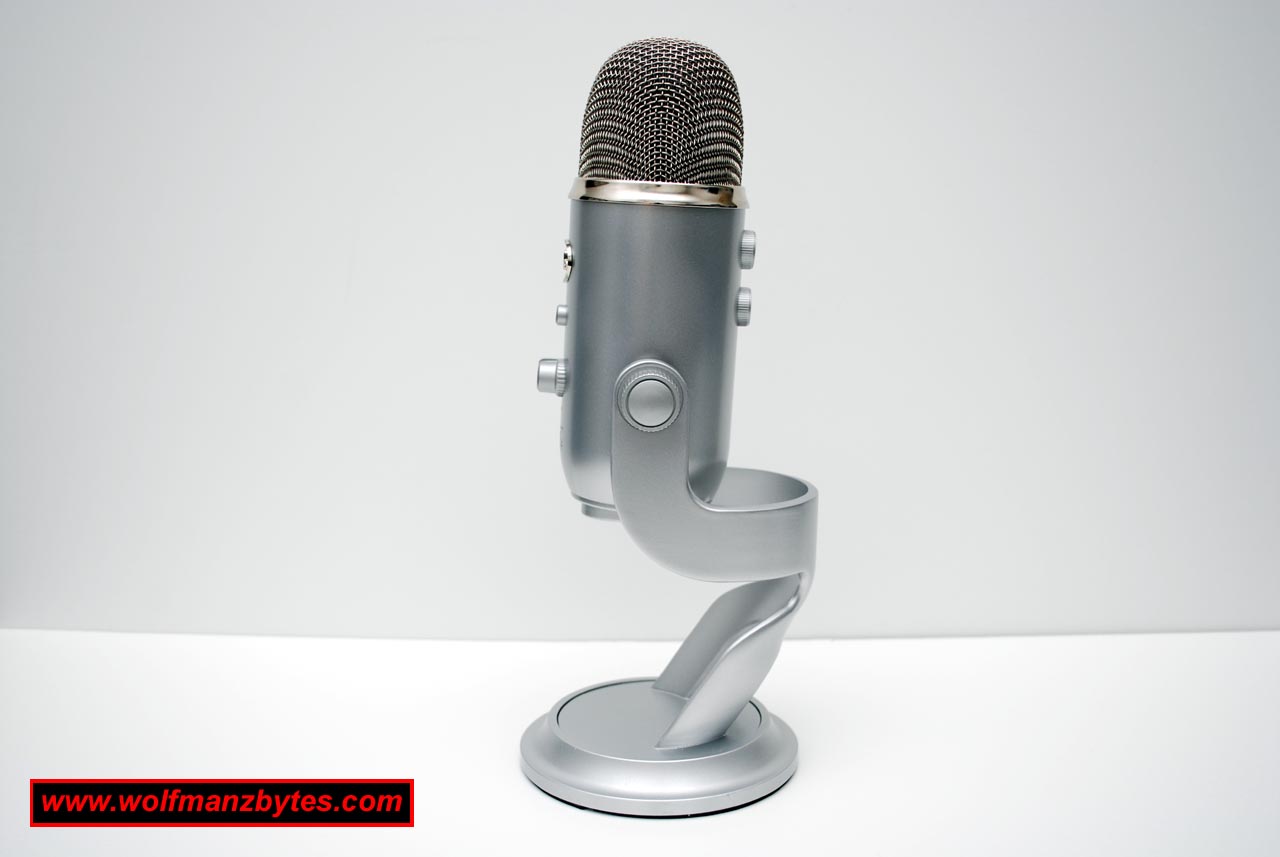
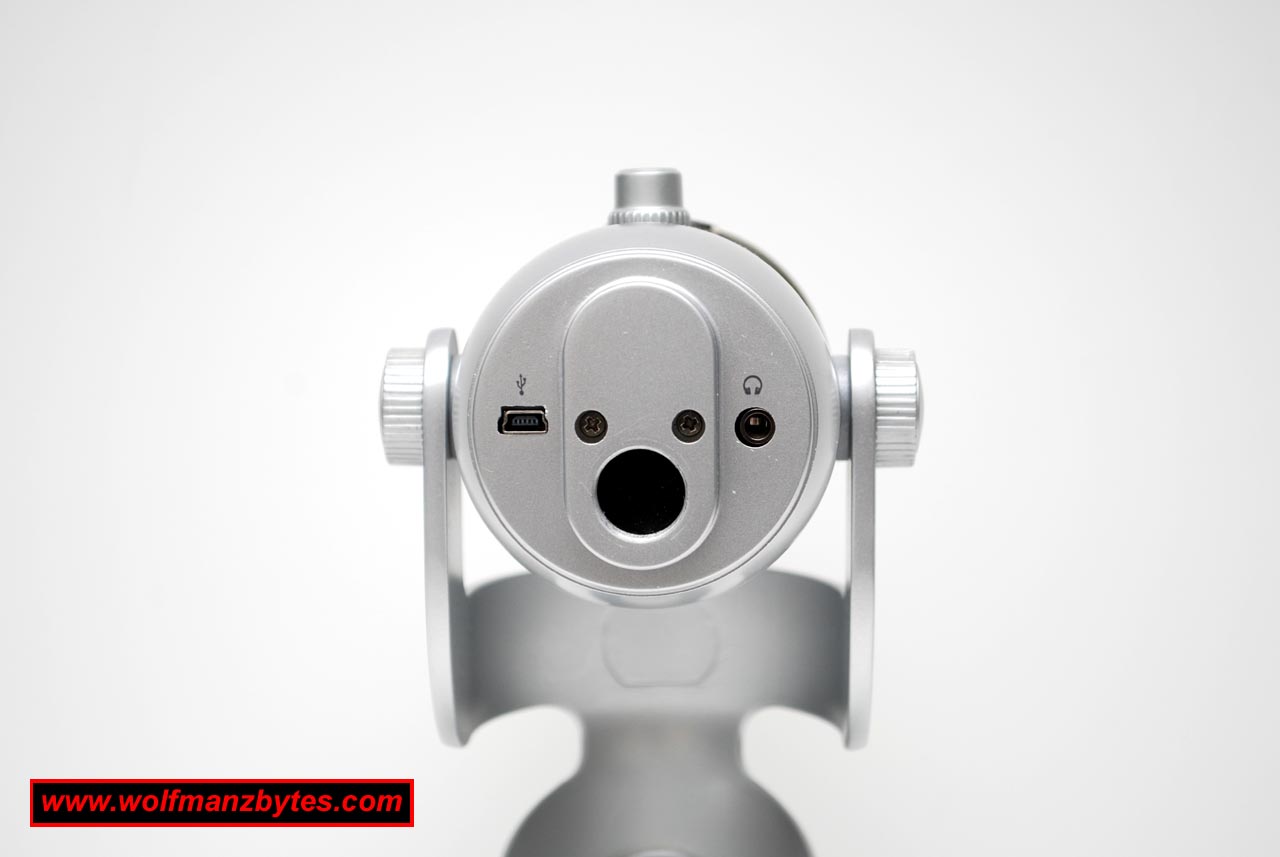
The next thing I did after I had the Yeti hooked up to windows 7 was to fire up Audacity. Audacity is a 100% free audio editor that you can download and use that has quite a bit of power. I went into the preferences in Audacity where I selected the Yeti to be the main input device as well as the main output device. I should mention for those that don’t know, the Yeti also is a sound card that can be used to play back audio as well as record it. If you flip the Yeti up so you’re looking at the bottom of the Yeti you will see your headphone jack as well as the USB connector jack and also the Mic stand hole where you can put the Yeti on a conventional Mic stand. You can see all of those things in the picture below.
Once I had the preferences in Audacity set it was time to hit the record button and see what I got. I had the Yeti sitting on my desk and I said a few words into the Yeti and then played it back. What I ended up hearing back wasn’t that great because along with my voice the Yeti was picking up the fan vibrations in my computer case that’s also sitting on the same desk as the Yeti was. The fan noise was clear and you could hear it with no problem in the audio recording.
The way I got rid of the computer fan noise was to move the Yeti off the desk and get it on its own Mic stand. To remove the Yeti from the desktop stand it comes with you just unscrew the two knobs one on each side of the Yeti and the Yeti will be free from its stand. Once I had the Yeti on one of my normal floor / MIc Stands the Yeti was recording with no issues it all and so that was good.
If you’re going to be using the Yeti with a laptop the vibration issue I talked about above may not exist since laptops don’t have the big honking fans like my desktop machine does. My desktop machine has 2 240 mm fans whirling away inside and so that’s what’s generating the vibration that the Yeti was picking up while the Yeti was using its desktop stand.
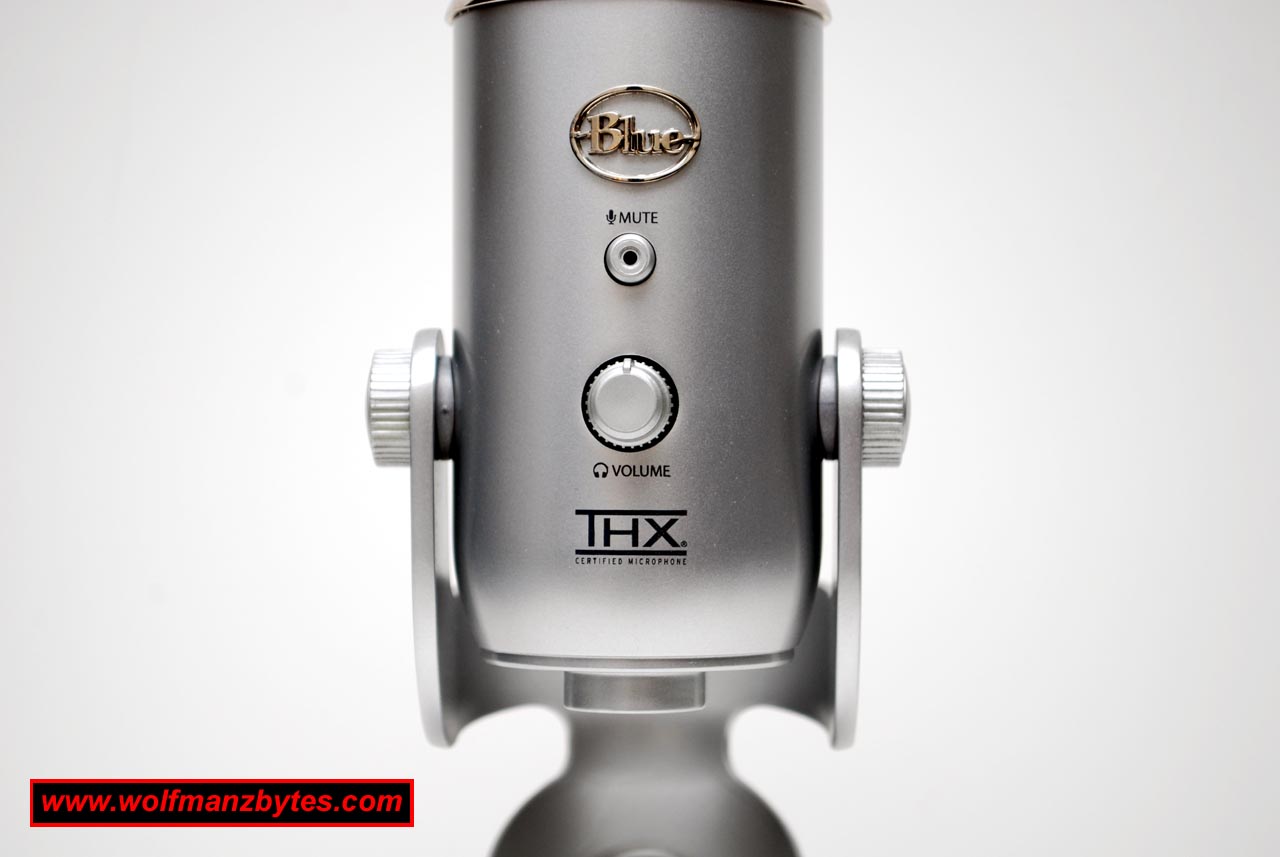
Now let’s take a look at the controls on this bad boy. In the picture below you will see a front close up picture of the Yeti and in this picture you will notice the Volume dial as well as a button above that. The volume dial as one might expect controls how loud the audio playback will be. The button above that is for muting the Mics on the yeti and that’s a nice feature to have. Normally the mute button lights up red to let you know the Yeti is getting power from the USB port on your computer. If you push the mute button the red light on the mute button will flash to let you know that you have the MIcs muted. If you push the button a second time that will un-mute the Mics.
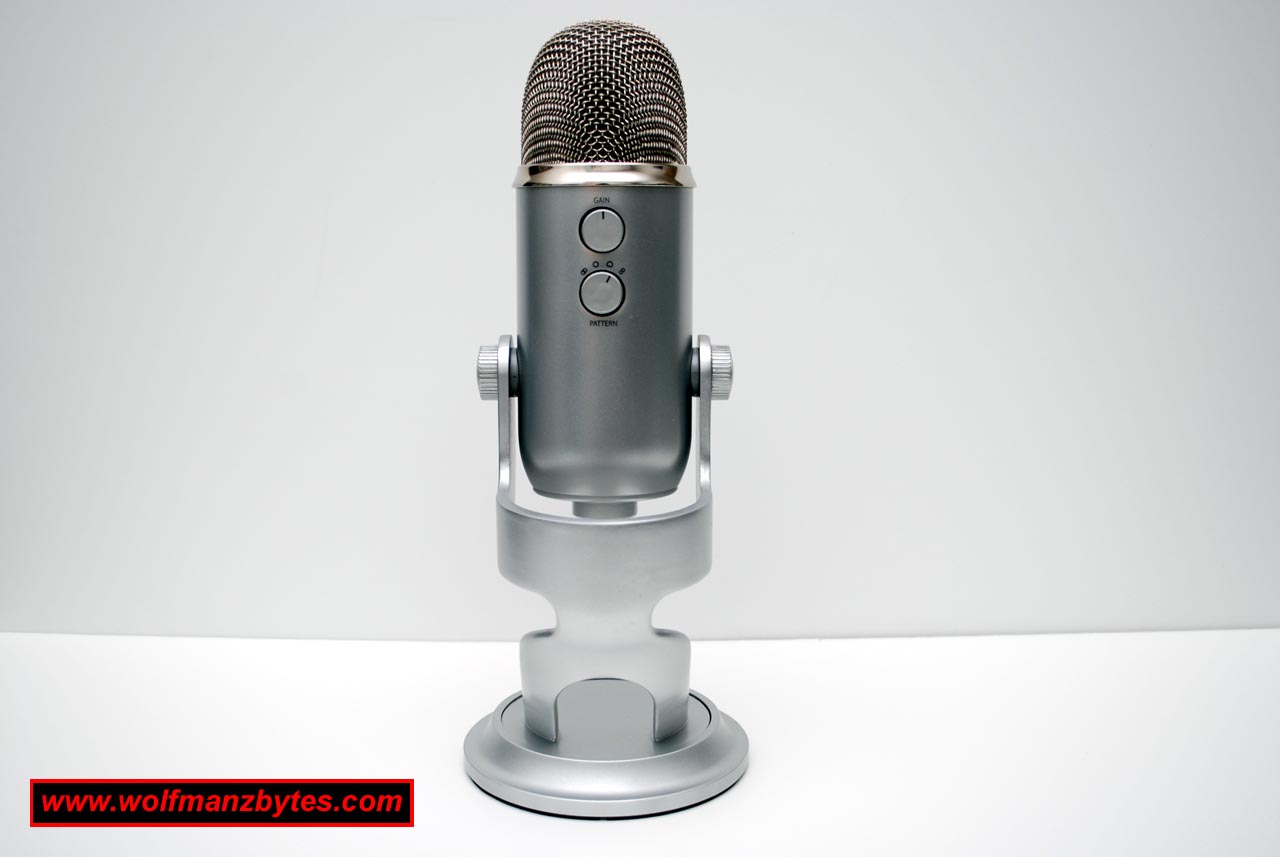
The next picture shows the backside of the Yeti and here too you also have some dials. The top dial is the Mic gain and the dial below it is the polar pattern selector. As you would expect when you turn the Mic gain up and down that controls how much audio the Mics pickup. As for the polar pattern this basically determines how the Yeti will pickup audio. The Yeti comes with 3 Mic capsules inside and the polar pattern switch adjusts how those capsules are used to pick up sound.
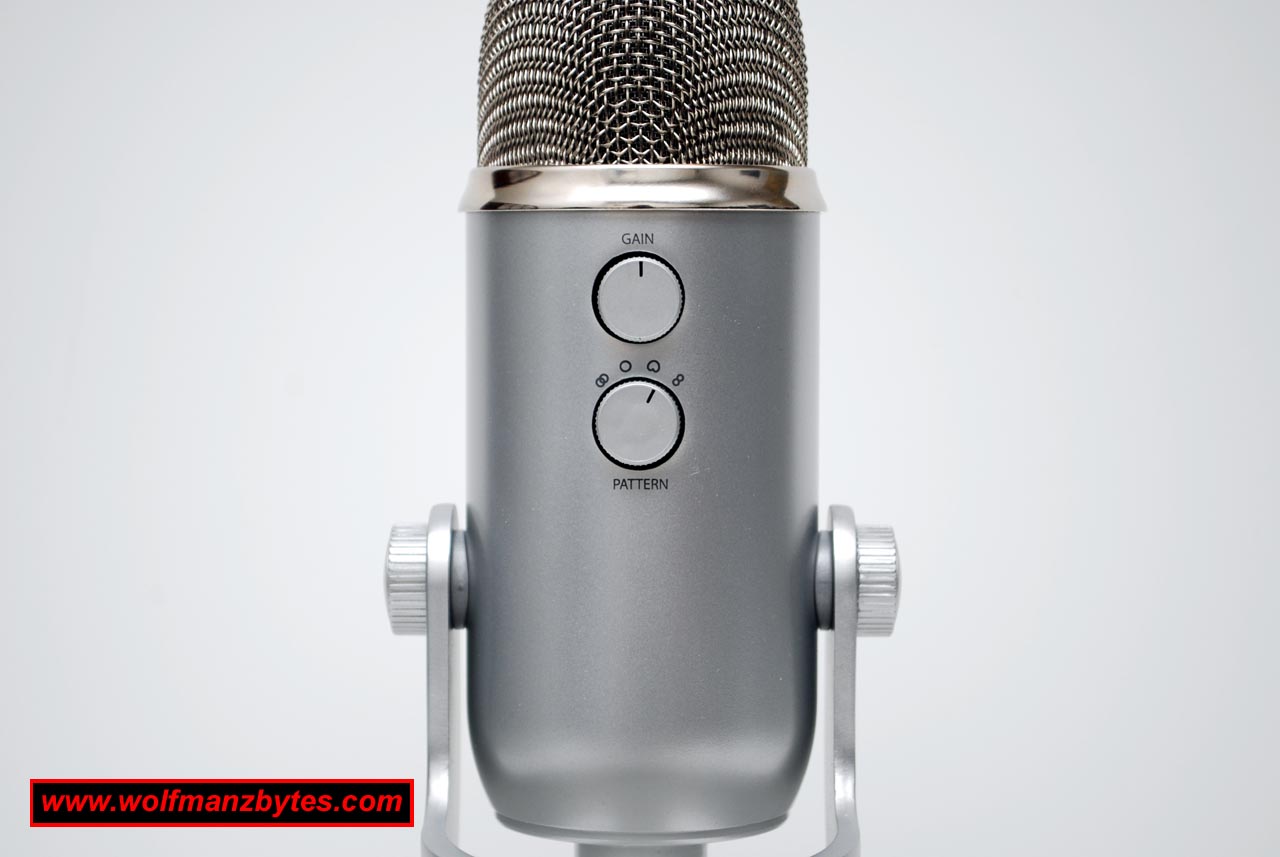
The various polar patterns allow the Yeti to be used in a variety of situations. For example if you want to say record an acoustic guitar you could switch the Yeti to its Stereo polar pattern. If on the other hand you wanted to record several people in a room at once then you flip the Yeti into its Omnidirectional polar pattern. If you have yourself and a friend in the same room say doing a pod cast you could sit the Yeti in the middle of table with you facing the front of the Yeti and your friend facing the back of the Yeti and use the Bidirectional polar pattern of the Yeti so that each one of you get one of the Mics capsules to talk into.
For me, I would be using the Yeti in its Cardioid polar pattern since that just makes the front facing capsule active and that’s what you want if you’re alone and doing a podcast / netcast for example.
One thing that really impressed me with the Yeti was how good the audio sounded when you got within an inch or two of the Mic and started to speak when using the Cardioid polar pattern. The one problem you have though when you get that close to a Mic and start talking is, you end being in need of a pop filter. In the picture below you can see my pop filter I built a while ago and it works great despite how ghetto it looks lol.
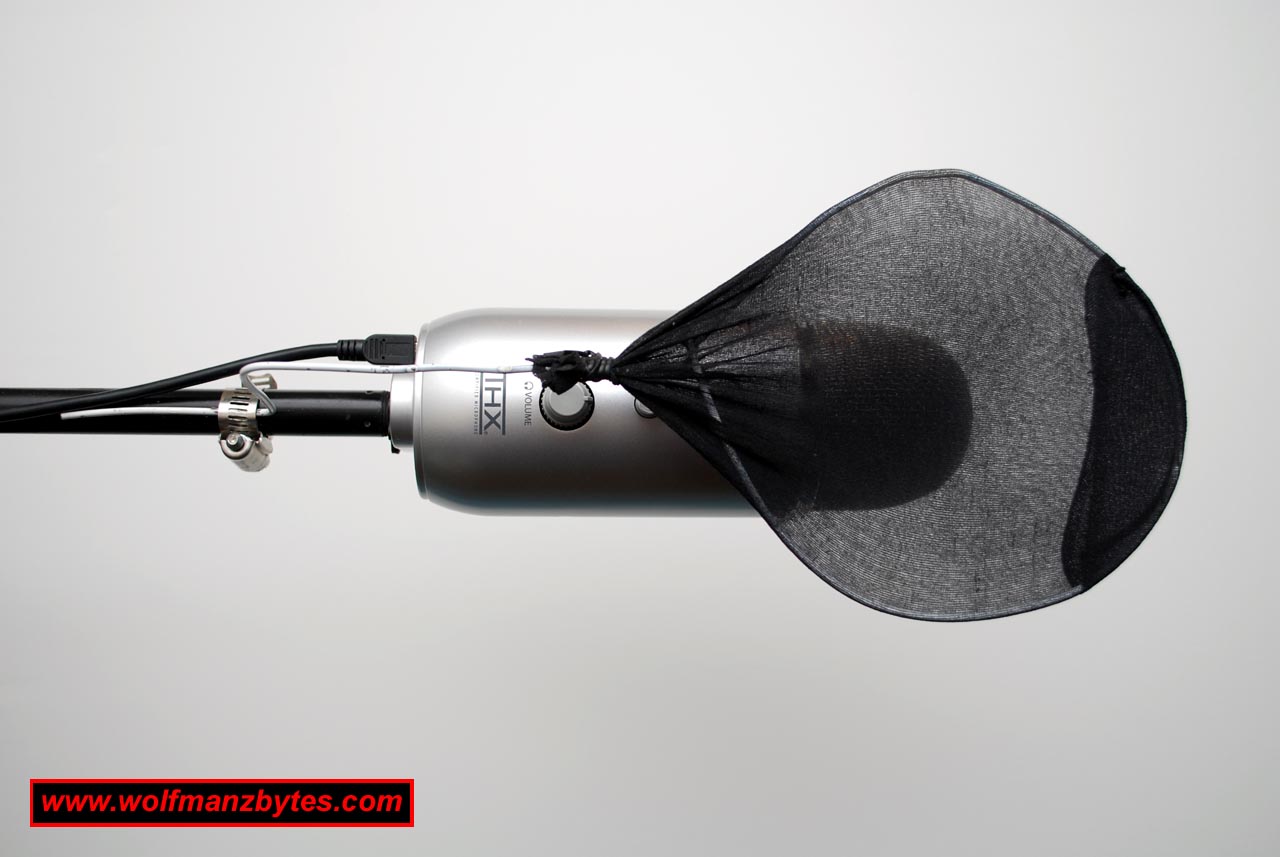
The reason you need a pop filter when you get really close to a Mic like this is because without one you will hear what sounds like a thumping sound on your audio when you play it back and hear words like Pay, Puck and the like. When you make the P sound in these words you end up pushing out a blast of air from your mouth that goes right into the Mic and slams off the Mic capsule and this produces the thump like sound you hear in the recording. The idea of a pop filter is to make sure that the blast of air doesn’t make it to the Mic but instead gets absorbed by the nylon material that the pop filter is made out of.
To buy a pop filter you’re looking at around $30 to $50 so they don’t cost a ton of money. If you want to make your own like I did, just get some nylon socks or even panty hose from your GF / Wife and then cut a section out of them and slip that over a coat hanger. After you have the nylon on the coat hanger use a twist tie to hold it on there and then use a garden hose clamp to hold the whole thing onto a mike stand. As crazy as the one looks that I made, it solved my problem 100% with the popping I was getting from certain words when being really close to the Yeti. If you want to see fancier versions of homemade pop filters head over to youtube and do a search on pop filter.
Another thing I should mention about the Yeti is if you’re going to be really close to it while recording turn the Mic gain dial on the back of the Yeti all the way down. If you’re an inch or two away from the Mic and you have the Mic gain turned up at all you will start to overdrive the Mic and cause a lot of distortion in your recordings.
While testing the Yeti I was pleasantly surprised at how good it sounded in terms of it being a sound card. I had Mp3’s playing through it and I really liked how the Yeti sounded. I was using a pair of AKG K240 studio headphones with the Yeti and the Yeti had enough power in terms of volume to keep me happy with those headphones on, so that was good.
The only bad thing I noticed, and this was a minor thing, was the Volume dial on the front and the Mic gain dial on the back seemed to be fairly loose in terms of side to side movement. When you have a big fancy looking Mic like this you really expect things to be well built to match how good the Mic looks. I was showing my brother this Mic and the first thing he did was to go over to it and turn the volume dial and right away he commented on how loose it felt.
Now to be fair to Blue Microphone here, I don’t know how much use this Yeti had before I got it, so you may not have this sort of issue from a new store bought Yeti.
In conclusion I think this great value for the money. I have several other options for recording audio here and they only produce slightly better audio then the Yeti but they are several times the cost of the Yeti as well, so you can’t go wrong purchasing a yeti. At the time of this review you could purchase the Yeti for about $150.00 U.S.
Below are a few more pictures of the Yeti Enjoy!