First a big thanks to Thermaltake for providing the Element V Full Tower Computer Case for this Review.
The last full tower computer case review I done was quite a while ago now and so today, I’m quite excited to finally get my hands on the Element V full Tower computer case from Thermaltake to see what it has to offer.
Before I get too far into this review I should mentioned the specs for the Element V and they are the following.
-Case Type: Full Tower
-Material: SECC
-Front Bezel Material: Plastic
-Color: Black
-Side Panel: solid w/23cm side fan
-Motherboard Support: Mini ATX, Full ATX, Extended ATX
-Motherboard Tray: No
-5.25" Drive Bay: 5
-Int. 3.5" Drive Bay: 6 With Additional 1 x 2.5" HDD / SSD bay
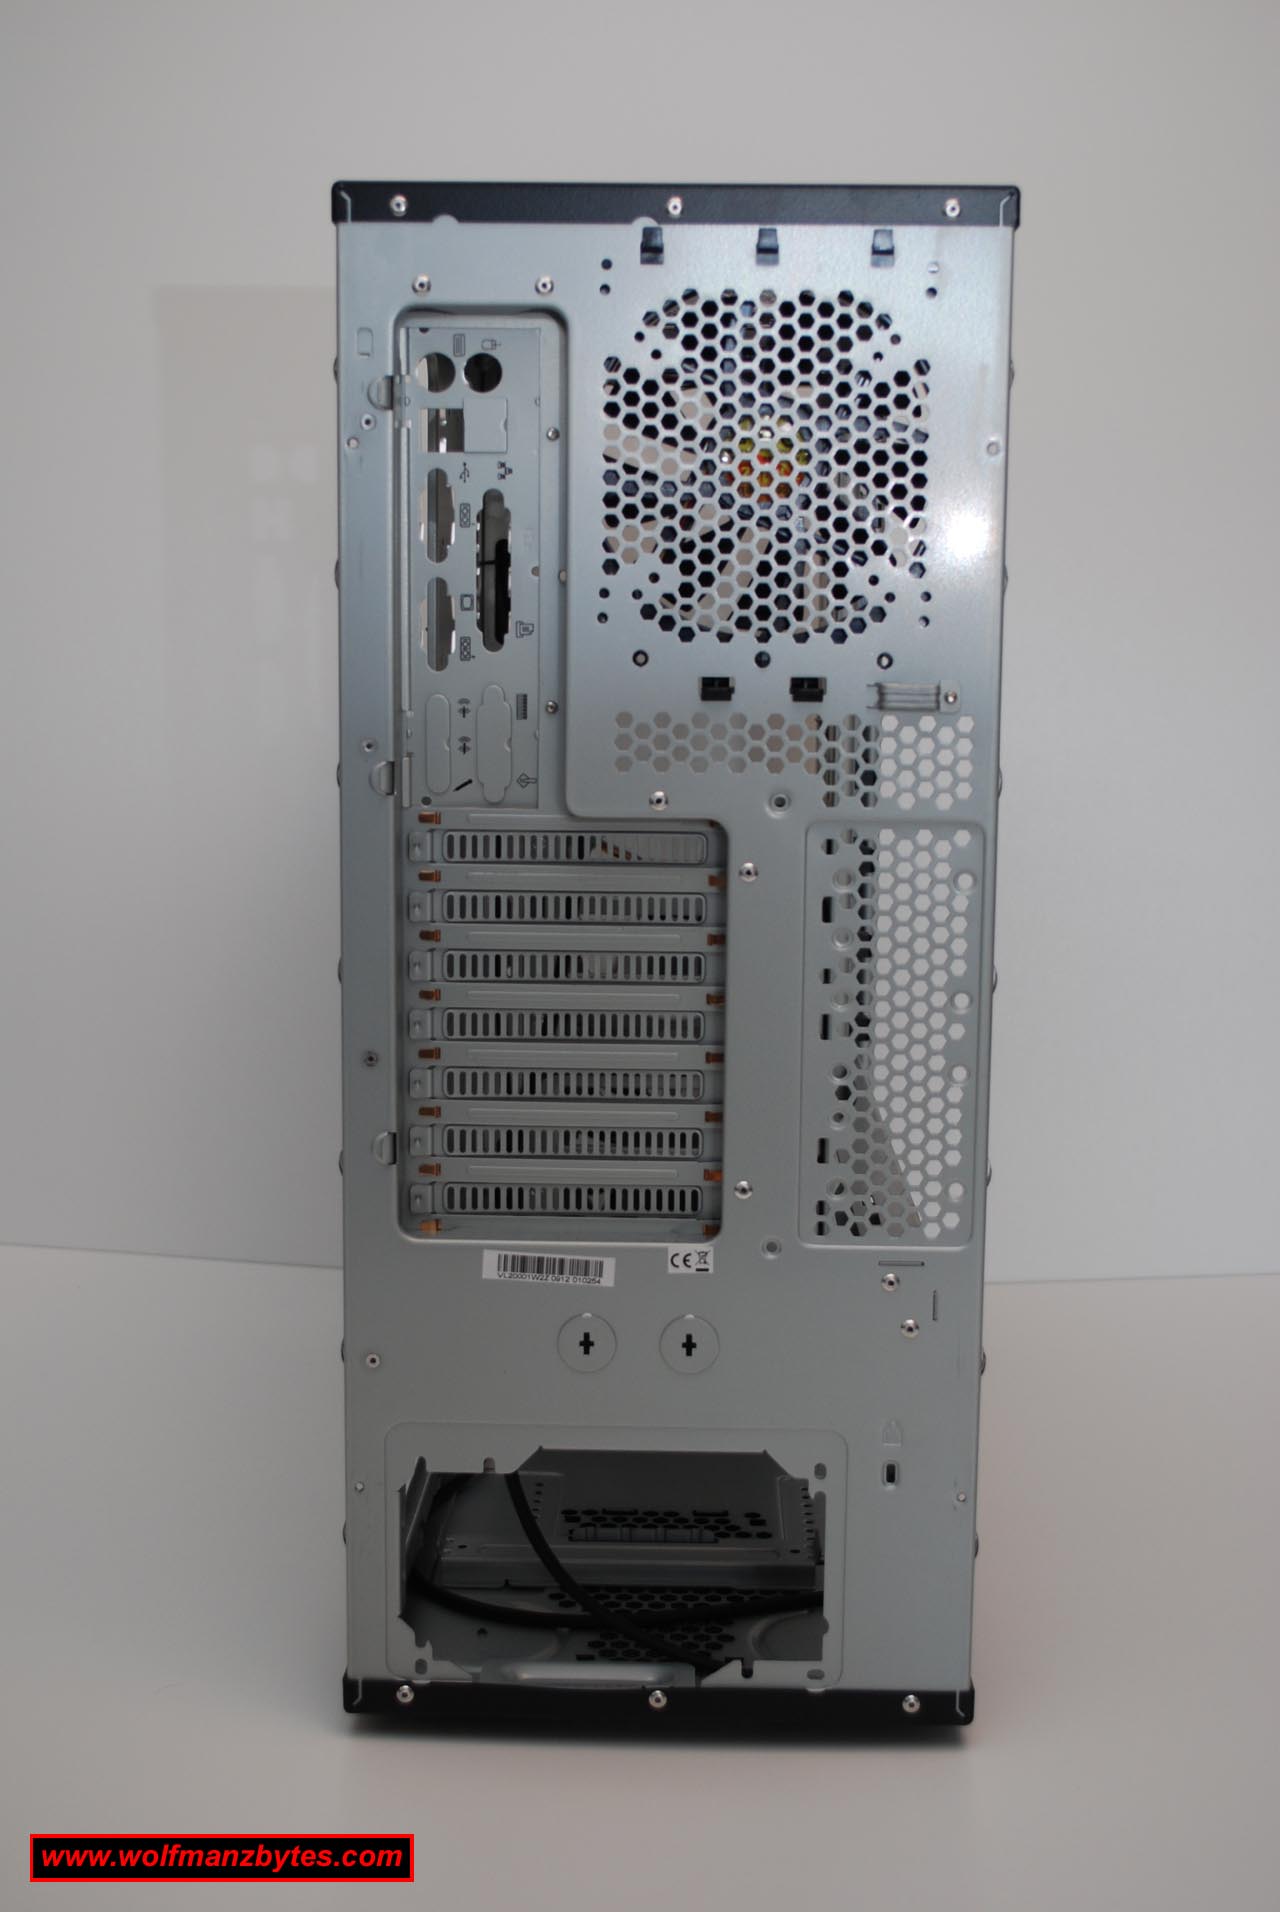
-Expansion Slots: 7
-Front I/O Ports: USB 2.0 x 4, HD Audio ports, eSATA x 1
-Cooling System: Front (intake) :120 x 120 x 25 mm Colorshift fan (900/1200rpm, 17dBA, 35.01/46.67 CFM) 120 x 120 x 25 mm Turbo fan (1400rpm, 17dBA, 46.67 CFM)
-Cooling System: Rear (exhaust): 120 x 120 x 25 mm Turbo fan (1400rpm, 17dBA, 50.0 CFM)
-Cooling System: Top (exhaust): 200 x 200 x 20 mm silent Colorshift fan (600/800rpm, 14dBA, 49.735/65.3 CFM) 200 x 200 x 20 mm x 1(optional)
-Cooling System: VGA (exhaust): optional 50 x 50 mm fan x 2
-Cooling System: Side (intake): Plug & Play 230 x 230 x 20 mm Colorshift fan (600/800rpm, 14dBA, 57.0/76 CFM)
-Liquid Cooling Capable: Yes Supports 1/2” , 3/8” , 1/4” water tube
-Liquid Cooling Embedded: No
-Power Supply Supported: Standard ATX PSII(optional)
-Power Supply Included: No
-Dimension: (HWD) 532 (H) x 220(W) x 537(L) mm20.9(H) x 8.7(W) x 21.1(L) in
-Net Weight: 14.13 kg, 31.15 lb
-Security Lock
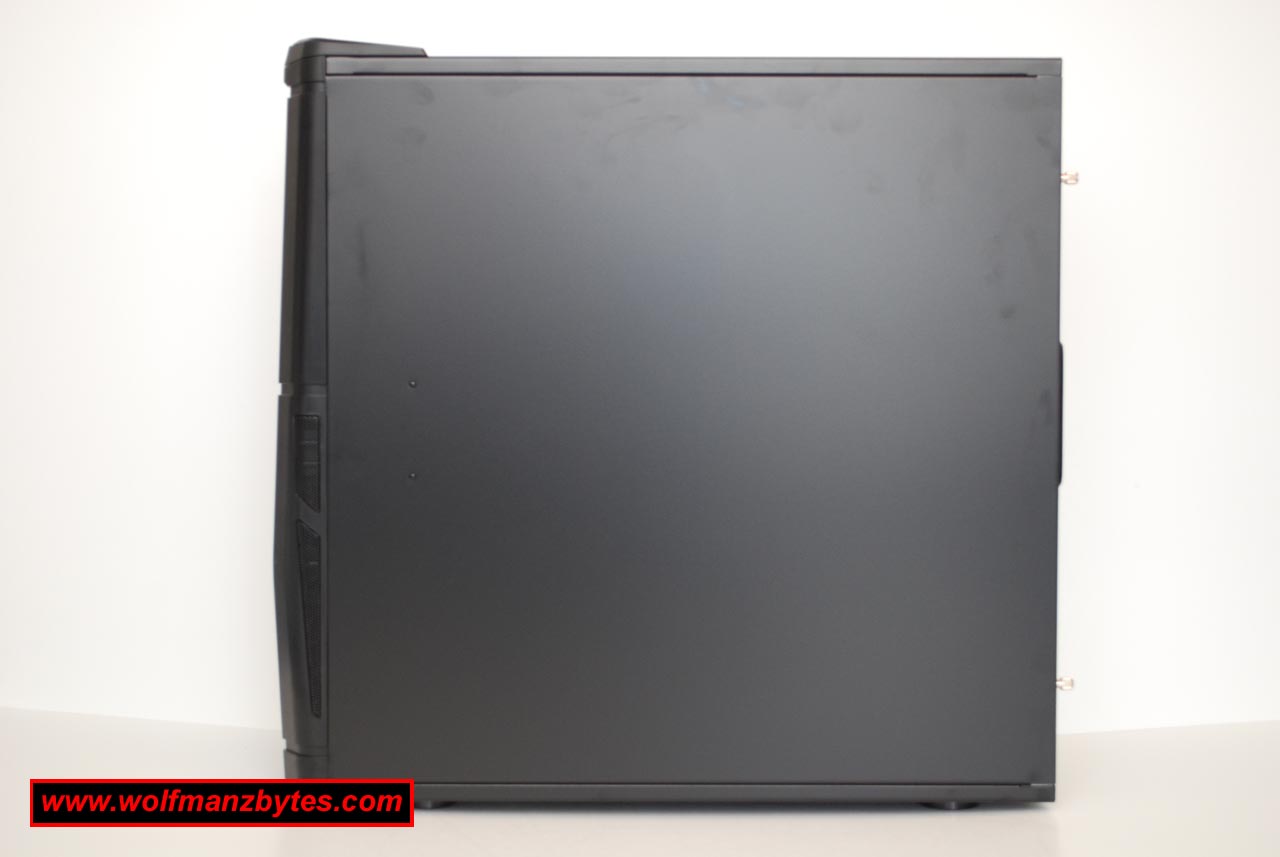
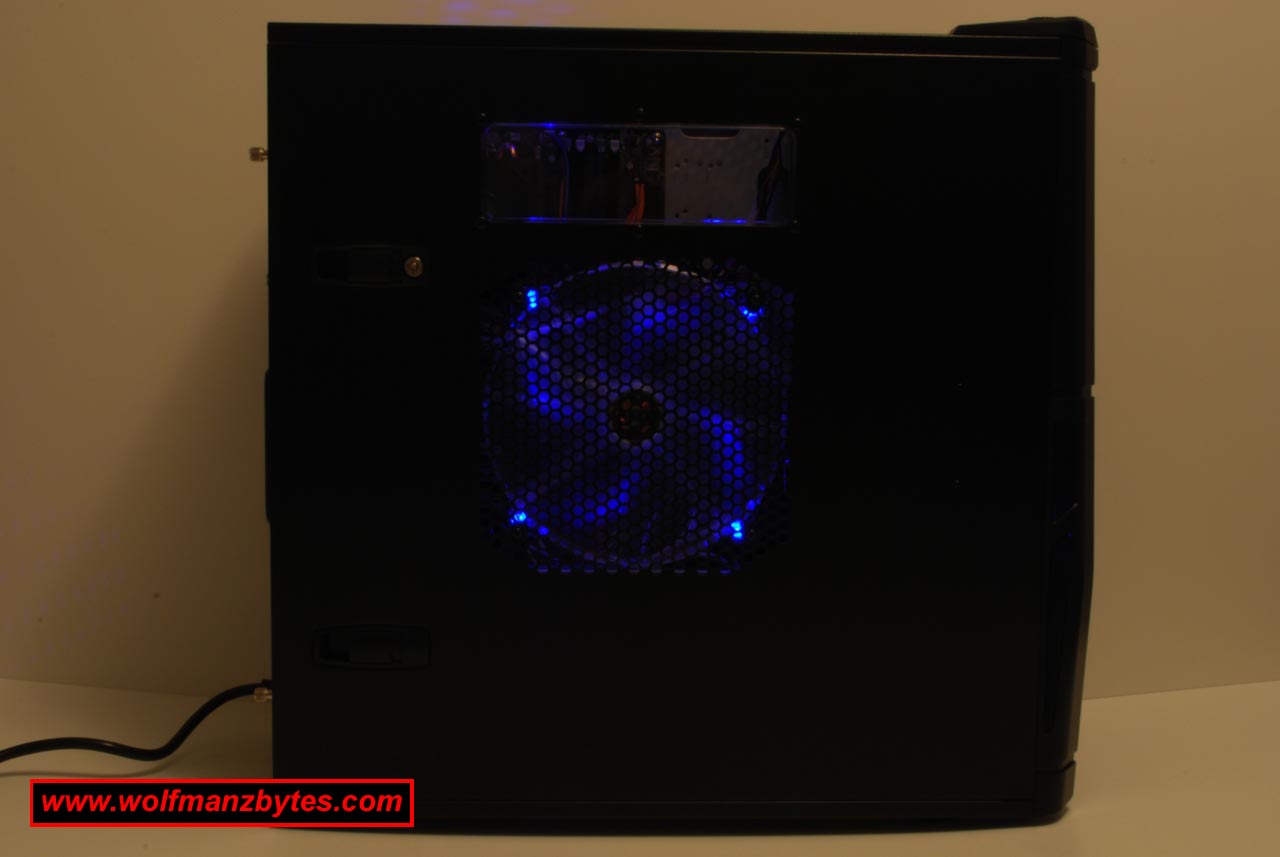
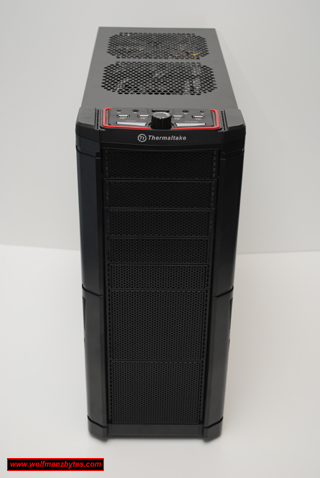
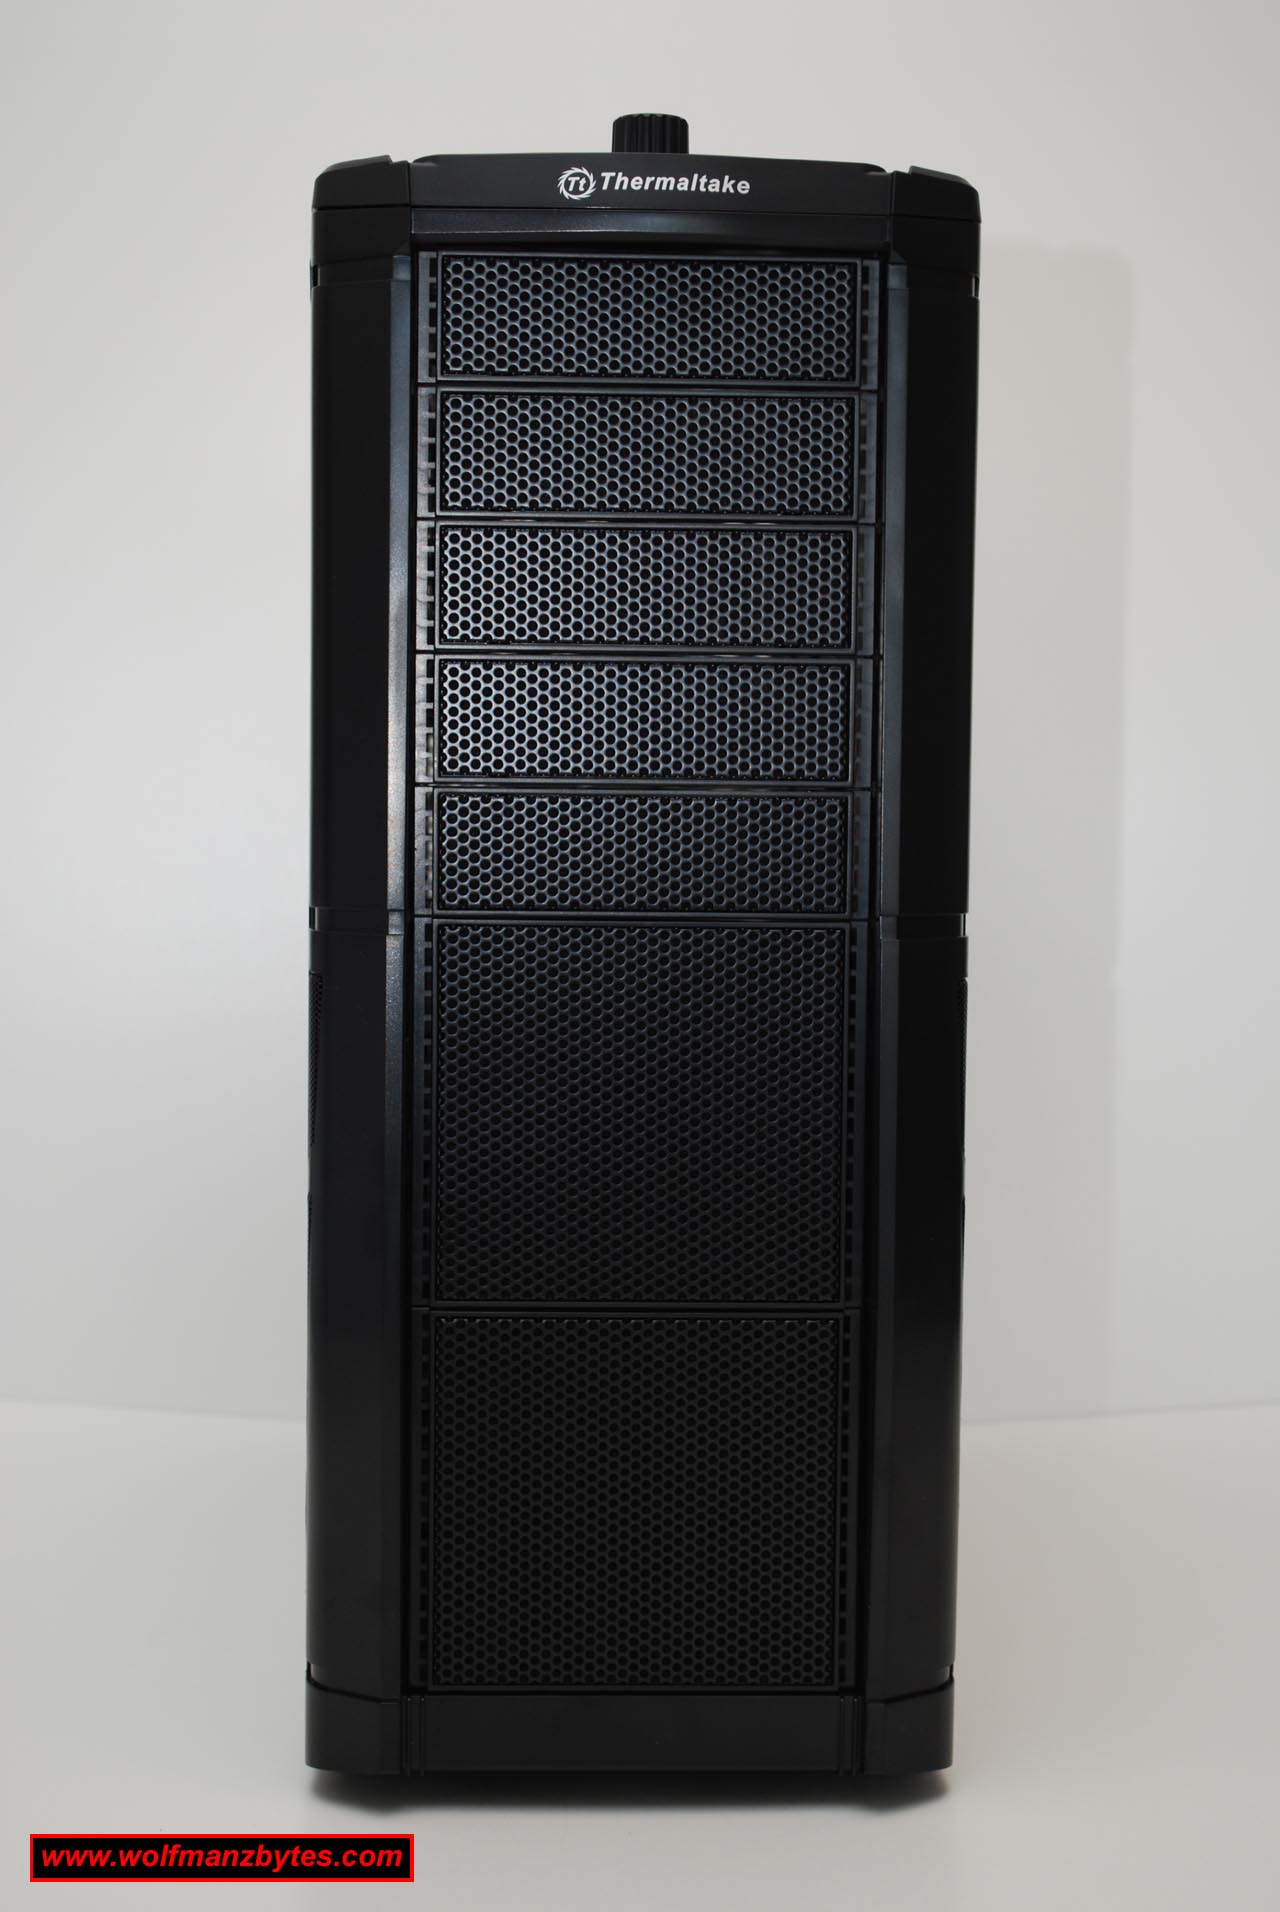
The first thing you notice when you unpack the Element V is how sexy it looks. I love the look of the flat black paint job and also the use of the red accent color that highlights where you plug all your USB devices into on the top of the case. When you look at the case from the left side view you get to see the enormous 230 mm fan and also a window above that for seeing all the lights from the fans inside the case. Below is a side view picture of the Element V.

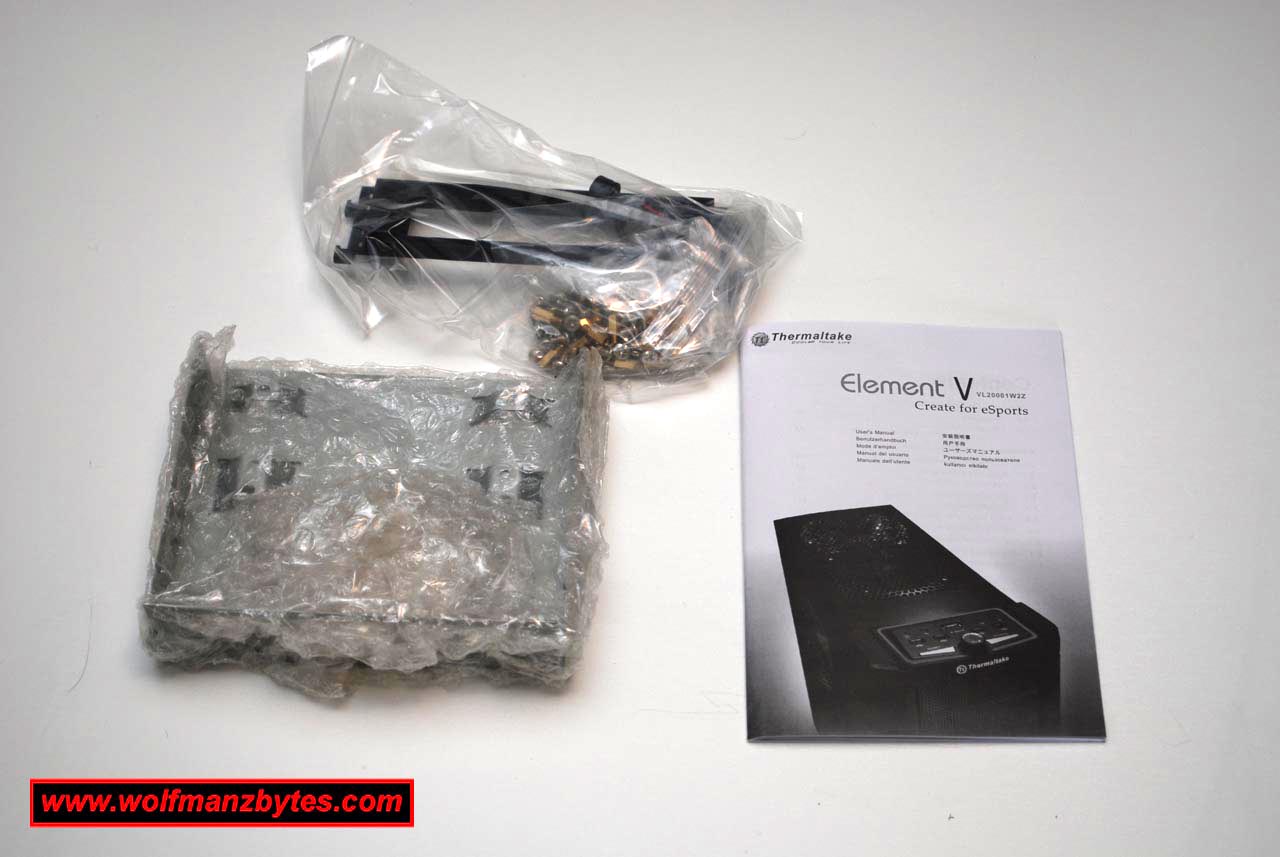
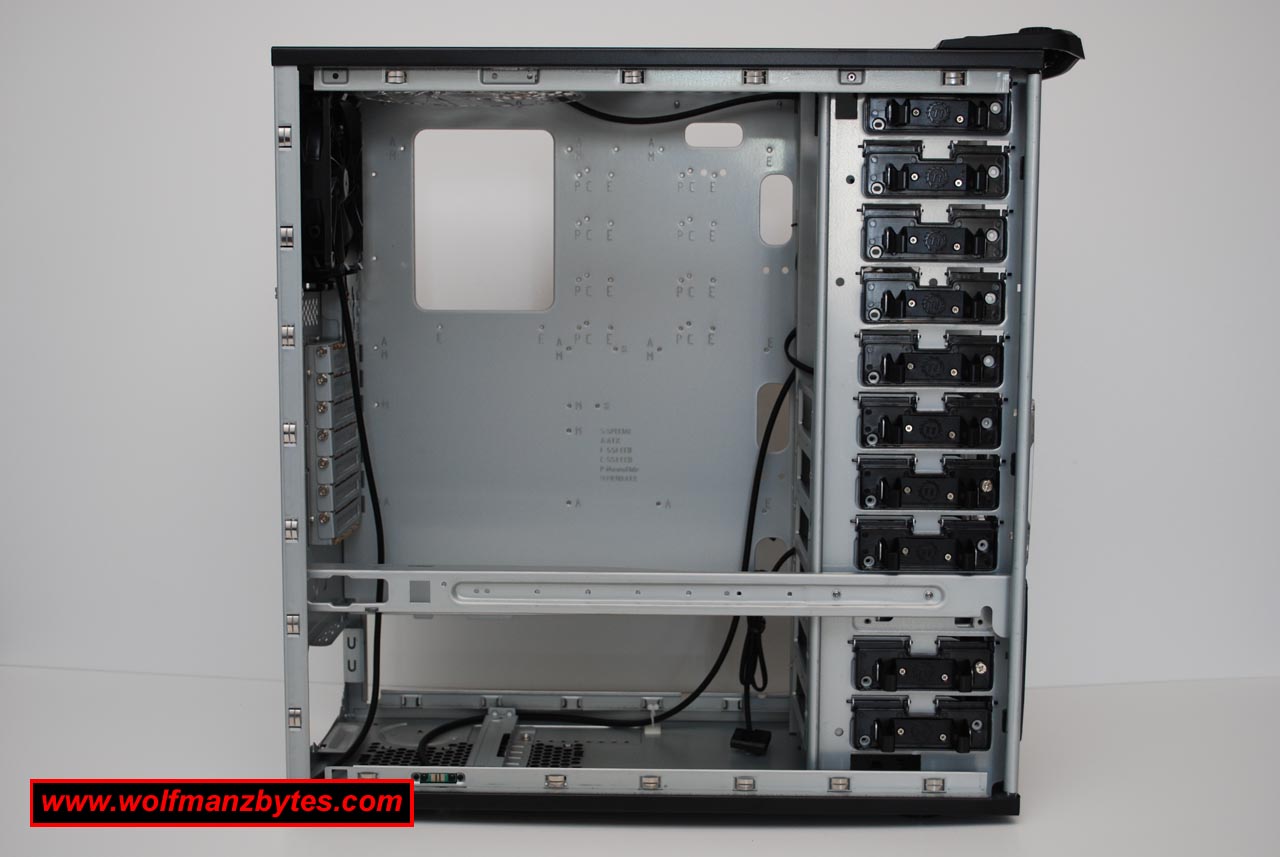
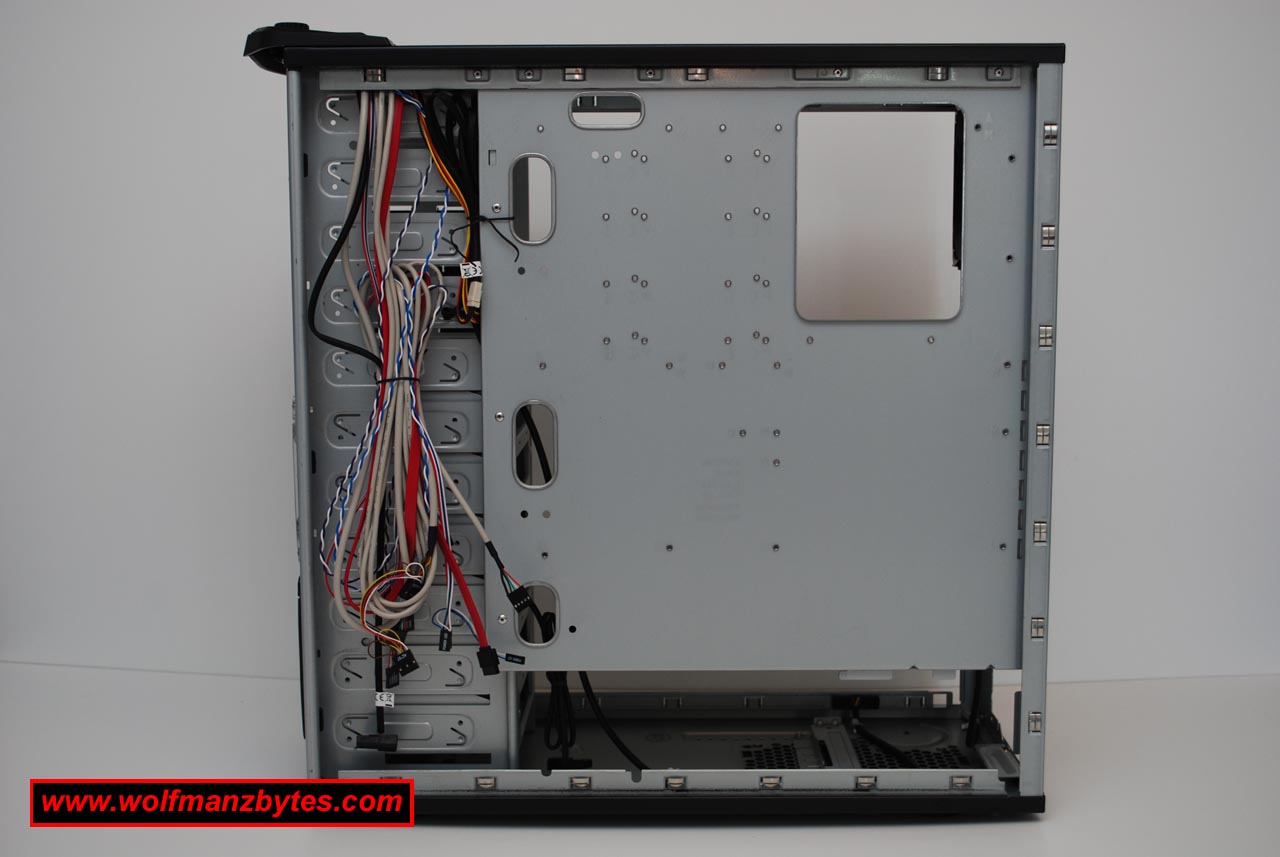
After I was done drooling over the looks of the case, it was time to get the side panels off and fill this baby up with some hardware. Right off the bat I was impressed that I didn’t need a screwdriver to get the side panels off do to the fact the panels were held on by thumb screws and these are easy to take off with just your fingers. Once the side panels were removed you could see that the wiring for the fans for the most part was tucked neatly out of the way and that’s nice to see. Below is a picture of the inside of the case with the side panels off.
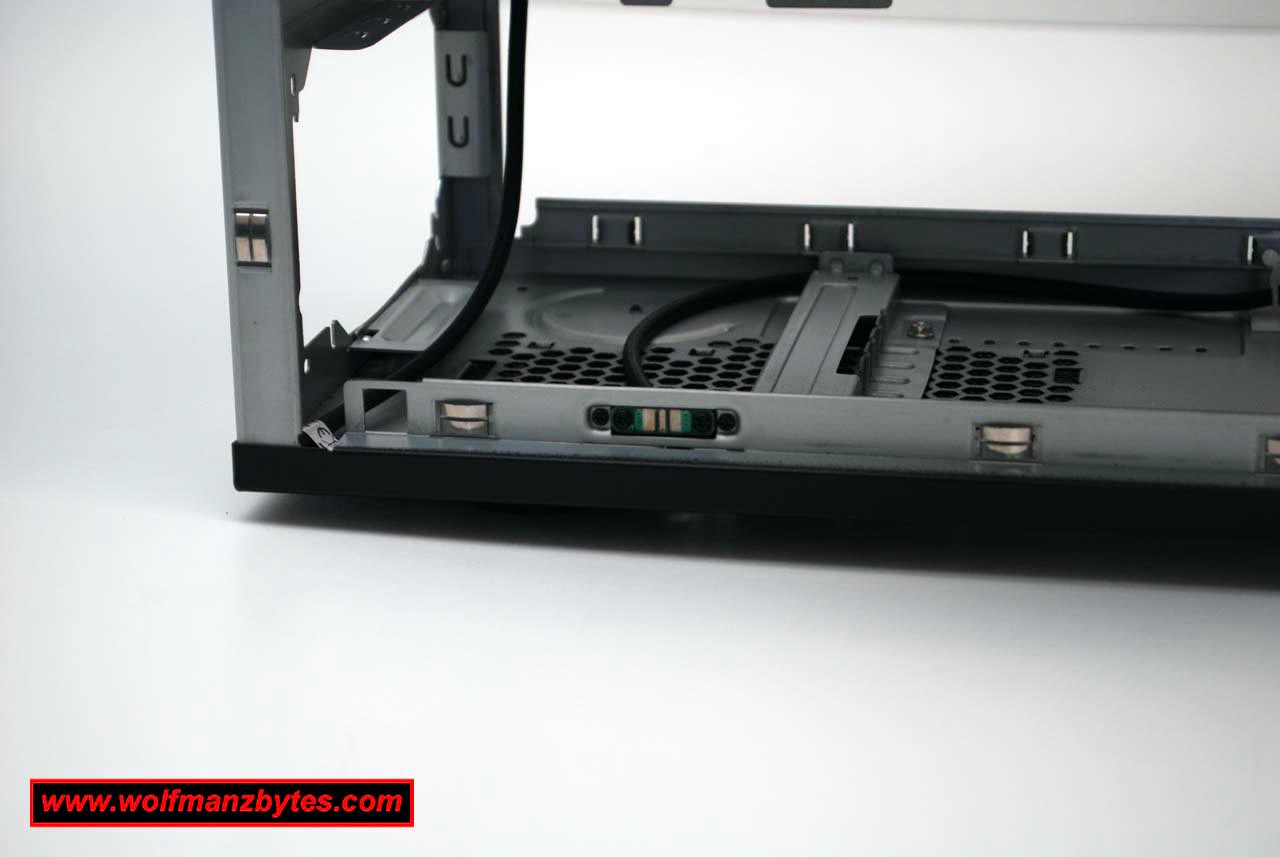
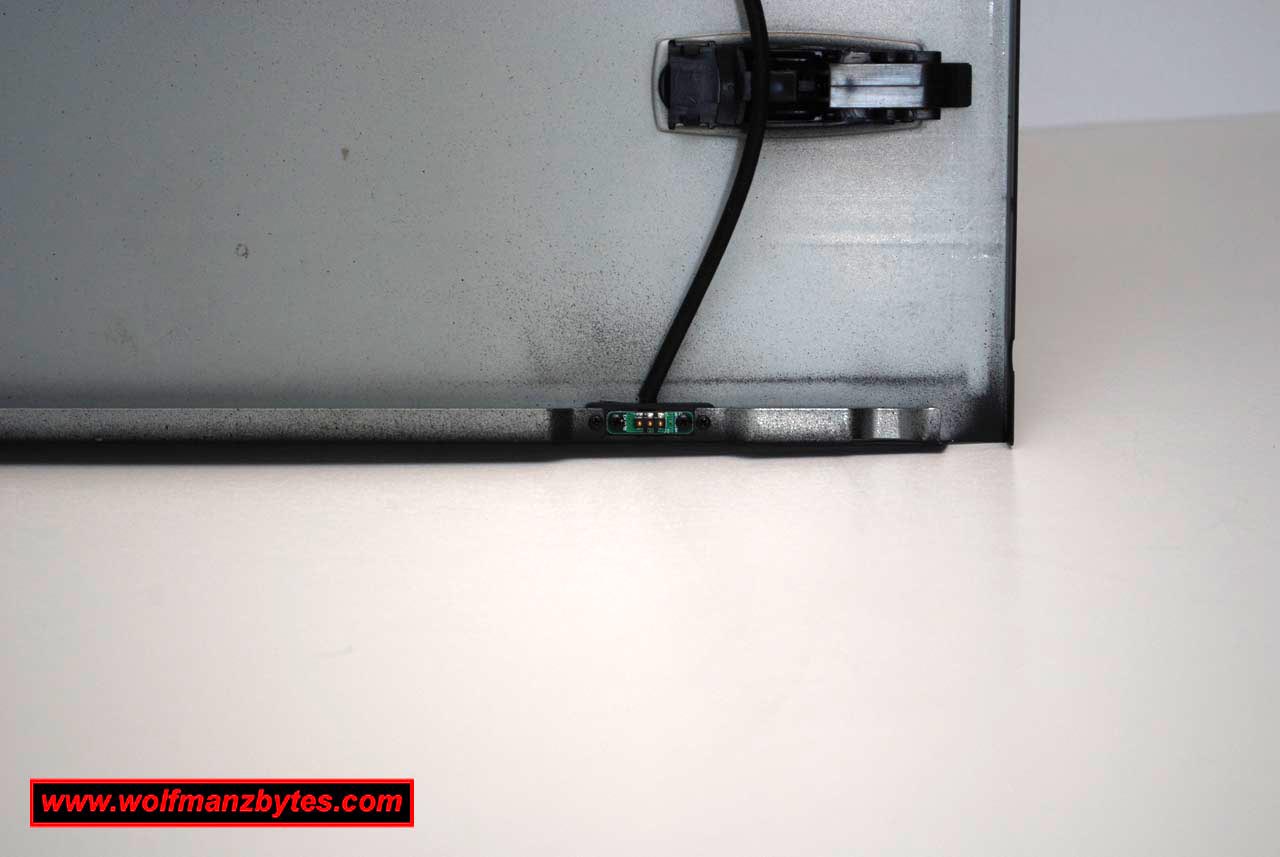
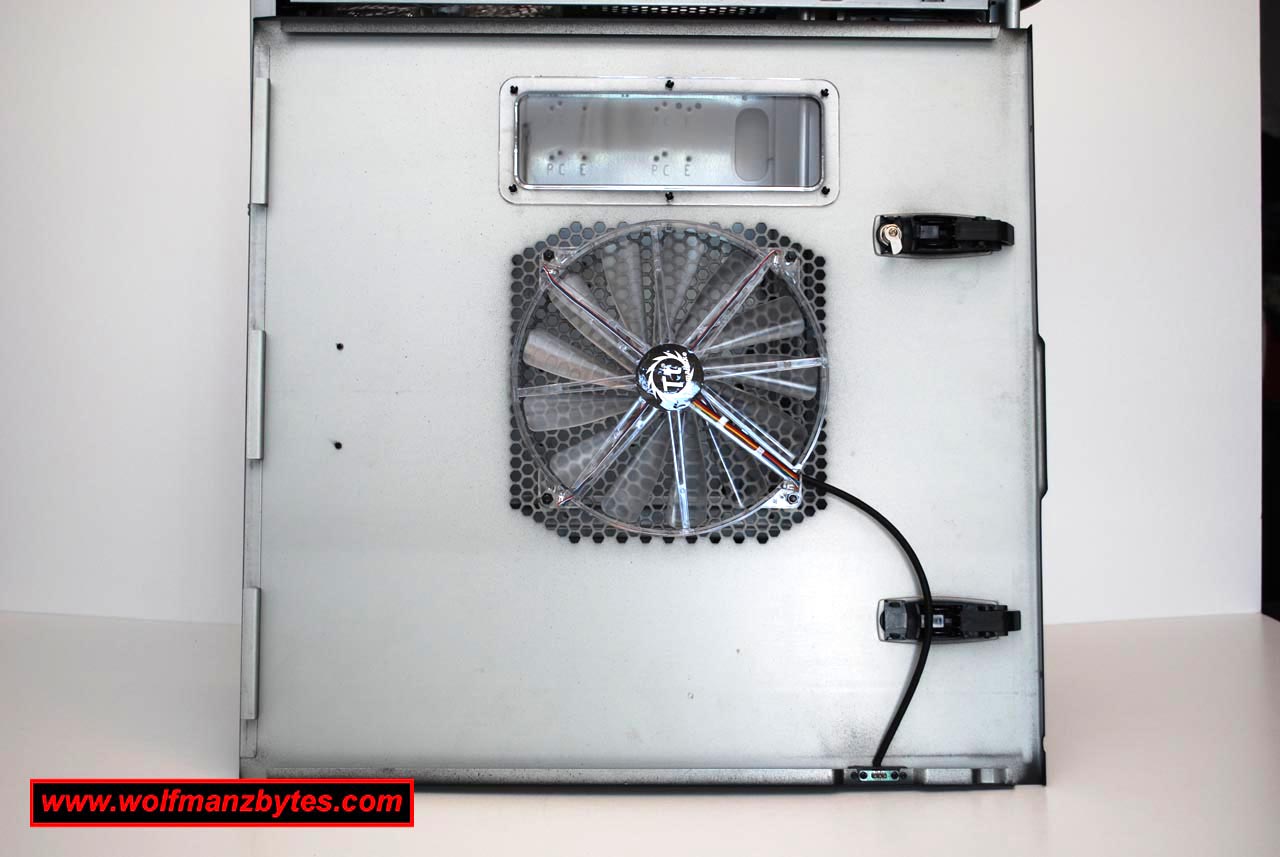
One thing that’s always got on my nerves about computer cases with fans on the side panels is if you wanted to get the side panel off you had to disconnect the power chord for the fan before you could fully remove the side panel. Thermaltake with the Element V has eliminated this fan chord hassle by making small contact boards that sit on the chassis of the case and also on the side panel that has the fan and this means no more screwing around with fan chords when removing the side panel from the case. The way these contact boards work is when the side panel with the fan is sitting on the computer case and held in place buy its thumb screws the two contact boards will touch each other and this transfer’s power to the fan on the side panel. In the pictures below you can see these small contact boards I’m referring to.
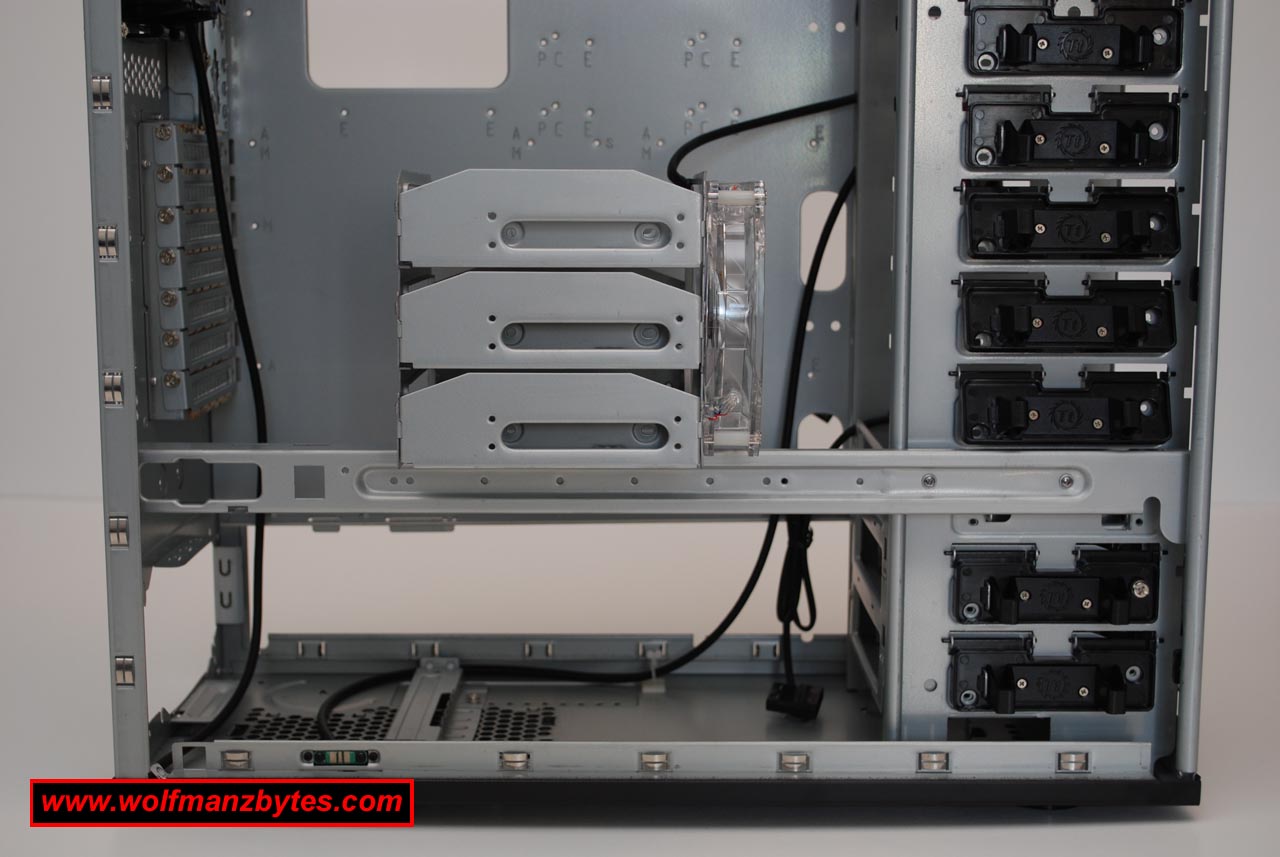
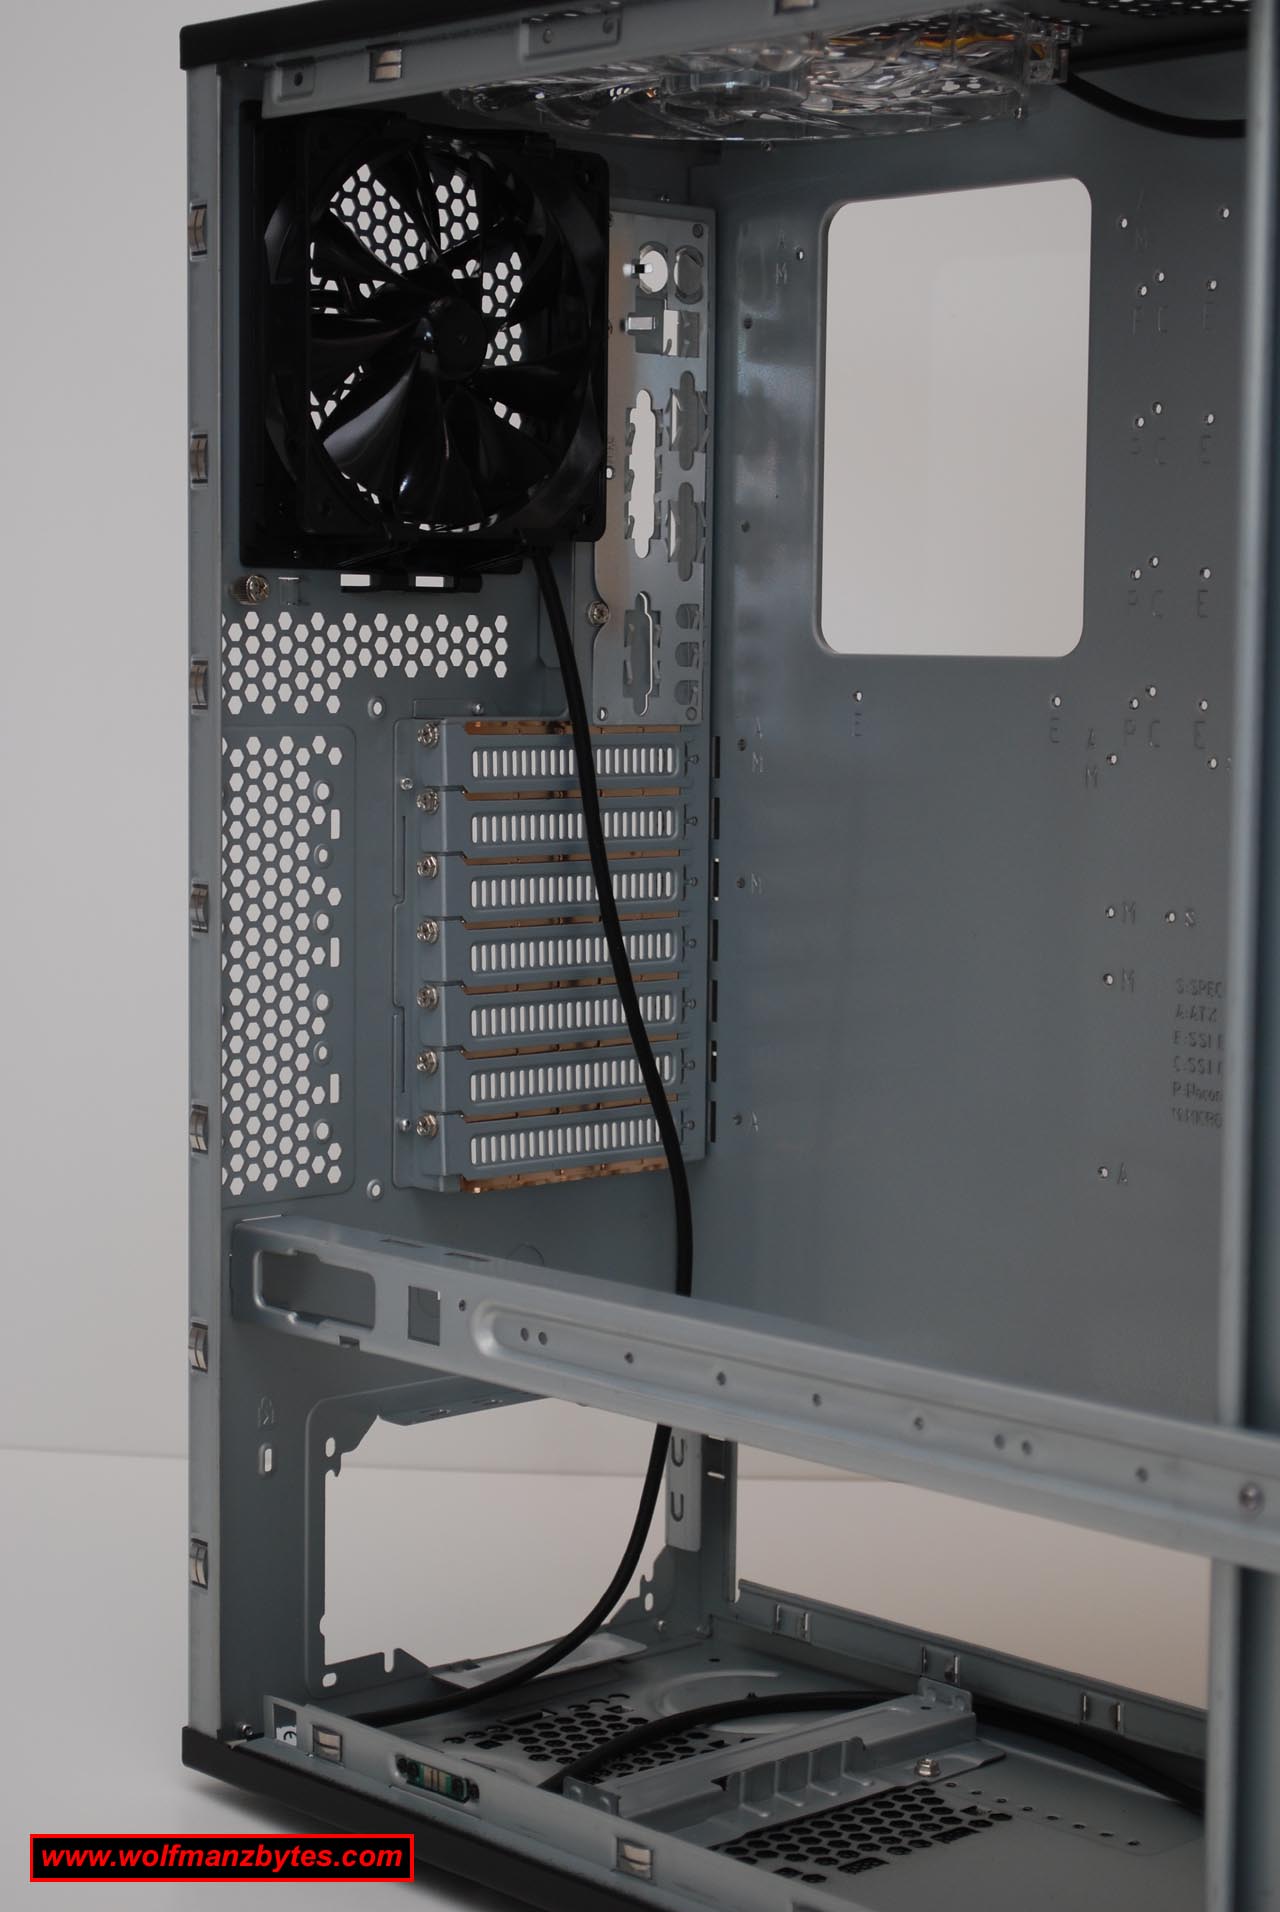
In terms of internal space this case is huge inside, most of the time when I’m putting a motherboard into a system I will put the cpu heatsink and fan onto the motherboard outside of the case, doing it with the motherboard mounted in the case is usually a pain due to lack of space. The Element V has the power supply mounted in the bottom of the case so that means there’s lots of room to work around the cpu area of the motherboard when its installed in the case. With the my motherboard mounted fully into the case and nothing in my way around the cpu area I was able to install a monster TMG IA1 heatsink and fan from Thermaltake that I will cover in a upcoming review.
When you look at the right side of the Element V with the side panel off you can see the various cables that go to your top mounted USB ports and also the wires for the computer power and reset switches. You will also see that the motherboard tray has various holes in it for cable routing so you have lots of options there as well.
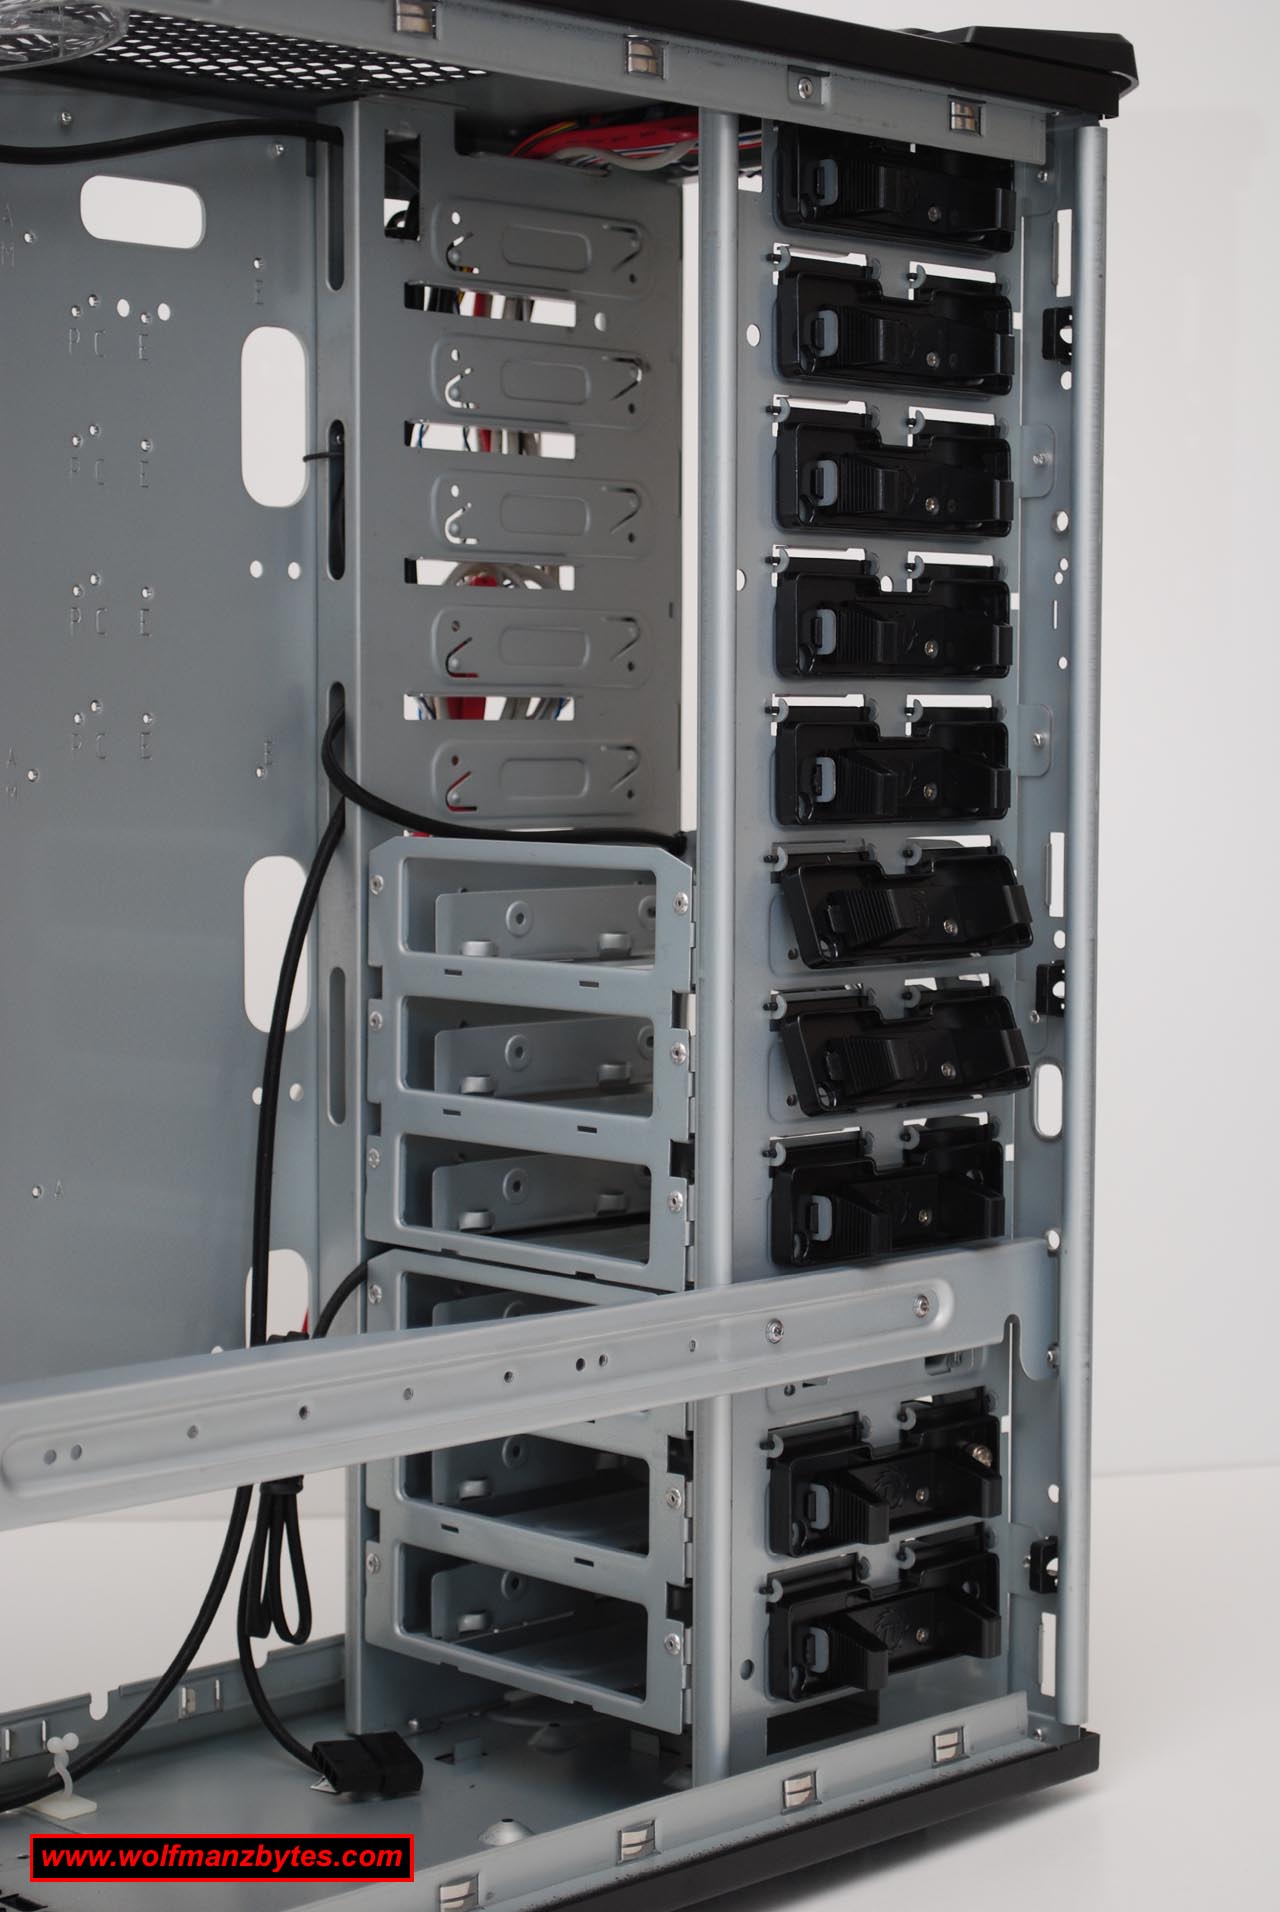
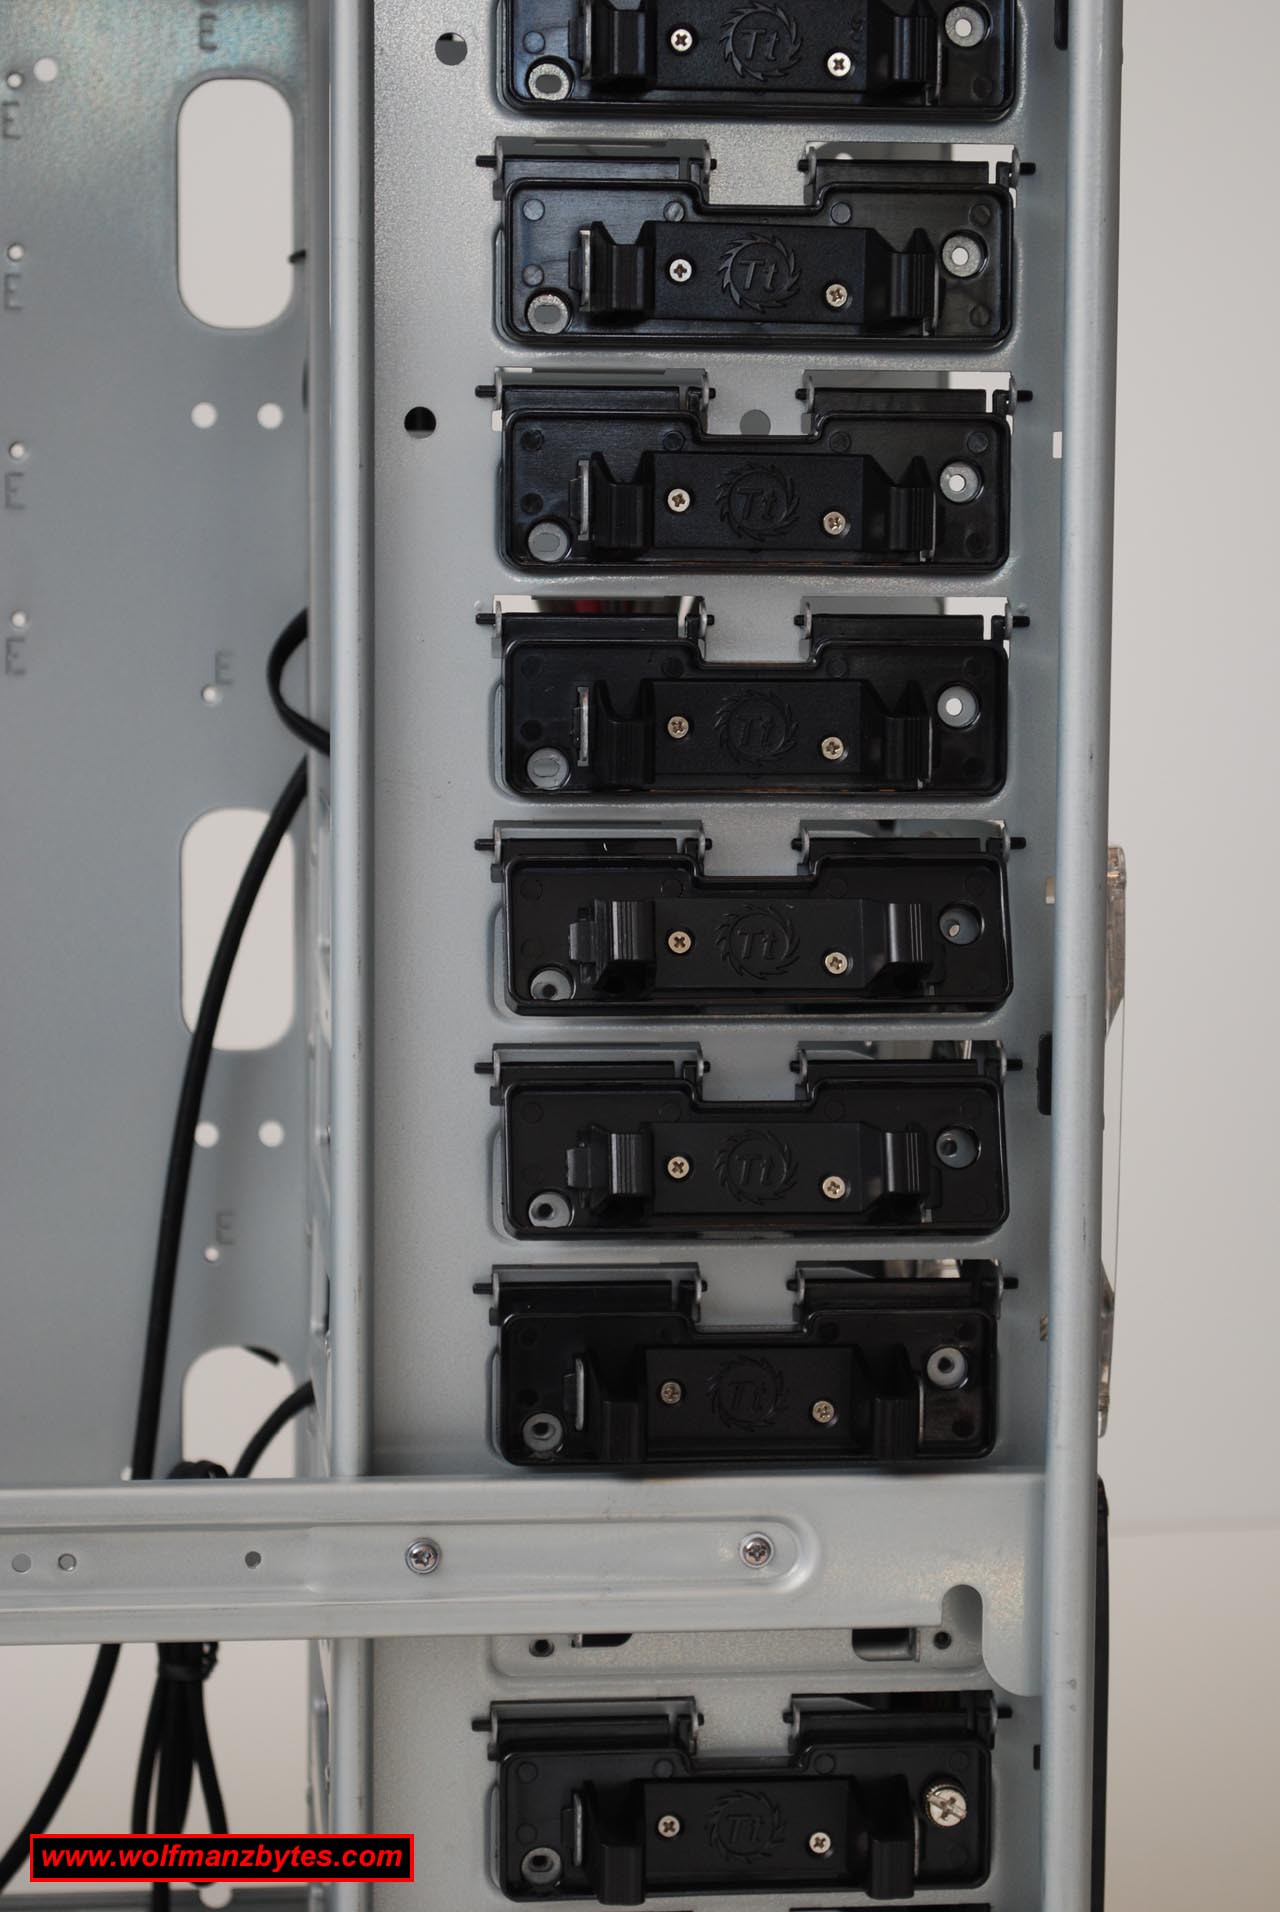
Moving away from the motherboard area and over to the drive area you will see that the Element V is not short on drive bays to be filled. For those that like the screwdriver-less method of installing drives into the bays you will be happy to note that the Element V has quick release levers for all the drive bays. You just squeeze the quick release levers with your fingers and lift them up and then slip a drive in and close the levers down and squeeze again to lock them into place. Although I like the quick release way of mounting the drives, you do end up with some play in the drives in terms of the drive being able to wiggle a bit left and right in the drive bay. If you’re like me and don’t want the drives to move at all then as you can see in the picture below, you also have the standard screw holes that you can use to screw the drive into the drive bays and not have them move at all.
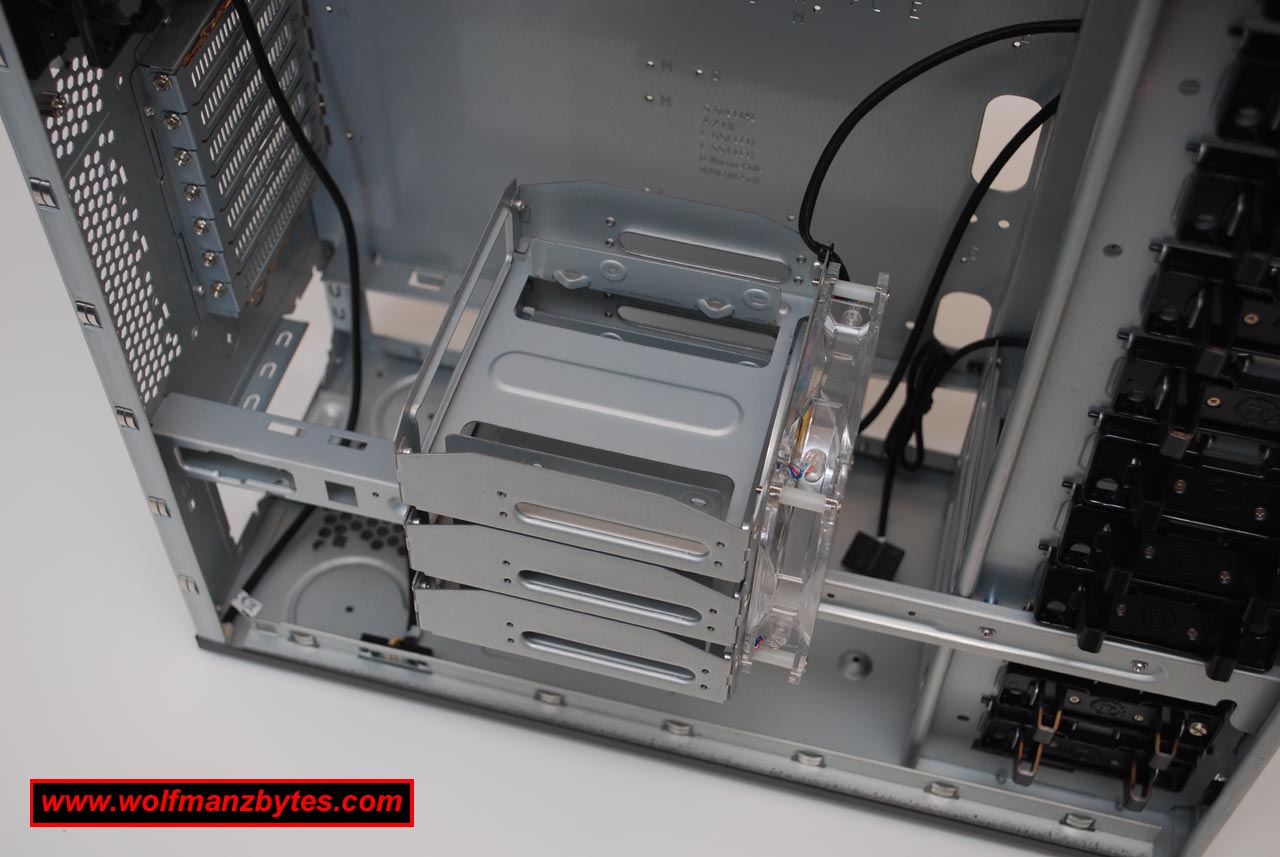
The Element V can hold 6 hard drives in the two hard drive cages that just slide out as shown in the picture below. The drive cages are held in place by two thumb screws that are easy to remove. The hard drive cages also have 1 fan each attached to the front of them, so you have good air flow over the hard drives as well.
Another aspect of the Element V that I like is the front bezel pops off nice and easy, and that makes adding drives a breeze. In the pictures below you can see the bezel on and off the Element V. With the bezel off you have great access to the drive bays and also the fans, should you have the need to clean them.
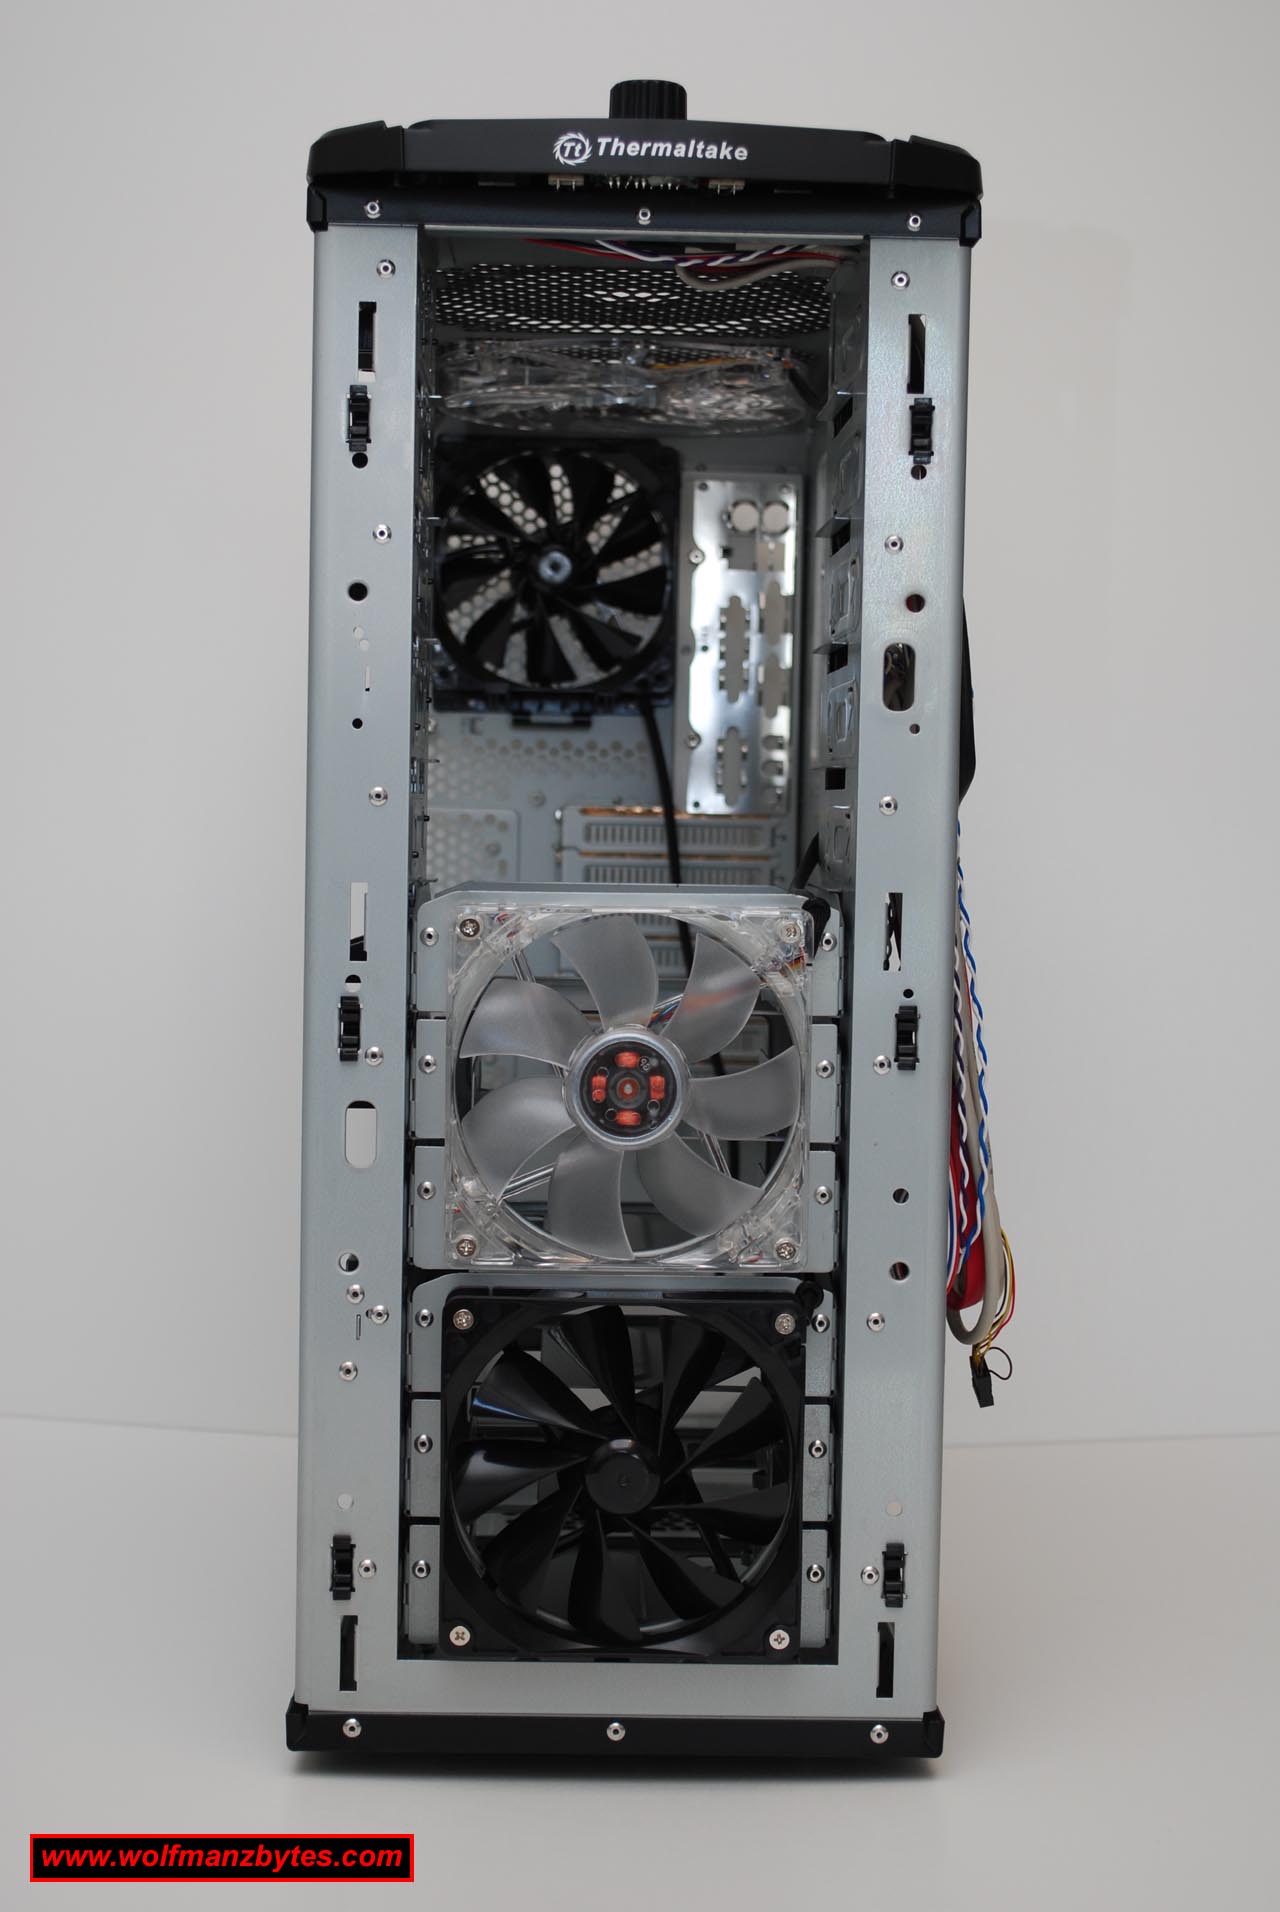
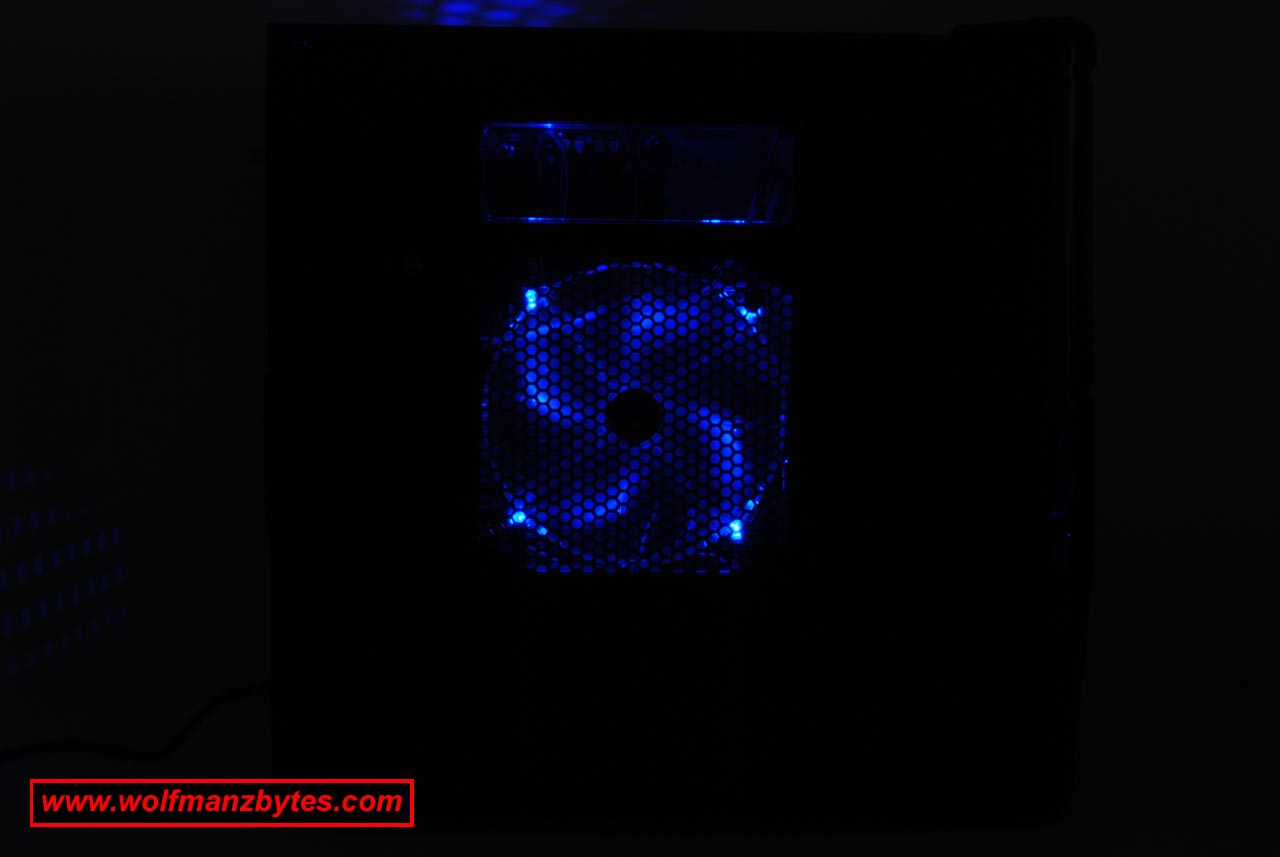
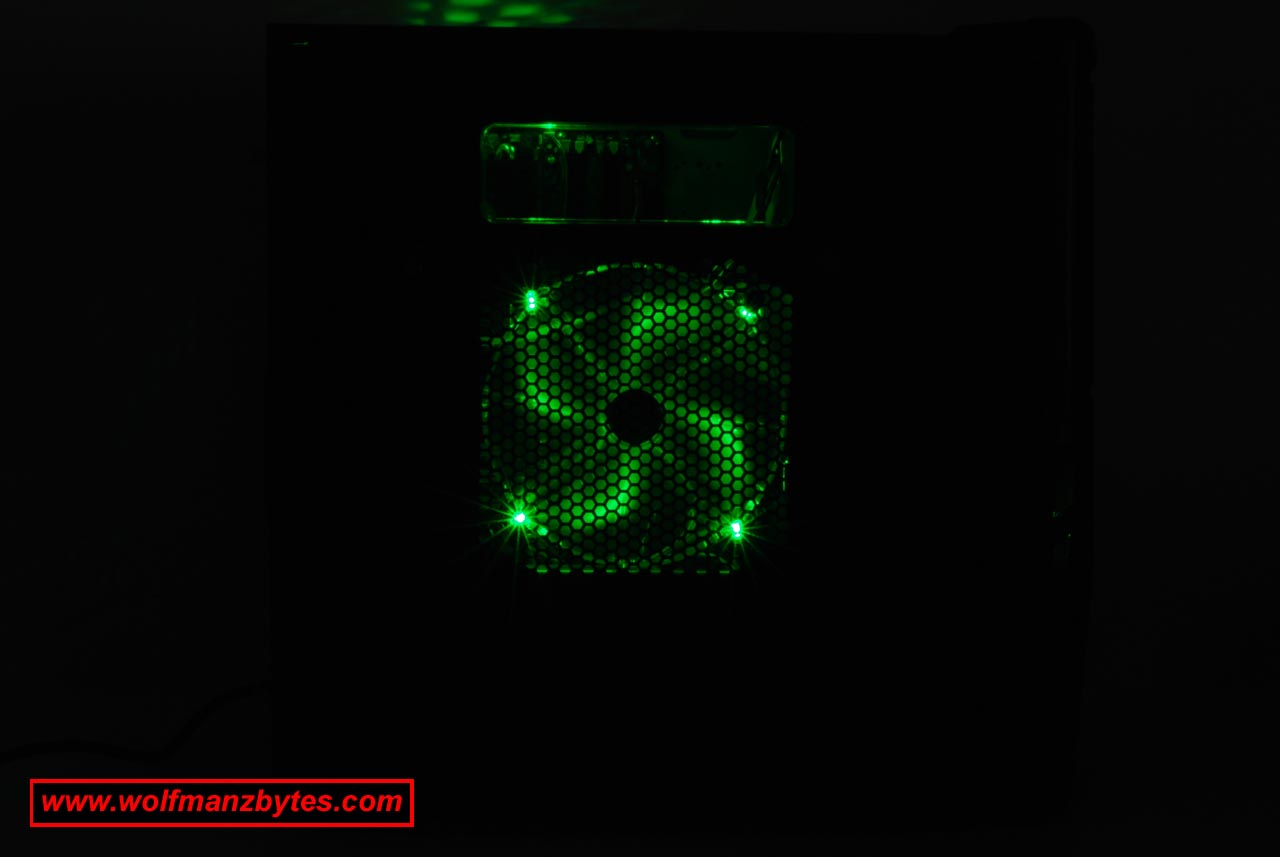
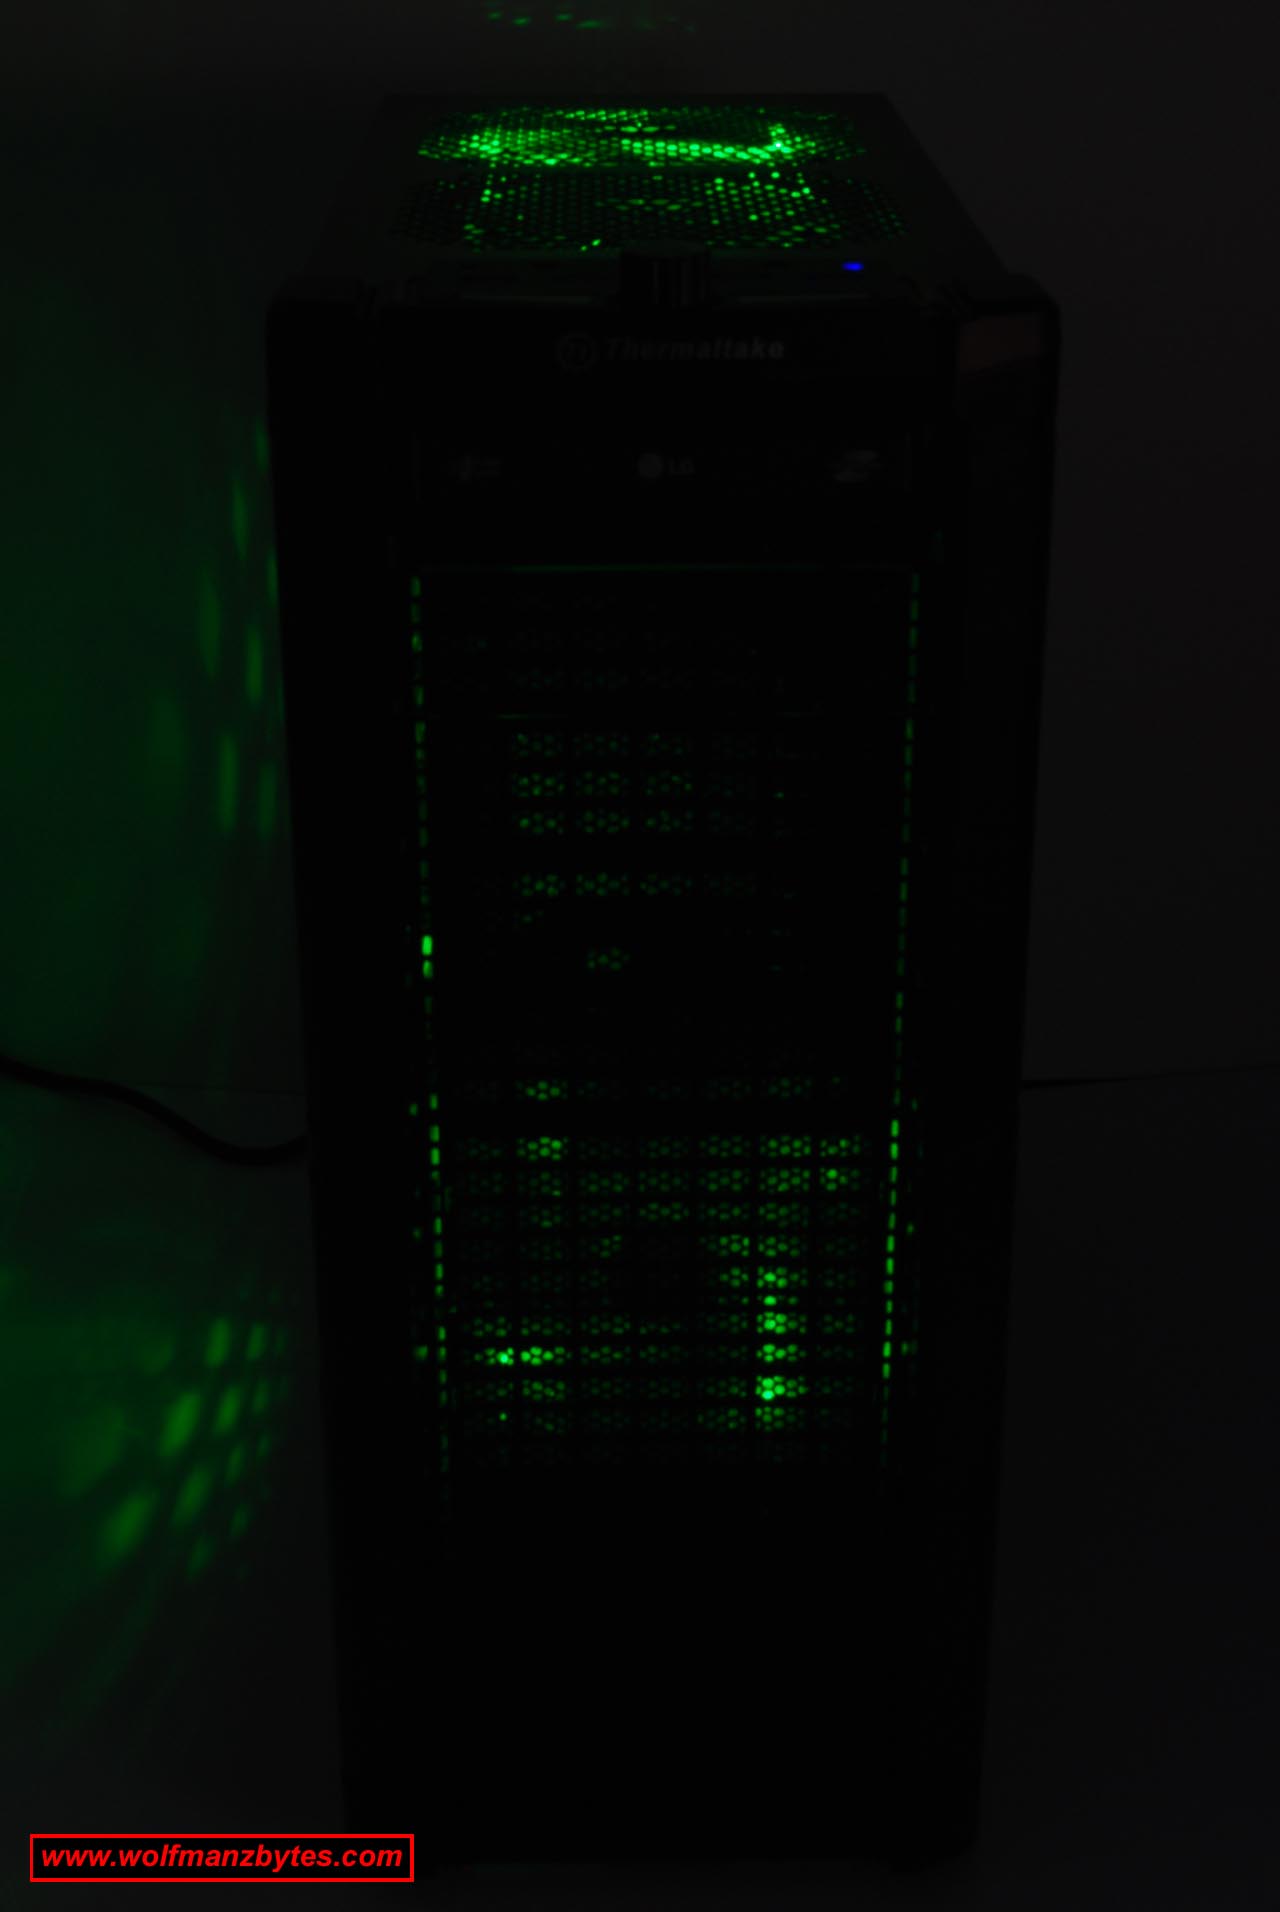
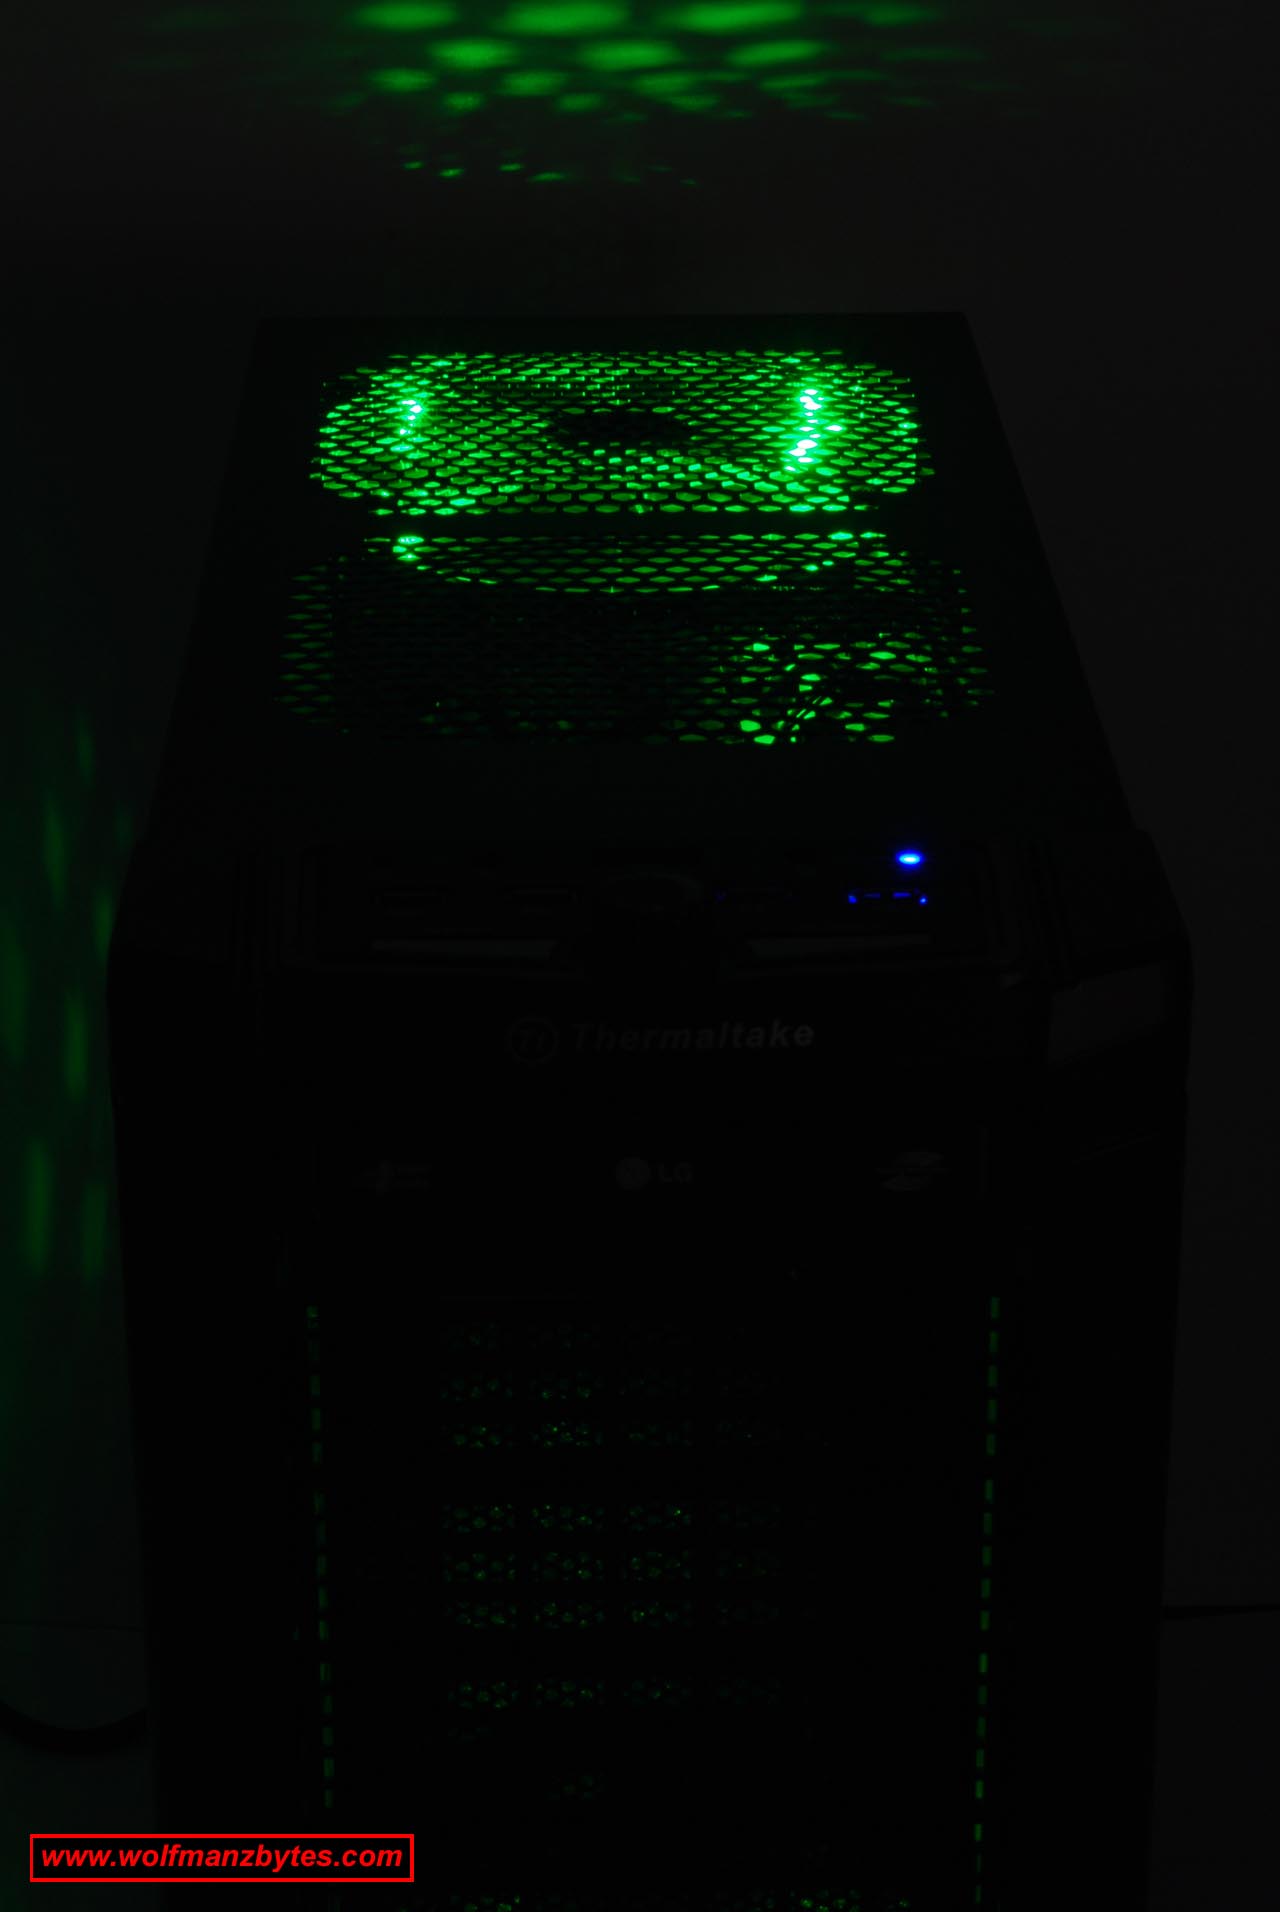
One of the interesting things about the Element V is that it comes with a butt load of fans. In total you get 5 fans that come with the case and you have an extra spot for a top mounted 200mm sixth fan should you choose to add one. All of the fans are large diameter fans so were talking about 120 mm up to 230 mm this means that for the most part the fans spin slowly but because of their size they move a lot of air. Three of the fans in the case are variable speed and also have Colorshift lighting on them. For those that don’t know, Colorshift just means the fans can light up red, green, and blue and also do variations of the three colors on each of the fans.
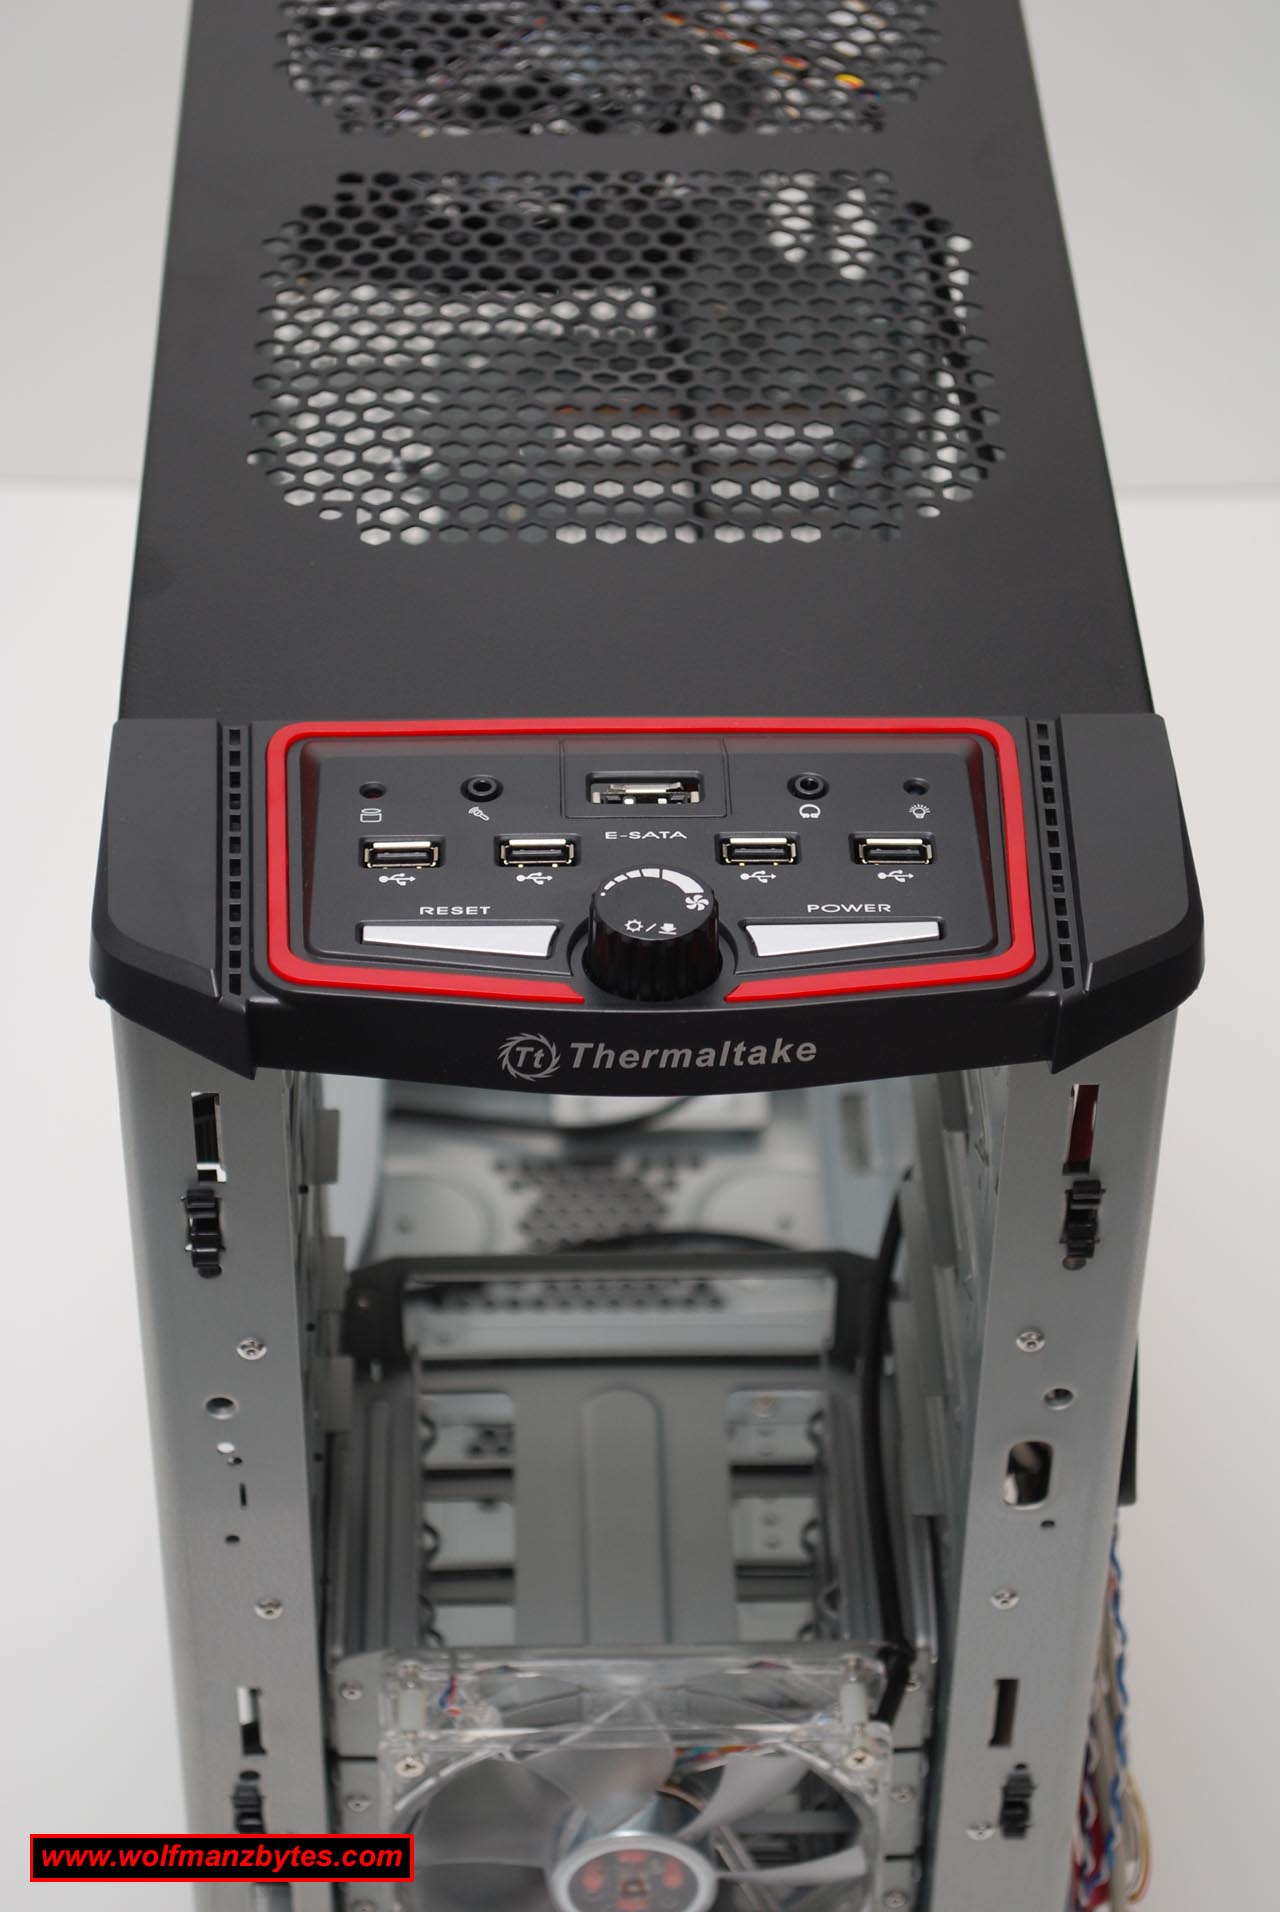
The fans get controlled by the dial on the top of the case. This dial not only controls the fan speeds, but can also change the color of the fan lighting by pushing down on the dial. In the same area of the fan speed dial you also have your external USB ports along with your headphone and mic jacks and the power switches. Below is a picture of the fan controller dial along with all the ports.
The one thing I think that’s missing from a full tower case like this is some handles to pick the case up with when it’s loaded with hardware. If Thermaltake would have put some good toolbox like handles that fold down on this case there wouldn’t be much to complain about at all. When a case like this gets loaded up with gear it can be quite heavy and also quite annoying when you’re fumbling around trying to find a spot to grab onto to lift it without breaking something.
Another thing I would like to see added to this case is a fire wire port to go along with all the other ports on the top of the case. It seems odd that every other port you would need is on this case but somehow the firewire port got left out.
Last but not least the only other problem I can see with this case is the fan lighting. When you turn the computer on the fan lighting always goes to its default blue lighting. If you want the fans to be lit up green each time you turn the computer on you have to manually hit the fan speed dial until you see the green lighting. I can see how some people would find setting the fan lights a certain color all the time to be quite annoying and so I’m wondering why Thermaltake didn’t make the electronics for the fan lights remember the lighting state the lights were in when the machine was last powered on. If the Element V had this feature you would set the fan lighting color once and that would be remembered as long as the computer was plugged into the wall and that’s the way it should be.
In conclusion I think the Thermaltake Element V is really nice case that has a few minor issues that need to be worked out to make it a great case. I think the looks of the case alone will keep a lot of people happy. At the time of this Review you could purchase the Thermaltake Element V Full Tower Computer Case for about $160.00 Canadian.
Below are a few more pictures of the Thermaltake Element V Enjoy!